When someone comes to me as a new student, I usually say, “Don’t take this the wrong way, but you’re not going to jump for a while.” Before we work over fences I want my riders to work on position—and their galloping position in particular. Otherwise, we’ll have to come back later and fix the position flaws that become a bigger issue as a rider progresses. This happens because our horses go the way we ride them: Horses want to feel secure, which includes knowing that their riders feel secure. If we’re riding out of balance, our horses go out of balance. At the beginning of every year, even I review my position and determine where improvements can be made.
Some eventing riders take the attitude that if their horses can jump and they can stay on, who cares? “I’m not in the hunters. I don’t care how pretty I look.” But what I teach is not about looking good, it’s about being functionally efficient and correct. The easier you are to carry, the happier your horse is. A happy horse does his job much better. My goal as a rider is to make myself the easiest possible package for my horse to carry, and that’s also my goal for my students.

When Balance Is Lacking
First let’s talk about the position errors I commonly see and how they affect your riding. To secure your leg, riding books and many instructors typically tell you to close your knee. But they don’t specify that you should not close the FRONT of your knee, and that is the part with which most people grip. When you pinch with the front of your knee, you close your inner thigh. Then your lower leg usually swings back and at this point you become a physics problem: If your lower leg goes back, your upper body wants to tip forward. To your horse, this scenario feels as you would trying to give a piggyback ride to a small child who is all over the place—leaning here, leaning there. You lose your focus because you have to rebalance and think about where you’re putting yourself. In the same way, the more motion your horse has on his back, the less he can concentrate on his job.
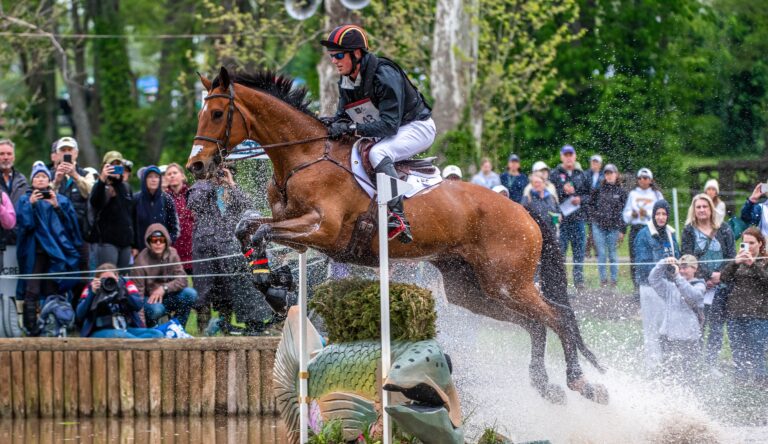
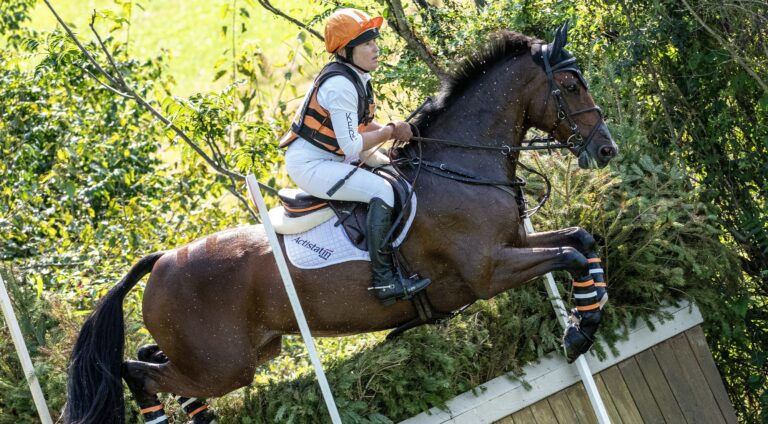
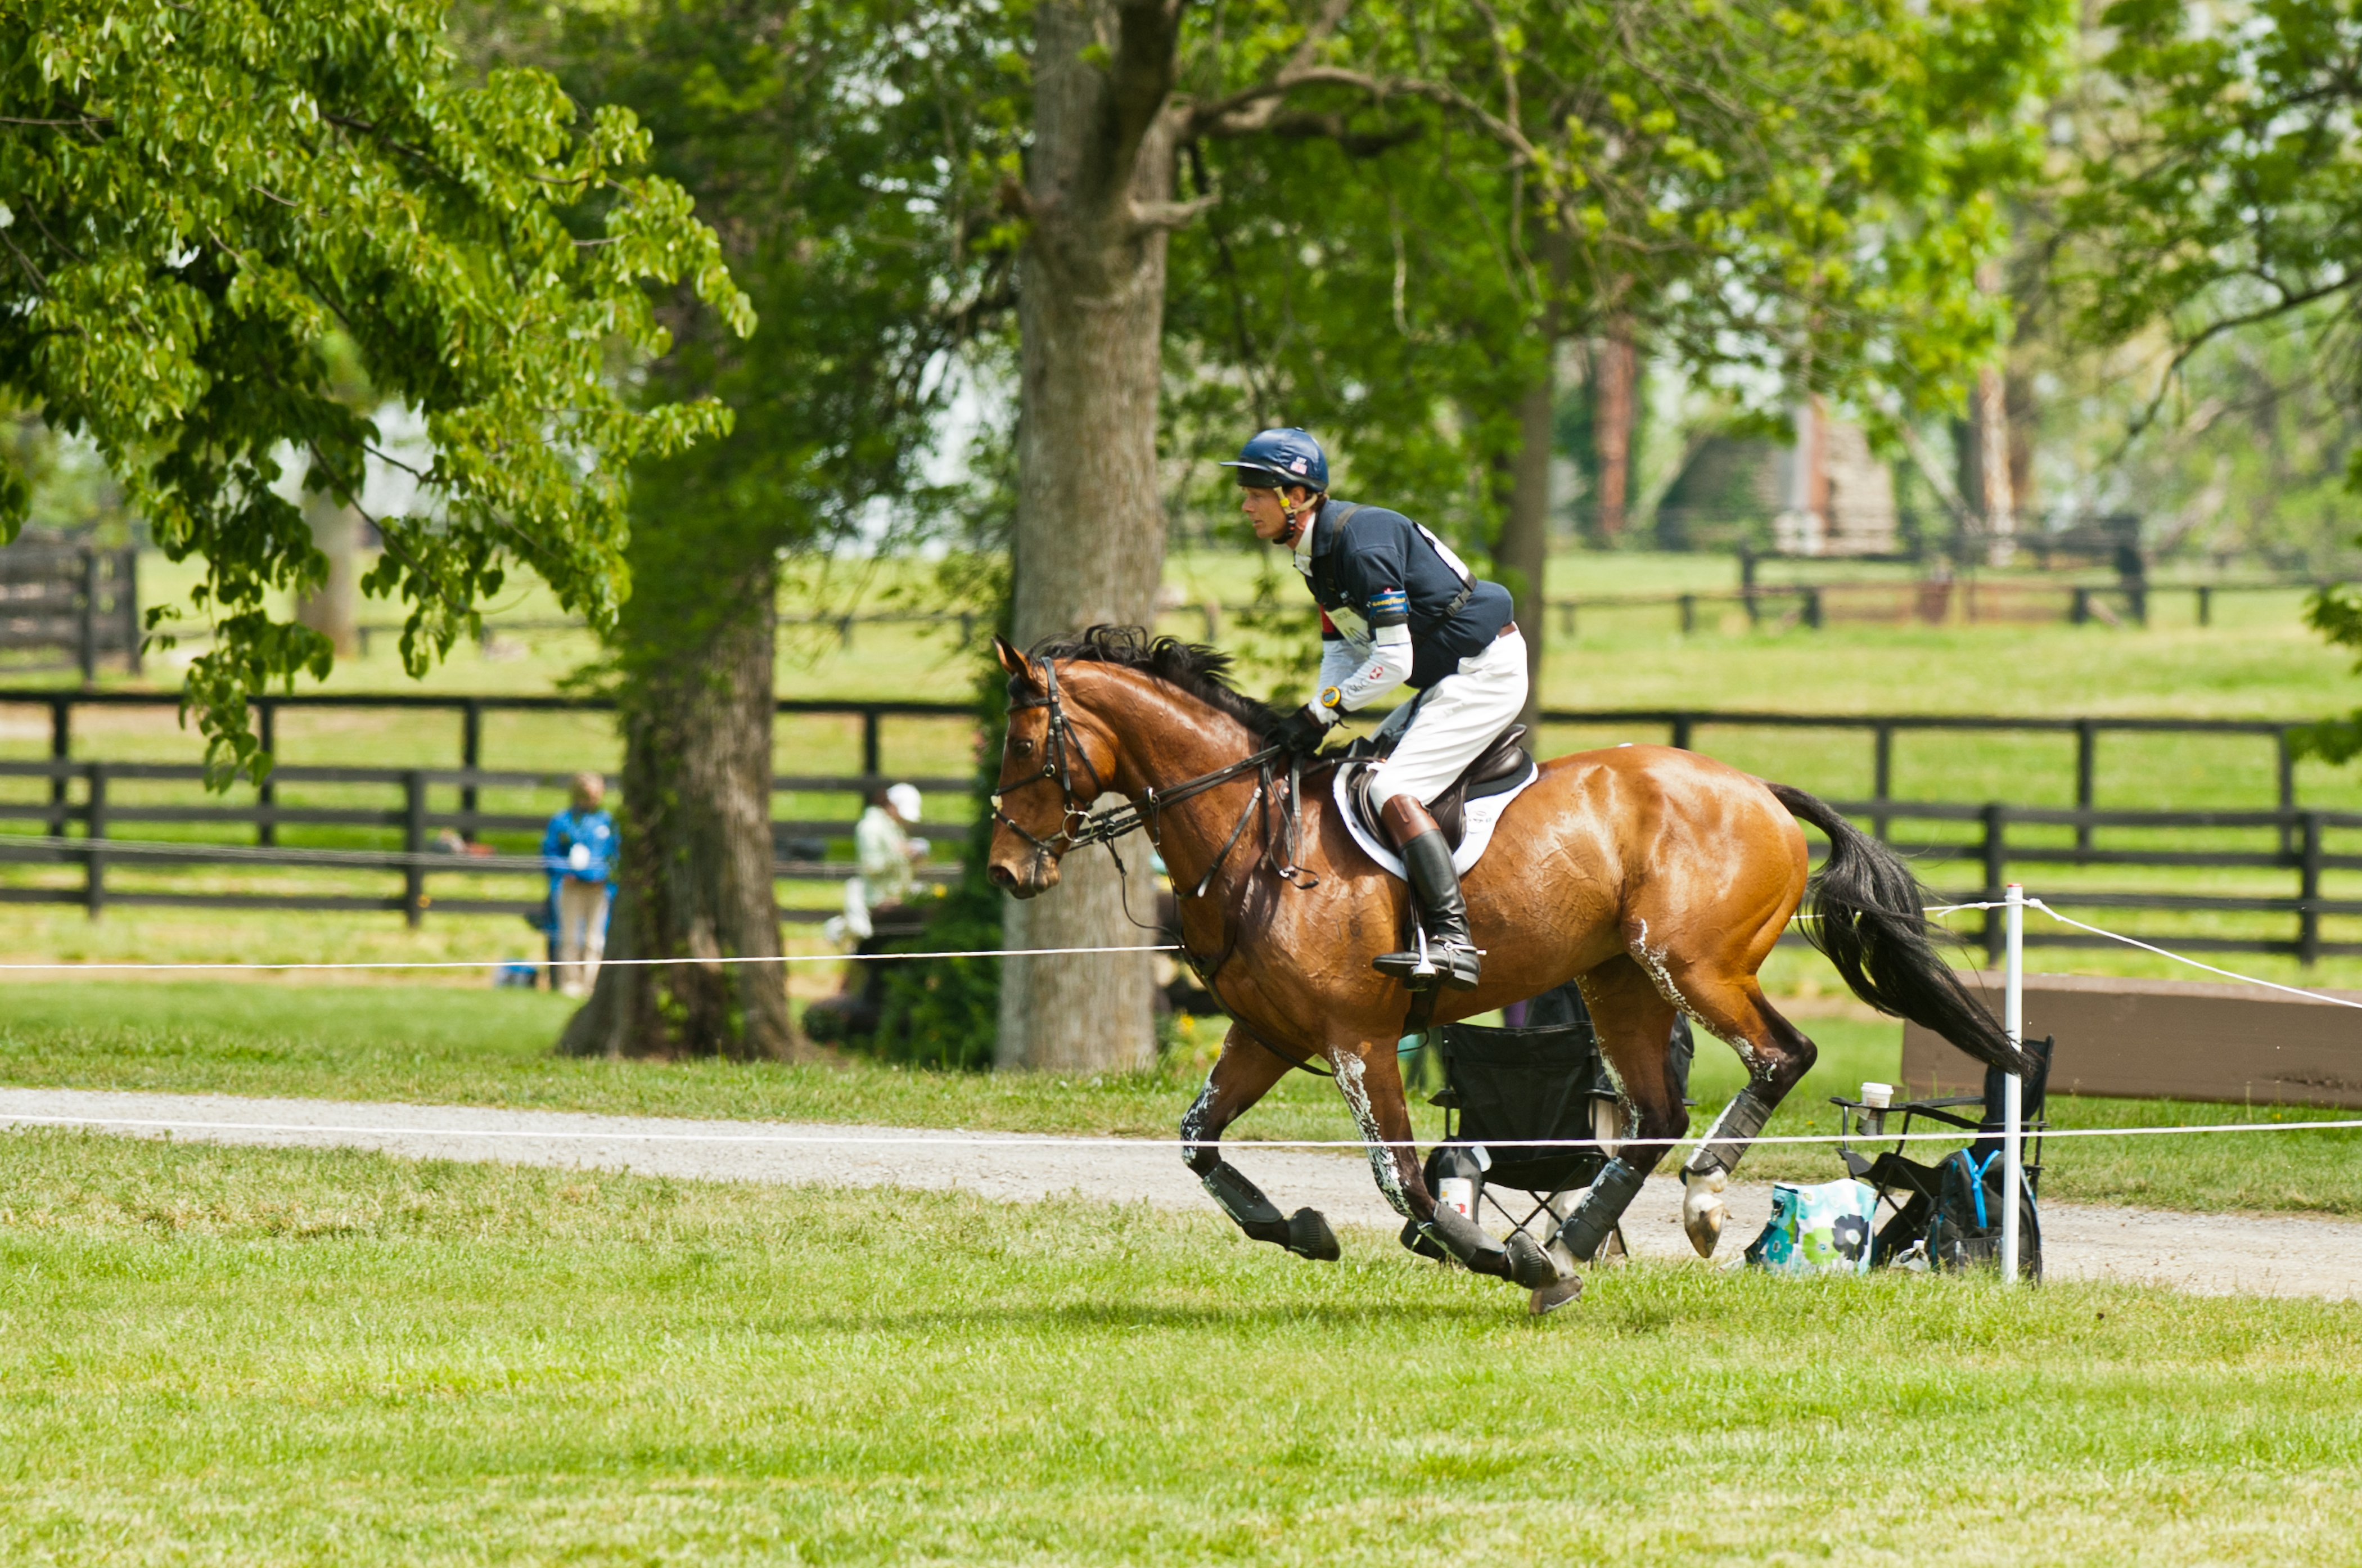
Over fences, if your grip is wrong, causing your lower leg to swing back and your upper body to tip forward, you either throw your horse off balance or you overcorrect—falling backward and holding on to his face to keep your balance. The result of either situati
on is that your horse may slow down off the ground or run at the jump.
Even if your lower leg is stable but you’re in the habit of jumping for your horse by leaning forward, you make his job more difficult. Instead, allow his jump to move you. It’s hard at first to allow that to happen. We are all control freaks. We so much want it to go correctly that we make it our job to jump for the horse.
Finding Balance
OK, enough about doing it wrong. Now I’ll explain the position that enables you to stay in balance with your horse and makes you an effective rider in all three phases of eventing. The key is keeping your center of gravity above your base.
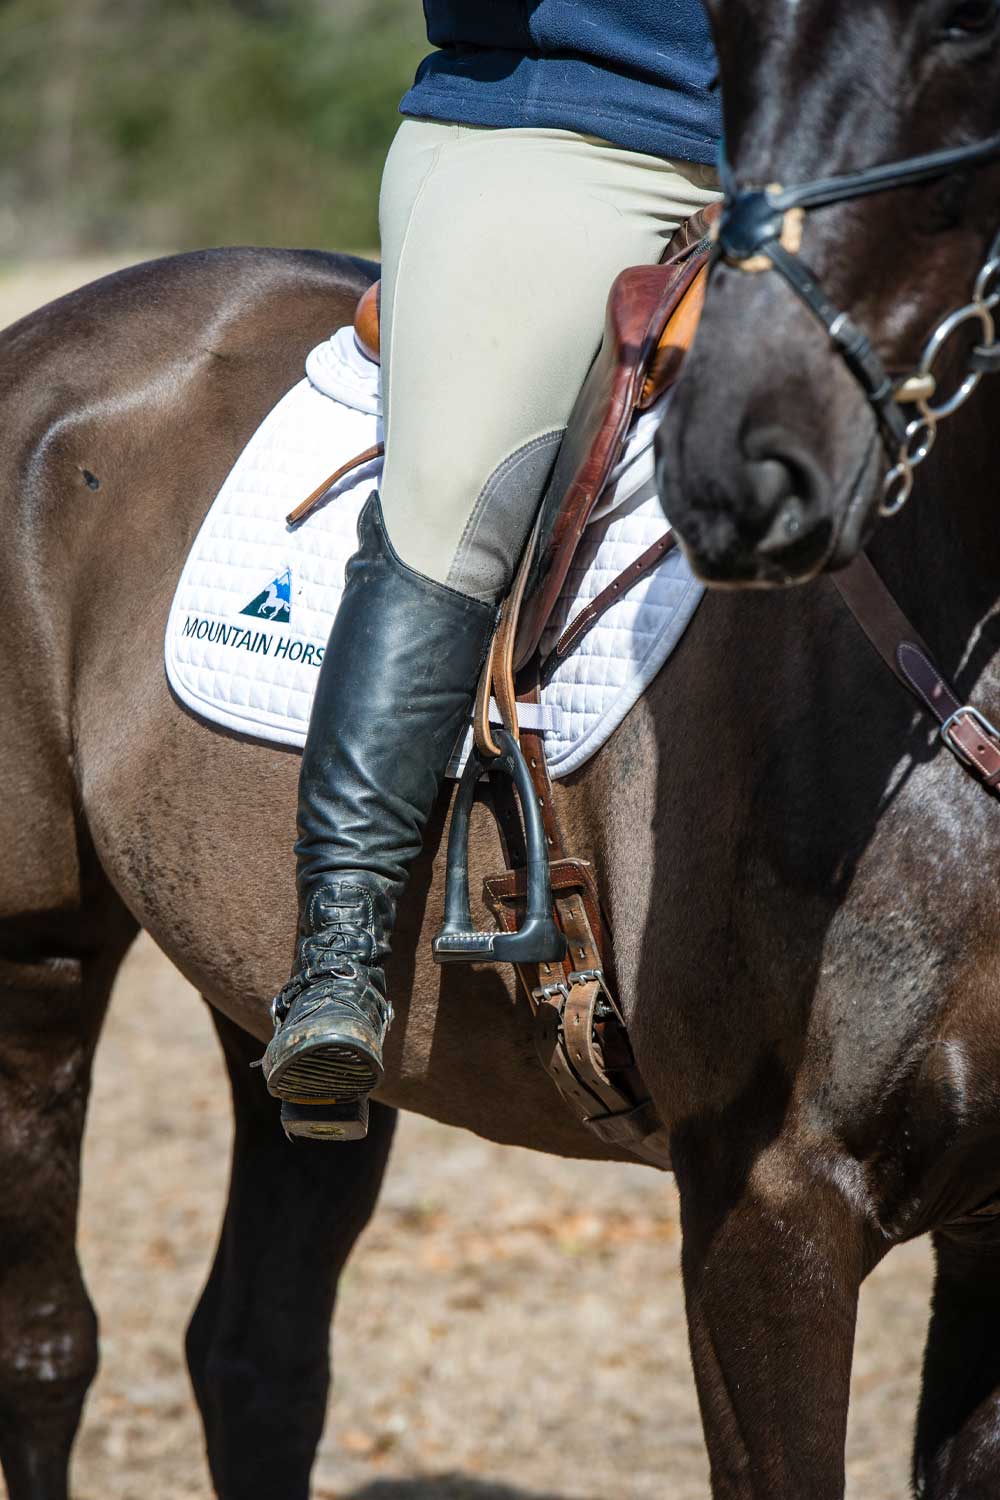
Your center of gravity, or center mass, is located just behind your belly button and in front of your spine, centered vertically in your body. And your base is where you grip to keep balance, ideally your lower leg. To keep your center of gravity above this base, you need to achieve what I call the basic balance position: You close your leg by turning your toe out slightly and contacting the saddle with the back of your knee. To find it, locate the hollow
at the top inside of the calf muscle—just below where your femur joins the tibia to create the hinge of the knee joint. Contacting the saddle in this way allows you to let go with your inner thigh. I sometimes tell students to imagine there is a tennis ball between the front of their knee and the saddle. This leg position makes it impossible to pinch with your knee and grab with your thigh.
This position lets you use your lower leg and your pelvic girdle—the muscles around your hips and waist—to truly follow your horse’s motion with your hips. Allowing this motion enables you to create energy. But you need to work through this concept because it’s natural to want to grip with your knee and inner thigh. When first learning to canter, most riders try to hold themselves on their horses by gripping incorrectly. For galloping and jumping, you need to use the muscles on the outside of your leg, between your hip and your knee and between your knee and your ankle, to close your legs around your horse like a hinge. My coach and mentor Jim Wofford sometimes tells students to imagine “closing your knees into your horse’s shoulder muscles” when galloping.
In addition to a correct leg position, your core—your abdominals plus the muscles that lie along your spine—is critical to keeping your center mass balanced over your feet. I tell my students that to engage their core they need to consciously push their middle together, imagining that they are creating a more cylindrical feeling in that area.
Another technique I teach is “push your stomach muscles and back muscles together as if someone is about to smack you in the stomach and you want to counteract that punch.”
Testing the Balance
 Your leathers are the recommended length for galloping and jumping when you take your feet out of the stirrups, letting them hang down, and the tread of the stirrup iron touches your leg at or slightly above your ankle. To introduce students to the new balanced position I described earlier, I have them shorten their stirrup leathers two or three holes above their regular galloping and jumping length. Then I tell them to rise into their two-point galloping and jumping position. As they bend their hip angle, I remind them to “focus on opening your knee and thigh, step down into your lower leg, really engage your core and push your hips back a little,” to keep their center mass over their base.
The reaction is usually immediate—and dismayed. The shortened stirrups make it impossible to pinch with the knee because there’s nothing to pinch against and they enable the riders to perceive exactly which muscles they need to use to maintain a balanced position. These usually are muscles they haven’t used much before. New students often complain that their backs and their knees are really feeling the new challenge. Sometimes I put a neck strap about halfway up the horse’s neck and tell the students they can hook just a finger in the strap for a little help while they learn where their balance is and how to use the proper leg muscles and core muscles to maintain it—without trying to balance on the reins. The strap is also a reminder to shift their weight back a little bit to get their center mass over their feet. If students say their back hurts in the new position, I explain that it’s because they’re using their back instead of their core to hold themselves up. The remedy is for them to pull their stomach in to support their back.
Building New Muscle Memory
Our ultimate goal in this work (and it is work!) is to replace the muscle memory of an ineffective galloping and jumping position and motion with the one that works. This is an important concept because you can’t learn to simply stop doing whatever it is that doesn’t work—unless you are replacing it with a different action. So once my students have gotten used to the feeling of the new position at the standstill and walk, I tell them to trot. (I tend to do most of my clinic teaching at the trot because there are two beats, or motions, within each stride, which requires riders to work twice as hard as at the canter.) Now when they pick up a trot they need to isolate their position from both the up-and-down and the side-to-side motion of the gait. Another advantage is that the trot is not as fast as the canter, so riders feel more in control as they’re trying to make all these changes.
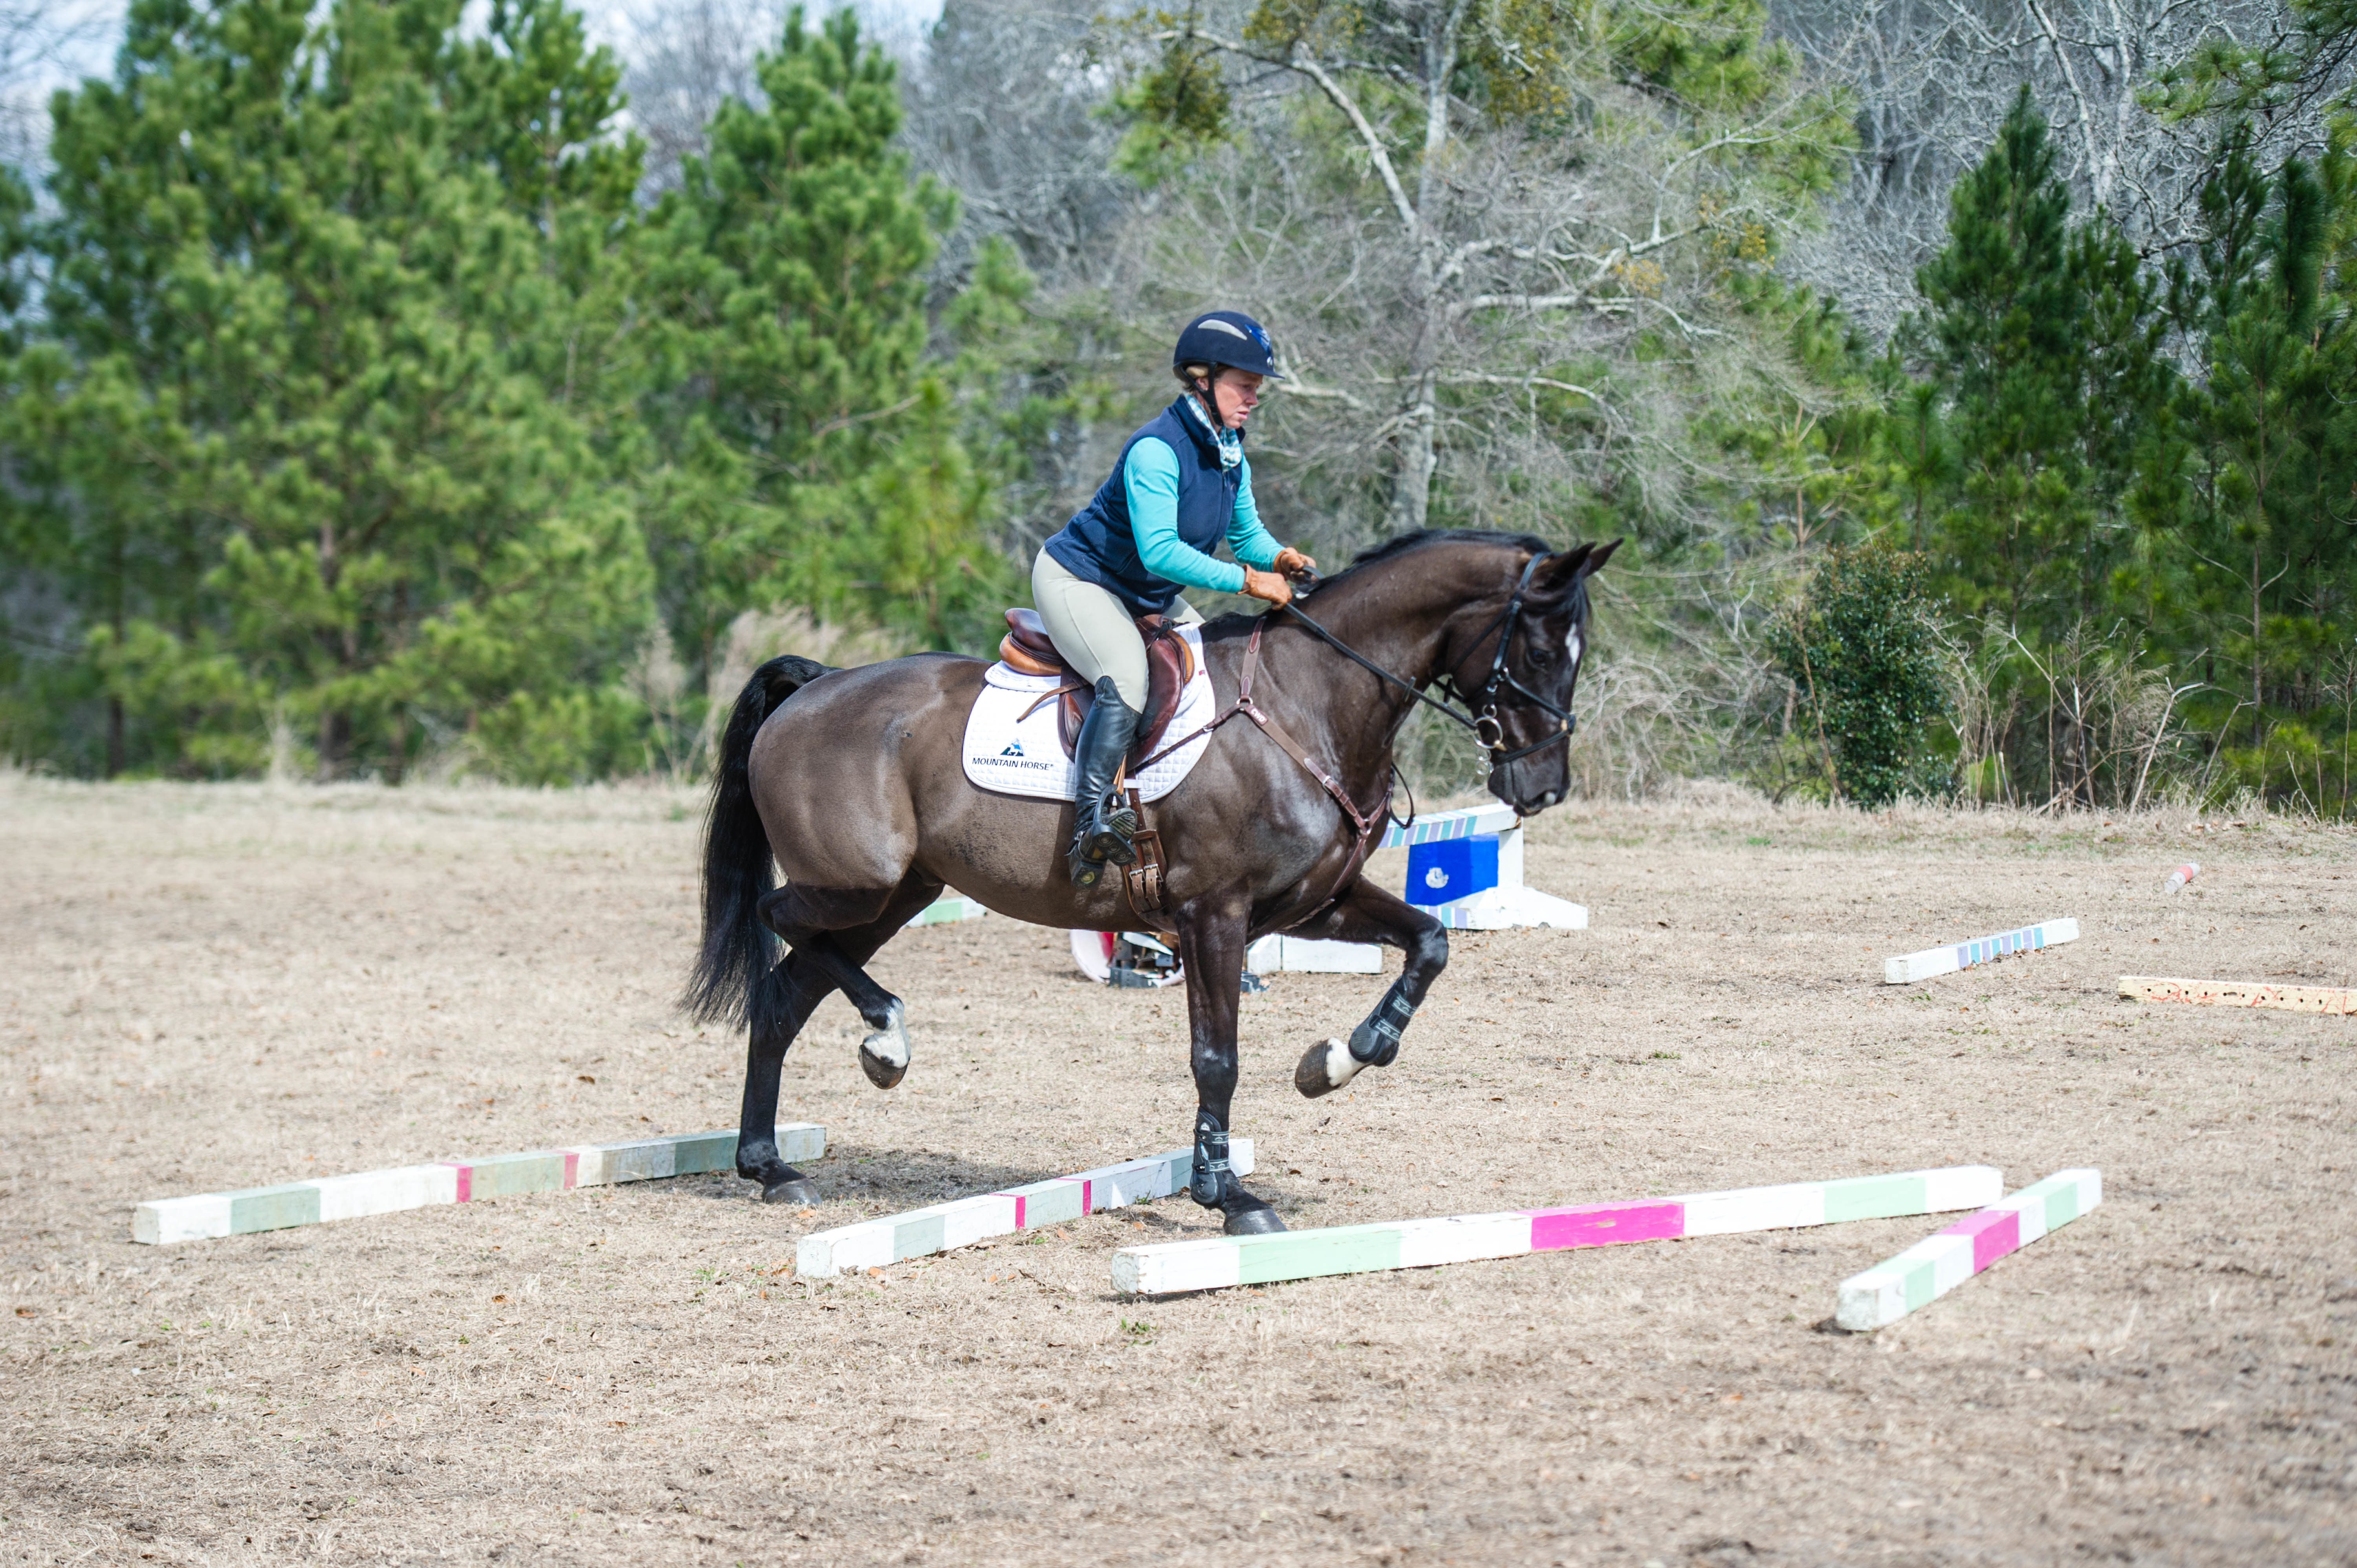
I often have students alternate five or 10 steps in the two-point position with a few strides of posting, building it up until they can hold the two-point for 20 or 30 trot strides. When they can hold the balance position down the long side of the arena at a trot, I put down some ground poles. First we do regular trot poles set at standard striding. Then I put down what I call “pick-up sticks”—some poles are set on a short stride, some on a long stride, some are even set at angles. As horses start to trot through these, riders have to adjust their position to maintain their center mass over their base for the variations. This helps them learn to control their horses while maintaining the new position.
The next step is to set up some simple low (as small as 18 inches) jumping gymnastics. This helps students zero in on where they might have particular challenges over fences. Often when I ask riders, “Can you feel how you fell forward right there?” the answer will be “no.” For their next pass through, I have my cell phone out to video them so I can show them exactly where and how they need to reinforce their position.
As with any change in something riders have been doing a certain way—even if it’s the wrong way—for a long time, riding in the basic balance position feels odd to many new students. As they’re struggling they say, “This feels so unnatural!” So I give them instant feedback: I snap a picture with my phone and when I show them how they look in the new position they say, “That is NOT what it feels like!” The truth is that our bodies lie to us. For instance, if—like many of us—you get used to riding a little crooked in the saddle, it feels as if you’re sitting straight. Then, when you fix it so that you’re sitting evenly, your body tells you you’re tipping. That’s why I encourage students who are working on their position to buddy up. Ride with a friend so you can critique each other or enlist a friend who can stand on the ground and video you with her phone. If you can’t get feedback this way, try riding in an arena with a mirror.
Use Cross-Training—and Music
Some athletic activities other than riding can contribute to a better position. One is skiing because to do it well you have to engage your core, turn your hips, use your pelvic girdle—sound familiar? Another type of exercise that relates directly to riding is almost any type of dance training because the muscle control you learn for dancing is similar to what you need for riding. Yoga, which also entails muscle control and balance, helps as well.
Once you’ve learned to maintain the new position for a couple of minutes at a time, a helpful technique is riding to music. I suggest my students get some music they really love on their personal listening device and begin by trying to hold the new position for the duration of one song, then two songs and so on. I use music myself when doing my gallop sets. It helps me override the voices in my head that are telling me I’ve done enough for the day, I’m as fit as I need to be.
I’m not saying that the basic balance position is the only improvement in your riding that will bring you success. But I do know that most riders recognize, even subconsciously, when they are out of balance. That makes them feel insecure—and insecurity hinders your progress. Fixing your position brings you one big step closer to maximizing you and your horse’s potential as a team and reaching your goals.
Center of Gravity In Dressage
In dressage, you ask your horse to bring his hindquarters under his body, lift his back and withers and take a contact. But when you grip with your knee, causing your leg to swing back and your upper body to tip forward, you block the energy you’re developing from behind. So it’s like driving with the parking brake on. With your lower leg, you’re telling him that you want him to go forward, while your thigh is restricting the energy when it grips to support your upper body’s forward lean. At some point, he stops listening to your subtle cues.
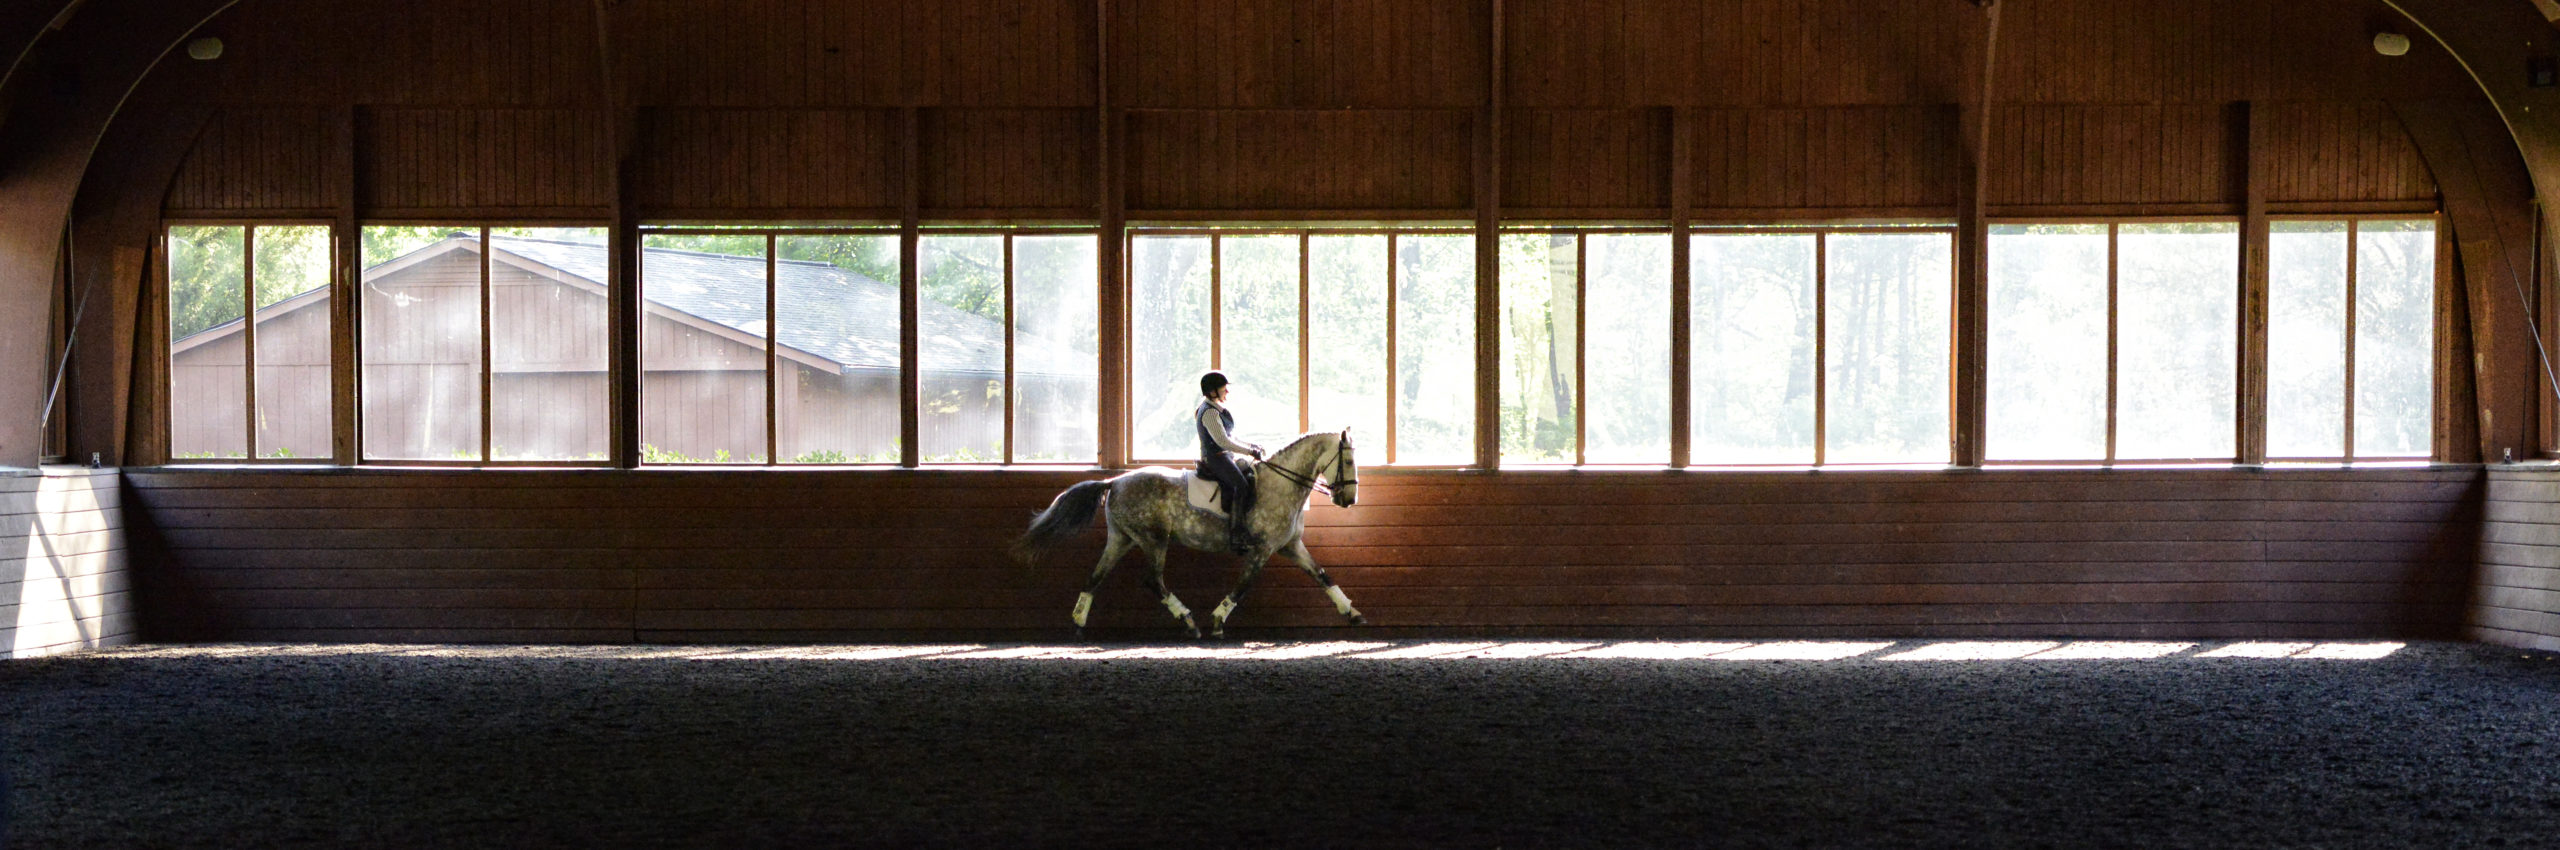
In addition, many riders grip with their legs incorrectly just to try to hold themselves still on their horses for flatwork. A truly “still” rider cannot maintain the proper motion with the horse. Motion you can see is motion against the horse’s motion.
As I discuss in “Finding Balance,” on page 52, for the galloping position, in dressage you want to use your properly positioned lower leg and your pelvic girdle—the muscles around your hips and waist—to follow your horse’s motion with your hips. Dressage balanced position is a much more vertical position than the galloping position. The more core you can develop, the better control you’ll gain over your position. This is what you need to do to sit the trot effectively and as efficiently as possible.
Eventing Success
Colleen Rutledge is an international eventer competing at the 5* level. Her most noteable record held is being the first rider complete all 5* events in the Northern Hemispher (Kentucky, Badmiton, Burghley, Pau, and Luhmuhlen) on the same horse, Shiraz, without incurring any penalties in the cross country phase.
In 2015, she debuted as part of the United States Equestrian Eventing Team aboard Covert Rights, a homebred gelding, at the World Equestrian Festival in Aachen, Germany.
Colleen continues compete, train, and teach out of Turnabout Farm located in Mt Airy, MD.
This article originally appeared in the May 2017 issue.