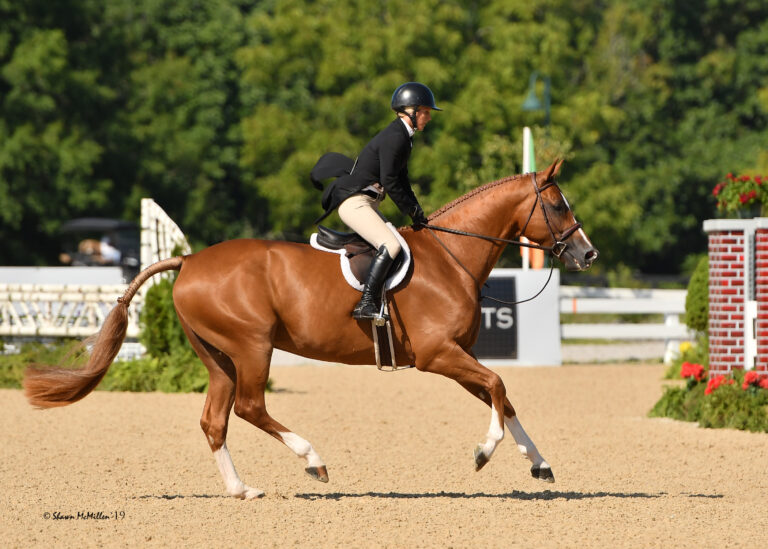
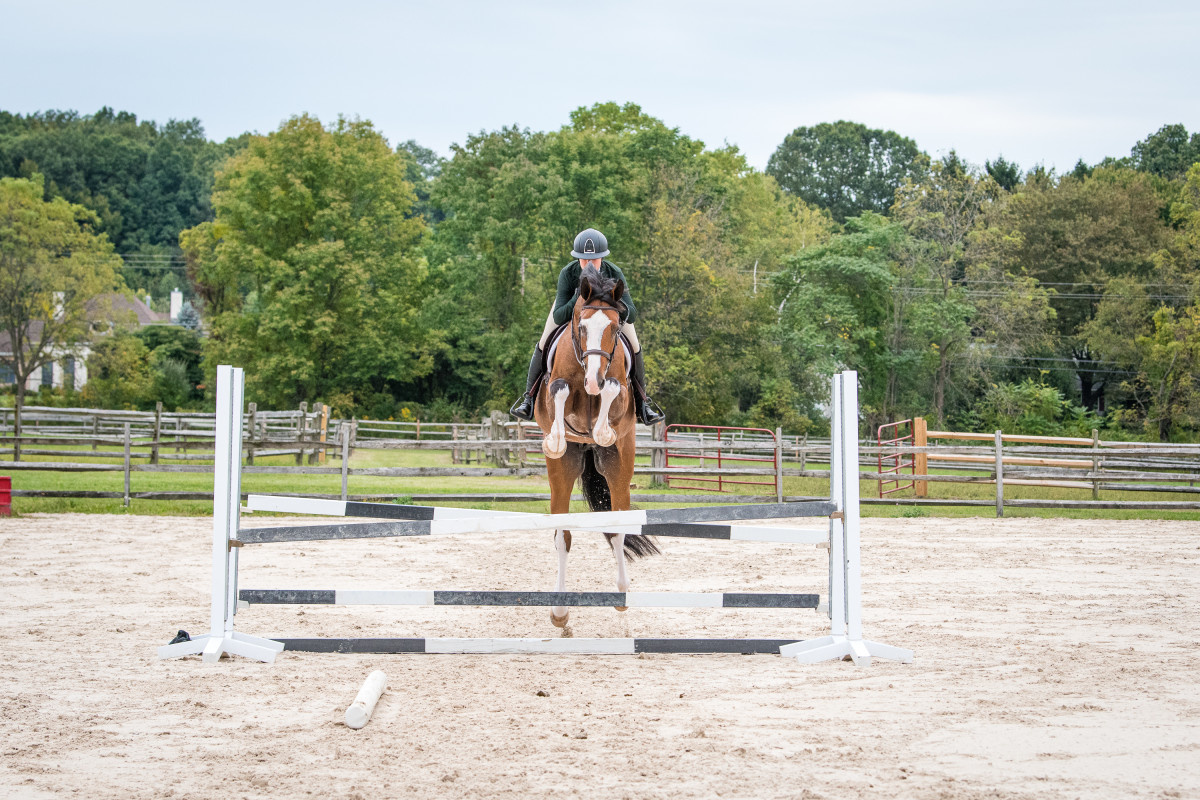
The qualities judges look for in hunter classes make warming up for them uniquely challenging. Your horse needs to jump with excellent technique—making beautiful arcs with his body over the fences and folding his legs tightly and evenly—while also listening obediently to your aids and cantering forward yet relaxed in a steady rhythm with soft contact. The warm-up plan we’ve developed over decades will help you achieve these sometimes seemingly contradictory goals. Although there are many variables to consider, the two things we focus on most are straightness and ambidexterity (an ability to take off from and land on either lead comfortably). The more ambidextrous your horse is, the straighter he’ll be. The straighter he is, the better-quality jump he’ll produce.
As we describe this warm-up routine, we’ll point out modifications you can make to tailor it to your horse’s specific needs. The better you know his personality and tendencies, the more effectively you can design his warm-up. Ask yourself: Does he tend to be fresh or lazy in the show ring? Is he on the spooky or dull side? Is he sometimes too forward and strung out or slow and unresponsive to your leg aids? Is he stronger on the right lead or the left? (Like us, all horses are either “right-handed” or “left-handed.”) Does he tend to shift left or right in front of or in the air over fences? Does he struggle to get across wide oxers or does he need to be reminded to respect the front rail and rock back more onto his hocks on takeoff? Keep your answers to all of these questions in mind as you craft your warm-up plan.
Early-Morning Pre-Warm-Up
First thing in the morning, before the show starts, many organizers open the rings for schooling. This is an excellent opportunity to introduce your horse to the sights and sounds of the ring. You can show him any unusual-looking jumps and ride into those corners where he suspects there might be boogeymen. The only horses we wouldn’t advise schooling in the show ring are especially mellow, hard-to-impress types who perform better when seeing new jumps and surroundings for the first time.
On the opposite extreme, some young, extremely spooky horses settle down faster when hand-walked in the ring until they relax and take a breath. You’ll win over a worried horse much faster by “holding his hand” than by disciplining him for misbehaving. If you argue with him, he’ll likely argue back, and that can quickly escalate into a nightmare.
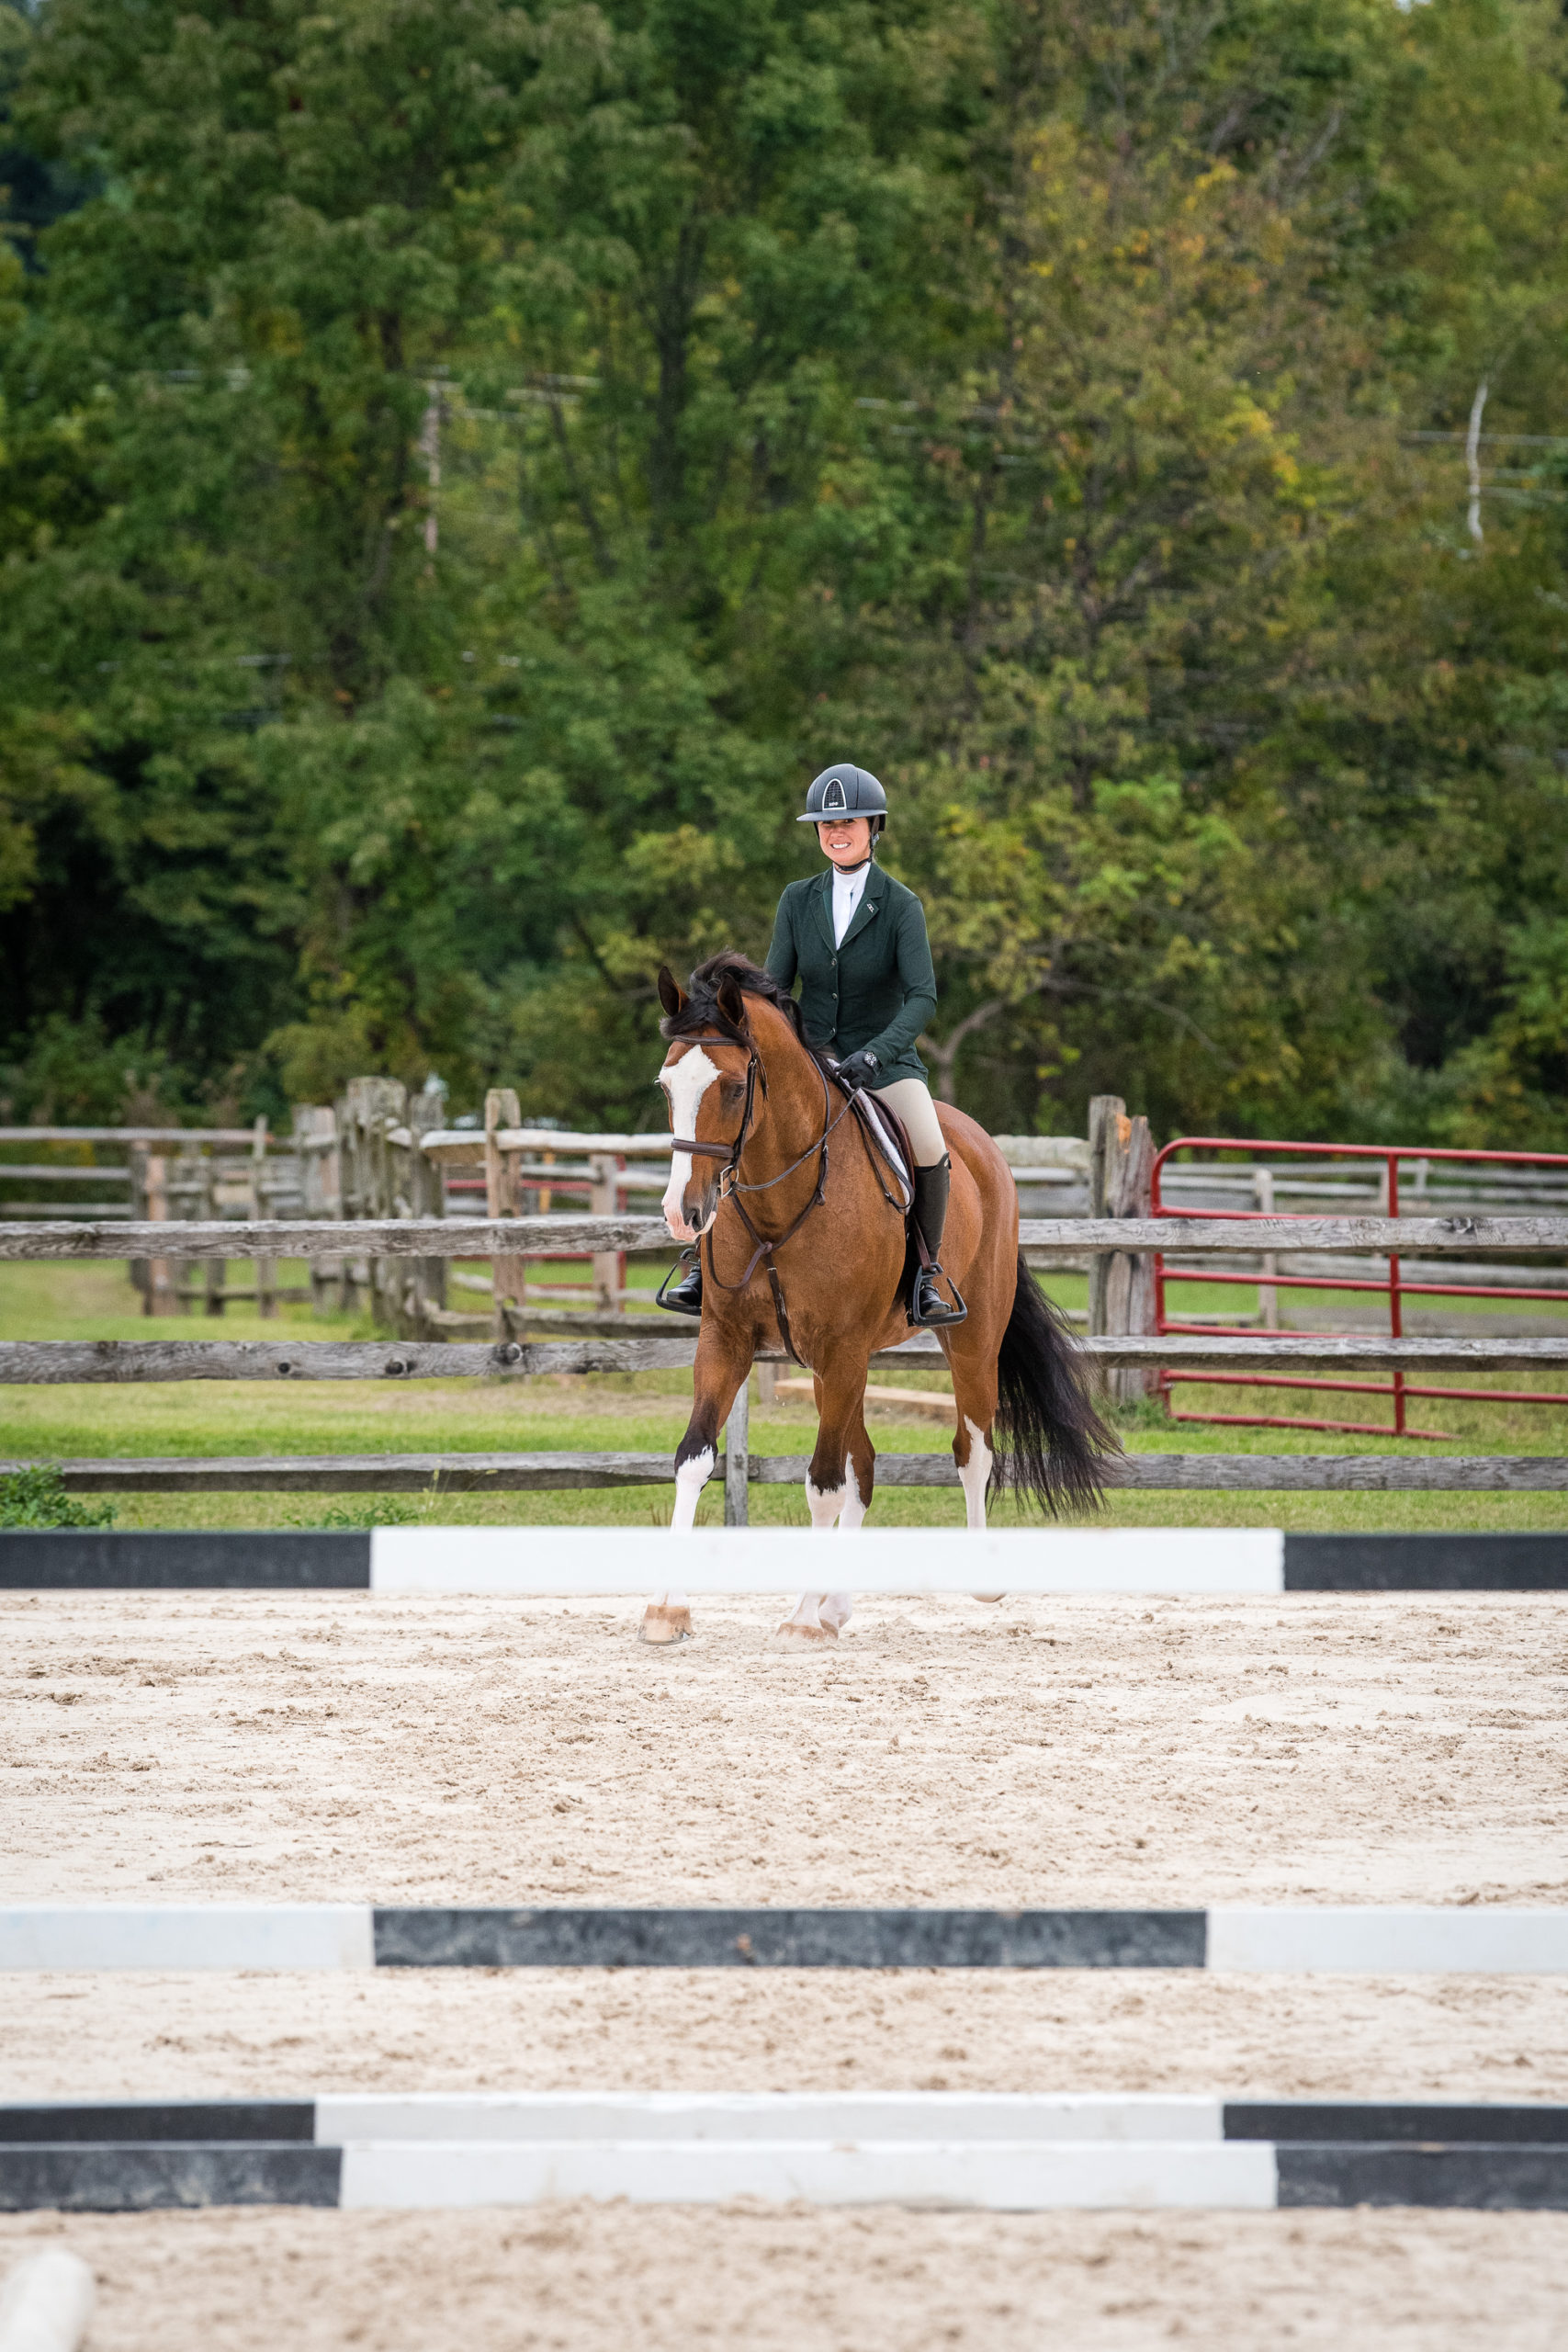
Whether you ride in the ring or the schooling area, use this time to loosen up and limber your horse on the flat. Walk, trot and canter in both directions, practice a few transitions and lateral work by moving him off your leg a little in each direction. Focus on producing your horse’s ideal canter: a steady, rhythmic canter in which he carries himself so you can ride with light contact. If you’ve worked on this a lot at home, you shouldn’t have to spend too much time organizing and balancing the canter. If it does need a little tune-up, practice some counter-canter and transitions. Keep the entire session under about 30 minutes.
Some horses benefit from a brief longe before this flat session. However, if you’re showing later in the day, those benefits might wear off by then. In that case, consider longeing your horse about an hour and a half before the class begins. Always be sure to do this in an area the show organizer has designated specifically for longeing. If your horse is on the fresh side and needs to blow off a little steam, longe him in just a bridle with the reins crossed and looped through his throatlatch and the longe line passed through the bit ring, over his poll and to the bit ring on the other side. Let him shake his head and play on the line in both directions for about five minutes.
If your horse needs to develop more collection, before mounting longe him briefly in side reins or bungee reins (a long, elastic cord run over the horse’s poll, through the bit rings on either side of the bridle, then between his front legs and attached to a ring on the girth/longeing surcingle). If he’s older and arthritic, though, avoid longeing, which can aggravate stiff joints.
During both the early morning and later warm-ups, try to make the schooling area a pleasant place for your horse. Go with the flow of traffic when you can and avoid difficult-looking/unfriendly horses (often identified with red ribbons on their browbands and/or tails). Stay calm and relaxed and focus on making your horse comfortable in his new surroundings.
At the end of the early warm-up, take your horse back to the barn and leave him alone to go to the bathroom and rest in his stall until it’s time to get ready for your class—even if that’s only for five minutes.
When trailering to a one-day show, make a similar plan to suit your particular horse. If he’s the type who would benefit from getting into the show ring or practice ring (if one is available) before the show starts, arrive early enough to do that. Or consider riding or longeing him at home before you leave, to stretch him out and take the edge off, if that’s easier. Most horses come off the trailer at new places bright-eyed and more energized than usual. So schedule enough time to settle him in when you arrive. Show him the sights by riding around the showgrounds and warm-up area or longe him briefly. Then take him back to the trailer and his haynet and give him a few minutes to mentally unwind before preparing for your class.
Warm Up Over a Vertical
We generally recommend mounting for your second warm-up when you have about eight riders to go before your turn. This time, do an even more abbreviated flat school just to loosen up your horse. This is not the time to overhaul his flatwork—save his energy for the jumping efforts in the ring.
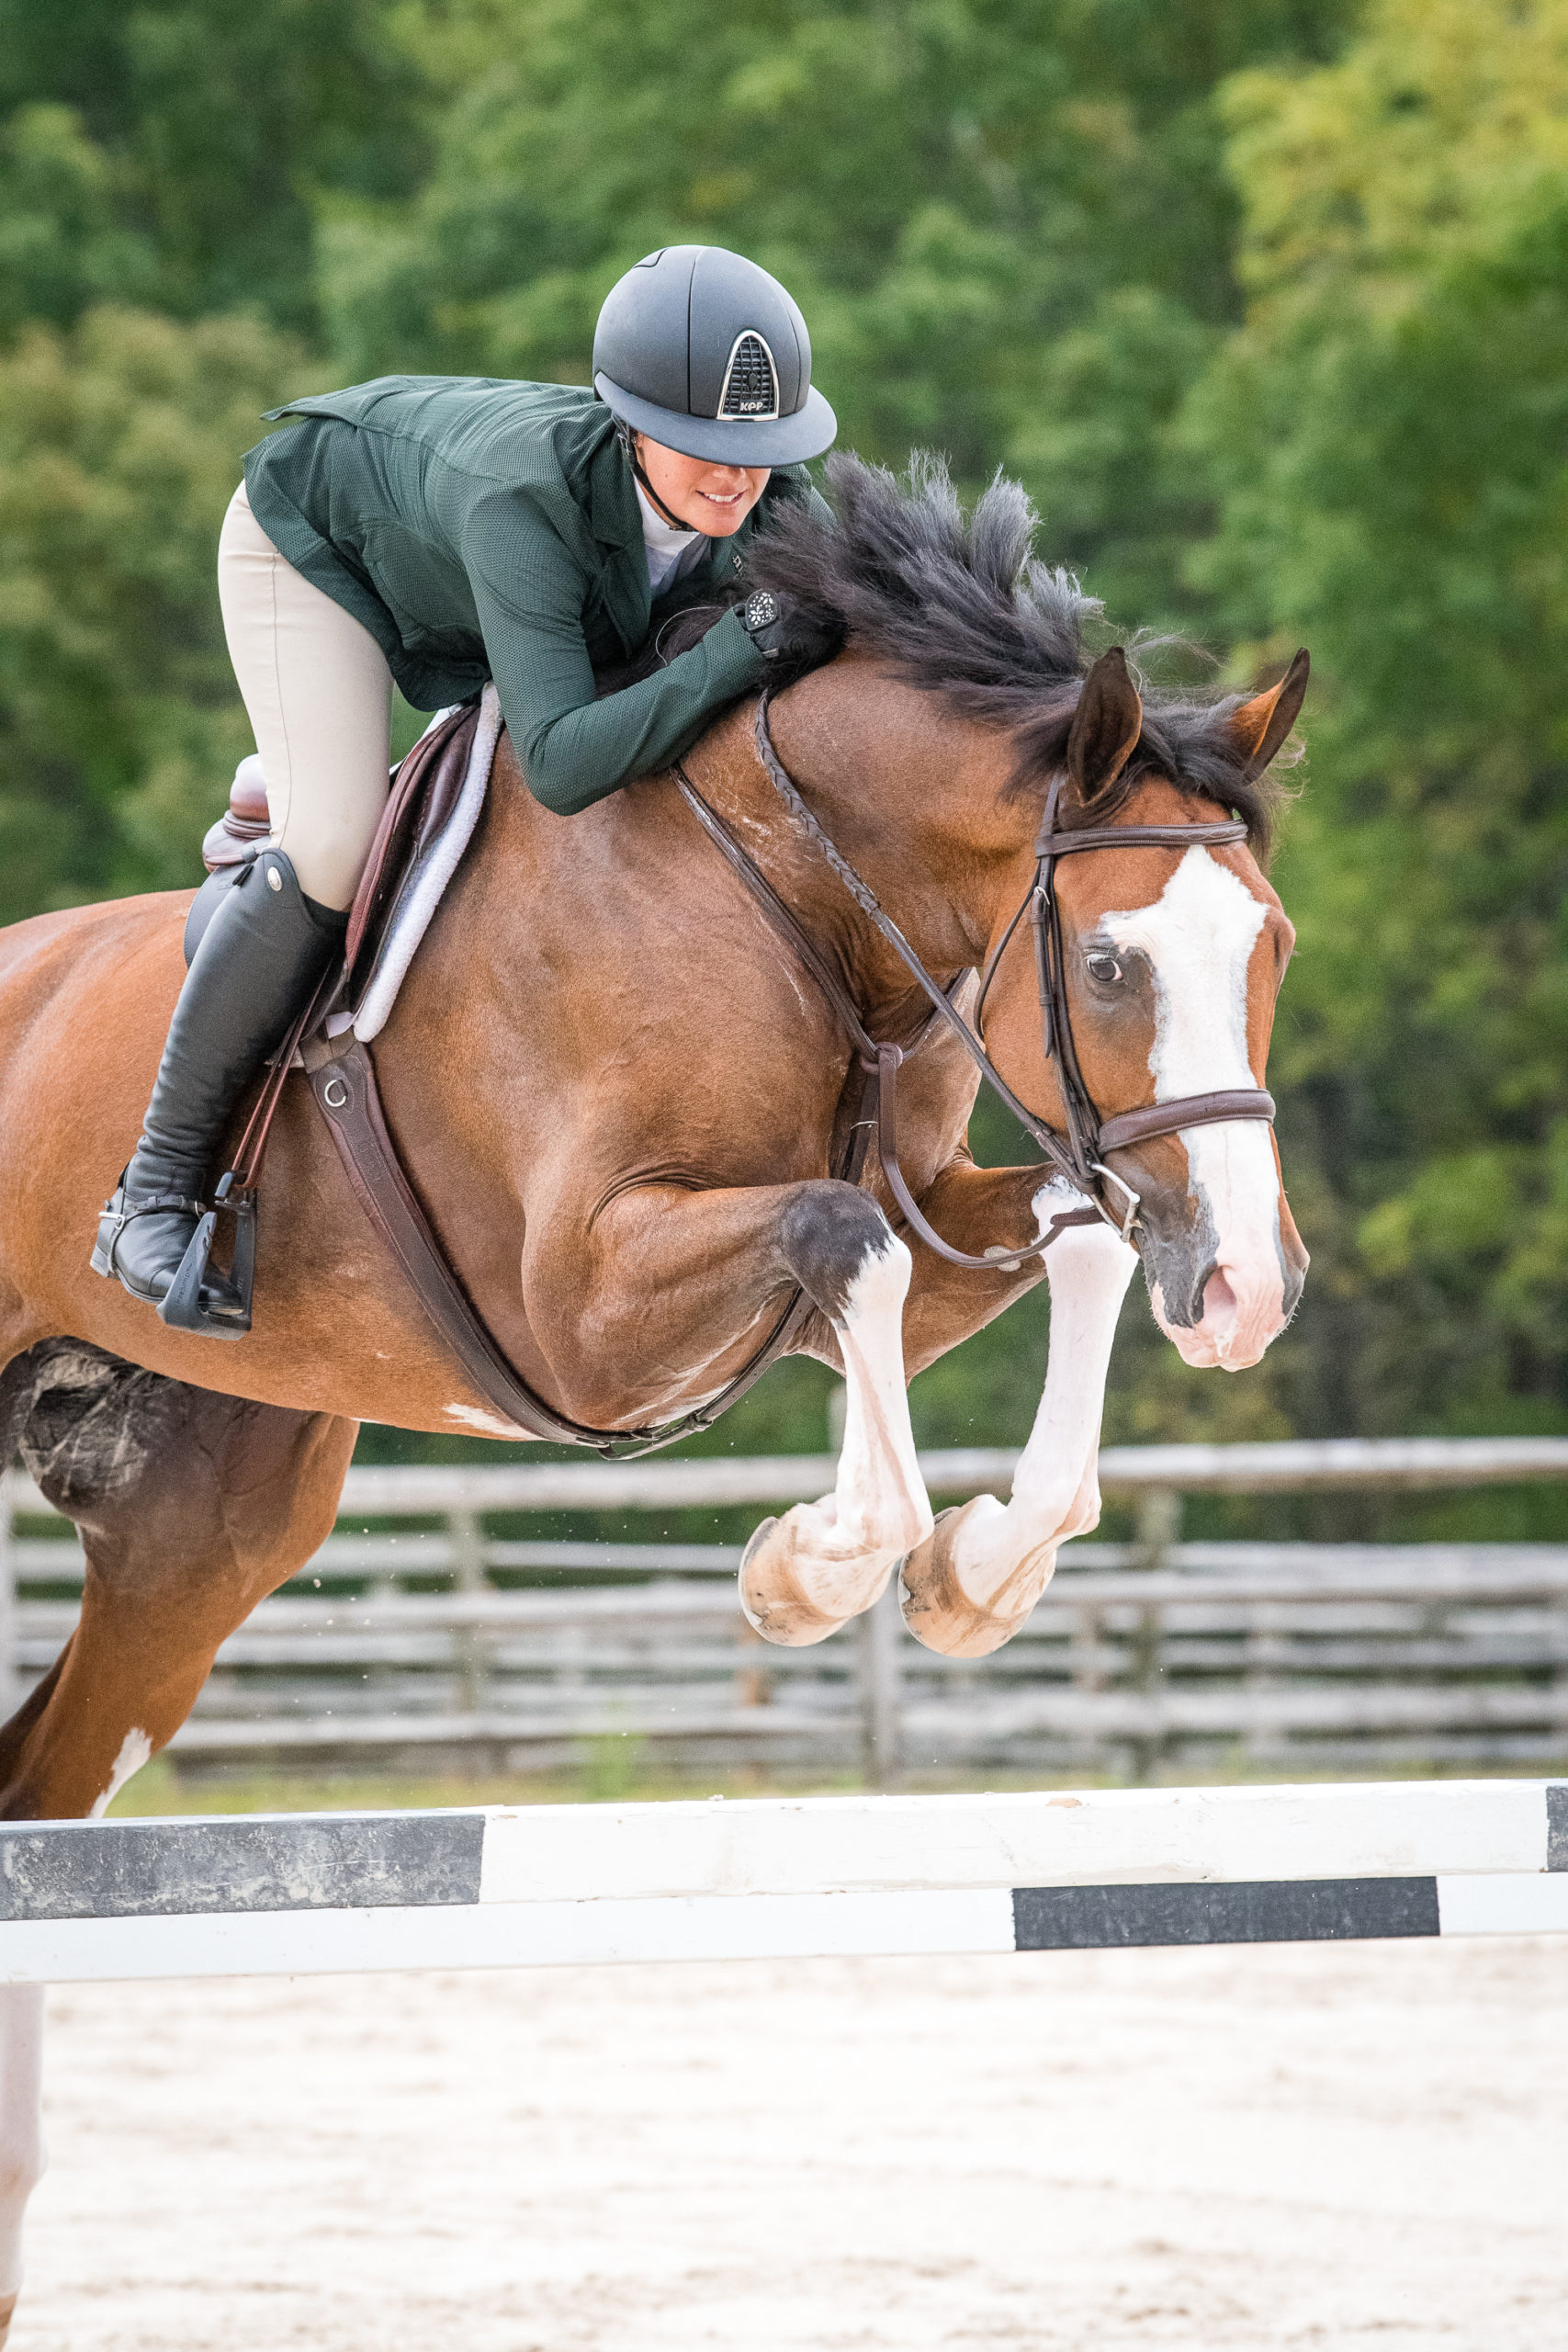
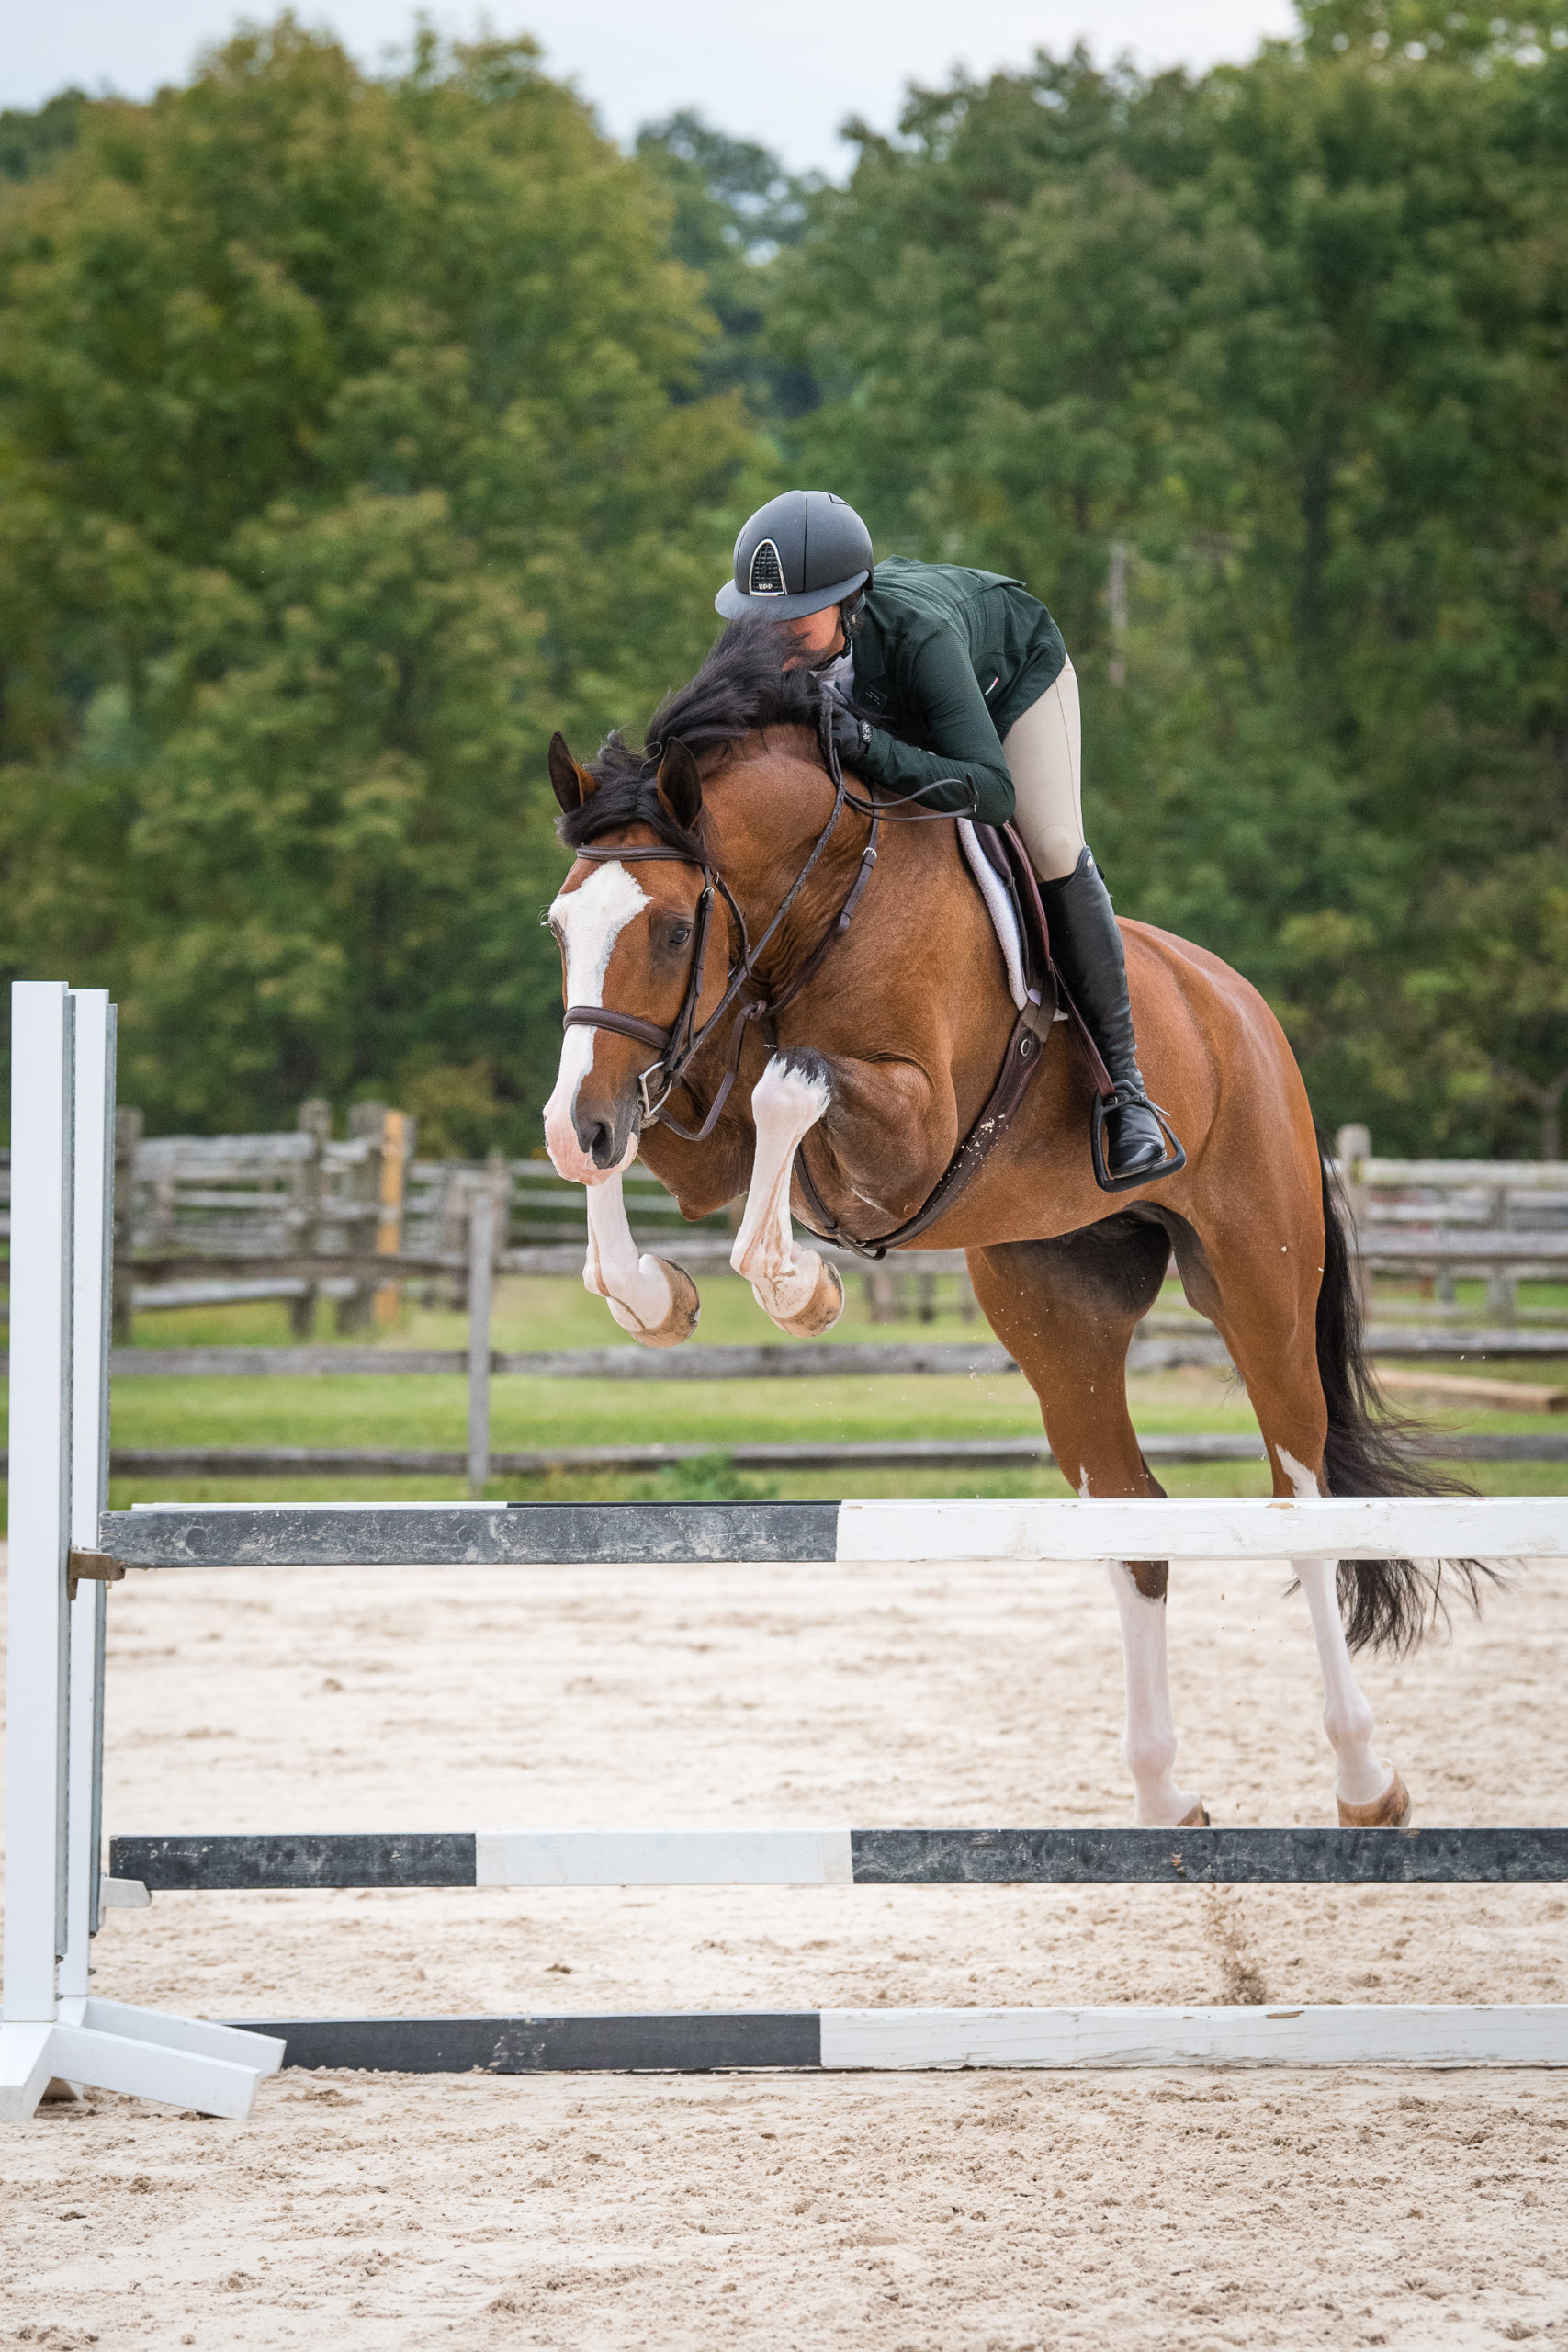
Start jumping when you are four horses out. Begin over a very small—18-inch—vertical with a nice ground line (a pole rolled 4 or 5 inches from the base of the fence) to help your horse judge his takeoff. Approach the vertical in a collected canter on your horse’s weaker lead, aiming to land on the same lead. (It’s usually easier to hold the lead over a vertical than a crossrail.) We emphasize this skill in the beginning of the warm-up to improve ambidexterity. By focusing more on his weaker lead initially, when he’s fresher, you’ll get him thinking more about landing on that lead, which will improve your chances of getting and keeping it when you need it in the ring.
Canter around the turn with a slight inside bend, feeling contact in both reins to ensure that your horse’s body is straight as he approaches the jump. Stay quiet in your upper body and wait patiently for the takeoff, trying to get to a slightly deeper-than-normal distance. Think of the jump as a cavalletti or just another canter stride. As he steps over it, follow his motion by gently closing your hip angle and relaxing your elbow, but don’t give a full release as you would over a bigger jump.
Repeat this several times, focusing on keeping your horse straight through his body and holding the lead. Concentrate on the landing, as well, being sure he stays straight, organized and in front of your leg. Remember, the landing of every jump affects the approach to the next jump. If he changes leads in the air and lands on his stronger lead, continue straight for several strides before making a simple change through the walk or trot. We don’t recommend practicing flying changes during your warm-up because it makes horses anticipate the changes too much.
Next, test your horse’s ambidexterity by gradually raising the vertical, still approaching on his weaker lead each time. As the jump gets higher, most horses will eventually land on their stronger lead—because that’s easier for them—even though you approached on the weaker lead. At this point, begin alternating the approach on your horse’s weak and strong leads, aiming to jump the vertical a total of five or six times. If he is extremely ambidextrous and continues to land obediently on the weaker lead, start alternating the approach after the second or third effort. If he doesn’t land on the lead you intended, continue cantering around the turn in the direction he chose (for example, if he landed on his left lead, turn left), then make a simple change through the trot or walk and a large loop to reverse direction. The next time you approach the fence, focus on keeping him very straight and try not to let him cut in the direction of the lead you are trying to land on.
As you approach each jump, keep the stride balanced and a little shorter than you’d ride in the ring. If you’re a more advanced rider, look for what we call a “warm-up distance”: allowing your horse to gently close past the distance, arriving about 1 foot closer to the jump than he would with a normal takeoff in the ring (a “ring distance”). This will challenge him to work a little harder on takeoff, putting more effort into rocking back onto his hind legs and snapping up his front end. When he gets in the ring and you open up the stride and allow him to take off from slightly easier “ring distances,” he’ll translate this extra effort you produced in the warm-up into more athletic, brilliant jumping efforts.
It takes lots of practice to train your eye to choose either a warm-up or ring distance. If you have not reached that level yet in your riding, focus on just being as consistent as possible. Instead of overcorrecting the approaches when they don’t feel quite right—riding a too-long distance, then riding the next one too short, then the next too long—try to make each jump the same.
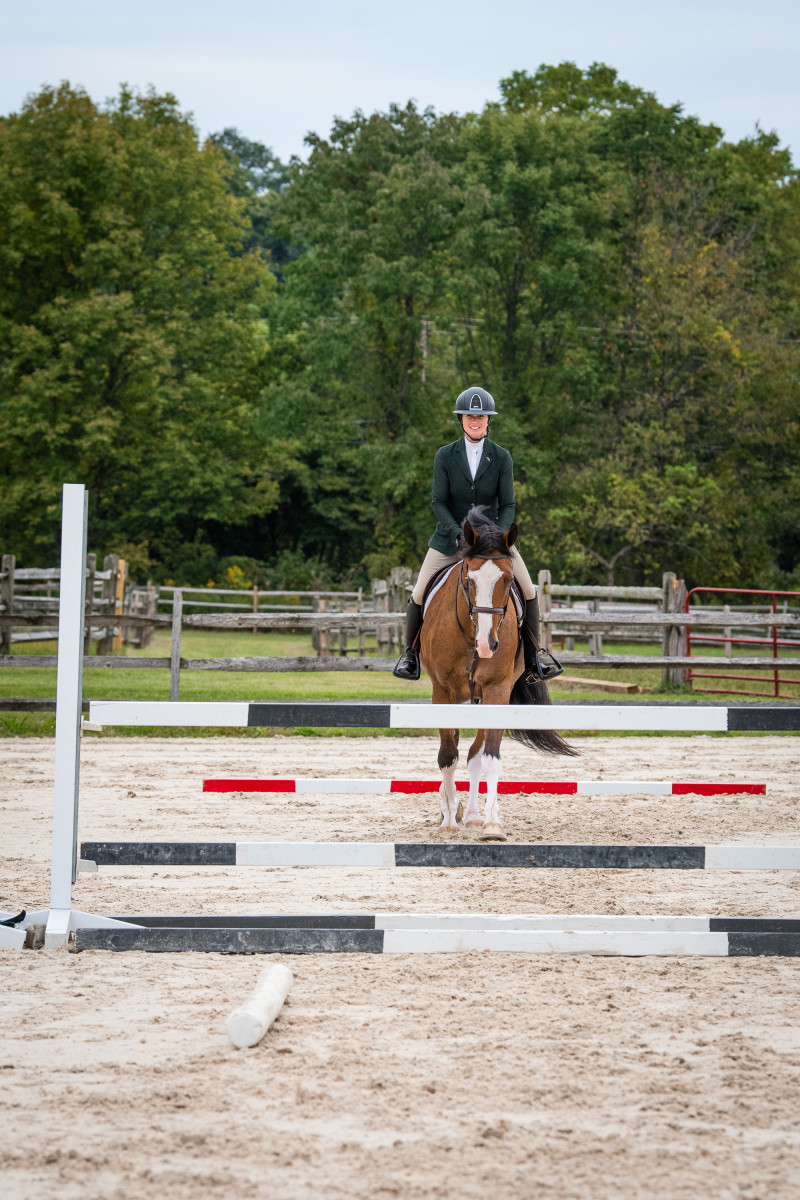
Next, take a walk break and visualize the course in your mind. Rather than dwelling on the hardest jumps or turns on course, give yourself something positive to focus on, like the nice rhythm you plan to develop in the beginning of the course.
Progress to an Oxer
After your walk break, canter to the vertical one more time on your horse’s strong lead before starting over a square oxer (front and back rails of equal height). This will encourage him to jump across the fence more while still asking him to rock back onto his hindquarters on takeoff and be careful over the front rail with his forelegs. Make the oxer about the same height as the vertical you just jumped, but fairly narrow (with the feet of the standards touching) with another nice ground line. Canter to this with a more open stride, yet still even and rhythmic. On takeoff, think of holding your upper body slightly more upright so that he can rock back to you.
Jump this oxer once off of each lead, then widen it by about 1 foot to remind him that the back rail is there. How you progress from here depends on your horse. If he tends to be a little too forward to the jumps, keep the oxer square so the front rail backs him off a bit, making him a little slower off the ground. If he needs more encouragement to jump across his fences and canter more strongly away from them, ramp the oxer (make the front rail a hole or two lower than the back rail). Go with the motion over a ramped oxer more than over a square oxer—not throwing your body forward but allowing your hips to close a bit more, which will encourage him to carry more power across the fence.
Gradually build this oxer up to ring height as you jump it four more times, alternating leads in your approaches. Don’t try to psych yourself out by jumping lots of big fences. The bigger heights on course will be easier to tackle because you’ll be riding with more pace. It’s OK to stick to slightly smaller jumps in the warm-up if your confidence needs a boost.
Finesse the Jump
As you’re schooling the vertical and oxer, use the following tools to correct common problems:
• Placing rail. If you’re having trouble arriving at consistent distances, place a rail four strides in front of the fence (about 56 feet, depending on the size of your horse’s stride—add another 2 feet if he’s especially big-strided). As you canter over it, count the next four strides to the fence out loud to help you stay patient and still.
Amy K. Dragoo/AIMMEDIA
• Counter-canter. If you’re having trouble maintaining your horse’s balance and/or keeping him straight in the approaches, try counter-cantering around the turn on his difficult lead. (So, for example, if you have trouble with his right lead, ride the right lead in a counter-canter around a left turn to the jump.) This will allow you to sit in the saddle, put your leg on and keep him more organized. It will also give you better control over his shoulders, so it’s easier to keep him straight.
Amy K. Dragoo/AIMMEDIA
• Landing rail. If your horse tends to shift right or left over the jumps, place a rail on the landing side perpendicular to the fence on the side he tends to shift toward (so, for example, on the left side if he tends to shift left). When horses see an obstacle like this on the landing side of a jump, they naturally straighten themselves in the air to avoid landing on it. We bring a vinyl-covered foam rail to the schooling area for this purpose, but you can use a regular pole so long as you’re careful not to let your horse land on it, which can cause serious injury. According to U.S. Equestrian Federation rules, a landing rail must be at least 9½ feet from the jump.
Start with the rail on the outer edge of the track. Then ask your ground person to roll it in several inches more after each jumping effort until your horse notices it and straightens himself out—again, being careful never to roll it so far into his path that he might step on it. How far in you have to roll the rail will depend on how reactive your horse is. (Beware: If you roll it in too far too soon, and he’s particularly spooky, he might stop at the fence and toss you onto it!) As you ride to the fence, don’t try to straighten him with your reins. Let the rail do the work.
• Swedish oxer. This is another useful tool for correcting a horse who tends to shift right or left or get crooked in the air over jumps. After you’ve jumped the square oxer a few times, turn it into a Swedish oxer by lowering one side of the front rail and raising the other side the same amount, then lowering and raising the opposite sides of the back rail. Be sure the difference in height between the high and low sides is no more than 18 inches, as required by USEF rules. Make the high side of the front rail the same side toward which your horse tends to drift. (So, for example, if he drifts right, make the front rail higher on the right side and the back rail higher on the left side. As with the landing rail, ride to the jump as you normally would and let the rails do the work.
Amy K. Dragoo/AIMMEDIA
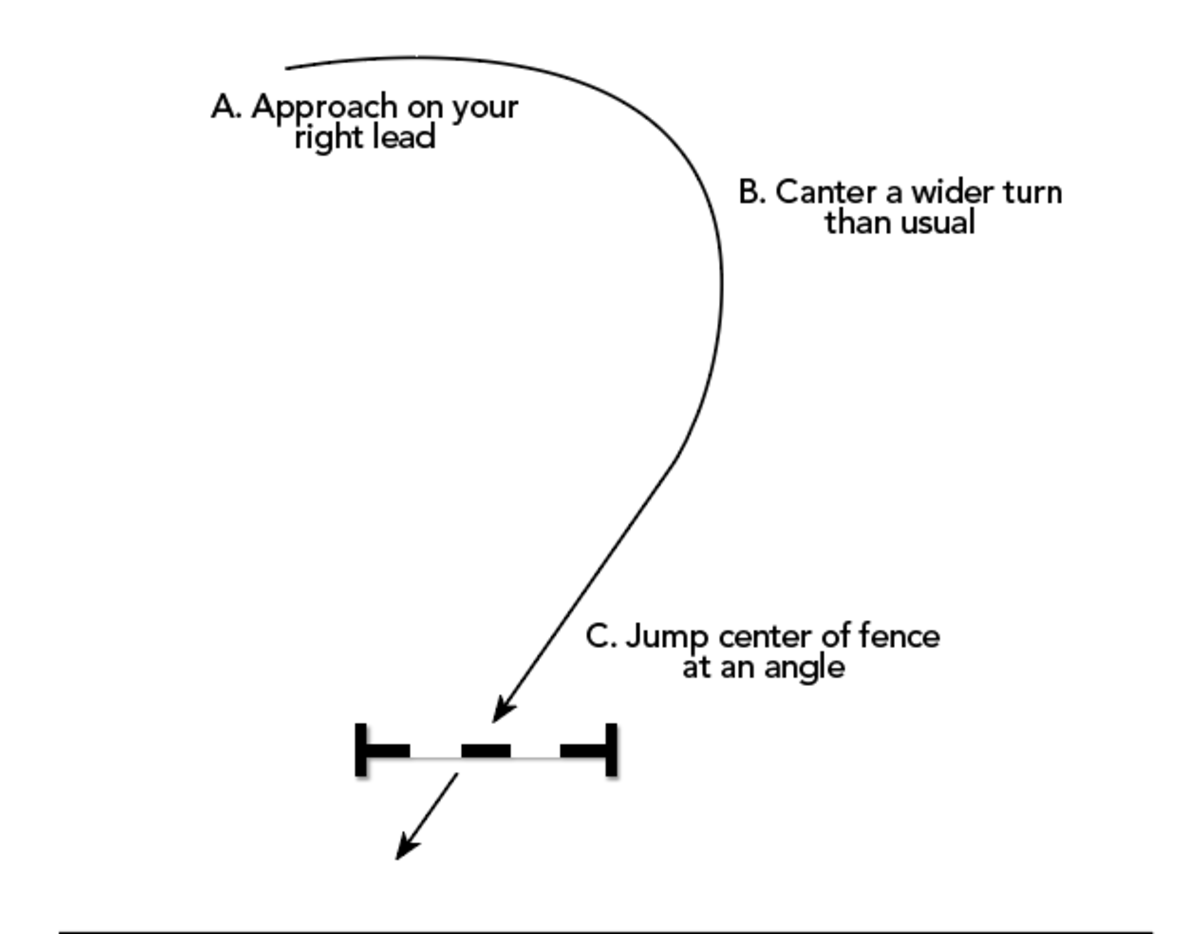
• Angle jump. Jumping a fence at an angle is another good way to straighten a horse who tends to get crooked. Canter a wider turn than usual, so that you slightly overshoot the normal straight line to the fence and have to turn back toward it. If you’re approaching on the right lead, for example, this will put you on a line angled from left to right (still jumping over the center of the fence). Every horse is different, so try angling the jump from both leads to see which one improves your horse’s technique more.
Amy K. Dragoo/AIMMEDIA
Old habits die hard—and it takes a lot of repetition to correct them. But horses are smart: They’ll hold themselves straight when the jump requires them to. So if your horse struggles with one of the above problems, practice the applicable tool at home until he is comfortable jumping correctly. Then give him a brief refresher in the warm-up. Two or three repetitions should be plenty.
End on a Good Note
After schooling the oxer, if you feel compelled to practice just one flying change on your horse’s more difficult direction, ride away from the jumping area and practice that change just once on the flat. Then return to the jumping area for your final fence or two.
Try to make the last jump you do before entering the ring a good one, which we know is easier said than done. The first jump or two on course are typically verticals, which require a different balance than oxers. Horses need to sit back on their hocks more on takeoff to produce a good arc over them. So go back to a vertical with a nice ground line for your final jump. If you’re unhappy with how your horse jumps it, try one more time—but be careful not to fall into the “just one more” trap. Jumping too many times in the warm-up can overtire him, draining the energy he needs to produce his best performance in the ring. Don’t be a perfectionist! Err on the side of doing too little rather than too much, and finish on the best jump you can achieve in no more than two or three tries.
Each time you show, take note of which variations of this warm-up routine seem to suit your horse’s particular needs. With enough practice, you’ll develop a plan that brings out his best performance every time.
About Cassie Kahle and Emil Spadone
Cassandra (Cassie) Kahle grew up in Canada riding at her mother’s Silver Fox Horse Sales. In 2009, she won the ASPCA Maclay Regional Finals in Washington state, was the reserve national champion in the Canadian Equestrian Team Medal Final and competed in the ASPCA Maclay National Championship. Since then, she has become a top contender in both the hunter and jumper rings. Most recently, she won the $30,000 World Championship Hunter Rider Professional Challenge at the 2019 Capital Challenge Horse Show. Cassie now works with well-known hunter/jumper trainer Emil Spadone at his two Redfield Farm locations in Califon, New Jersey, and Ocala, Florida. In addition to competing at
A-circuit shows up and down the East Coast, Cassie and Emil train students of all levels and buy and sell top-quality hunters and jumpers.
This article originally appeared in the Winter 2019 issue.