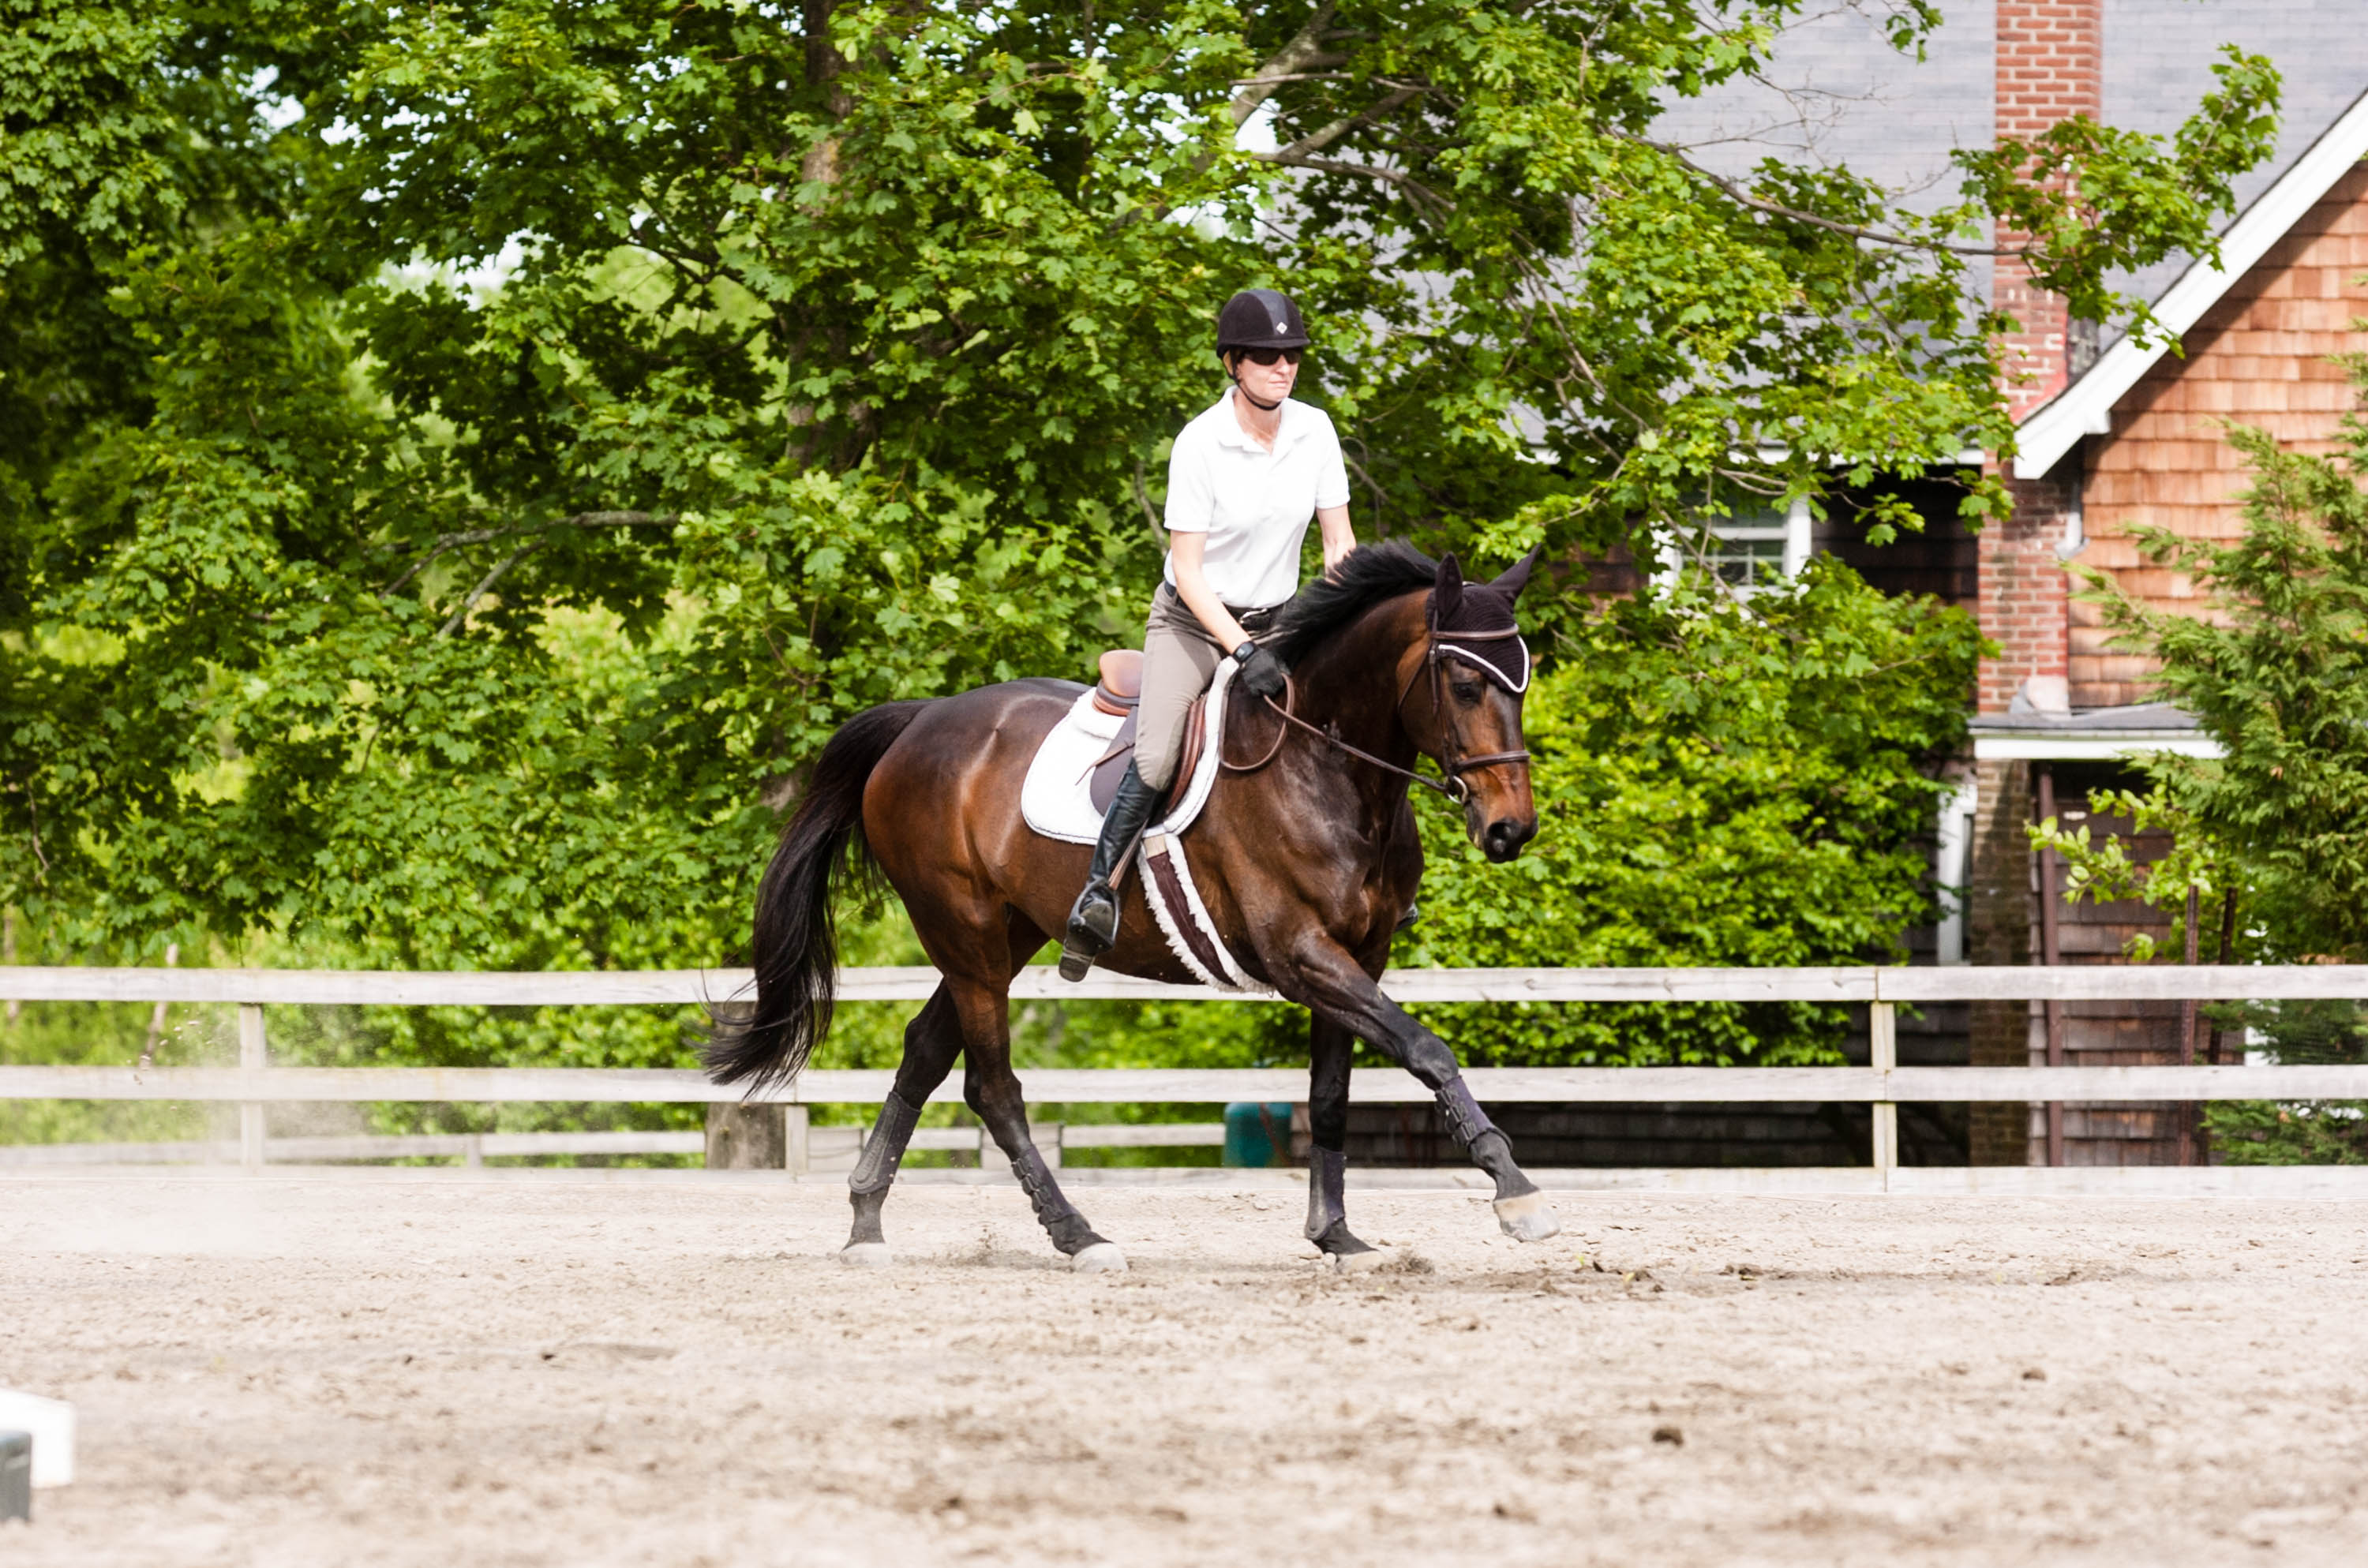
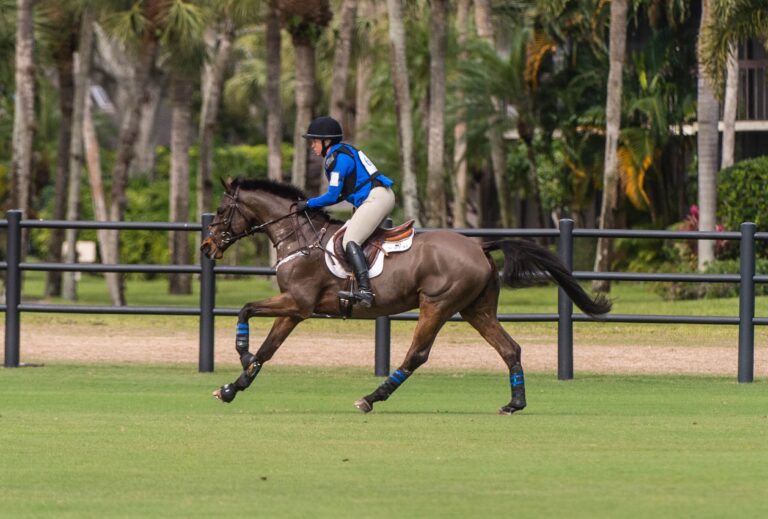
If your hunter seems to panic when you ask for a flying change, here’s help: A simple (that’s simple, not easy) six-step program that enables him to relax and trust you when you put your leg on and take a feel of his mouth–so that when you ultimately ask for a flying change, it won’t seem such a big deal. It will work only if you undertake it with quiet, reassuring riding and a patient mindset. Keeping your horse relaxed and trusting is essential; if he starts to get upset you’re asking too much, or going too fast. Go back, do more work on the earlier exercises, and remind yourself that even though fluid flying changes are your goal, they’re not your only goal. The process itself must be enjoyable for both of you.

Step 1: Teach him to relax and trust your aids.
Pick up the posting trot. If your horse chooses a slightly brighter pace than you prefer, do not give in to your natural instinct to pull on the reins to slow him. Instead, stroke his neck occasionally and speak to him in a low, calm voice. Tell him, “You’re going maybe 2 mph faster than I want you to, but I’m just going to make big circles and not worry about anything. I’ll breathe slowly and rhythmically, I’ll keep my body still, my arms and hands relaxed, giving and taking. At some point, you’re going to relax, too. “
As soon as your horse responds with a sigh of relief and a lessening of tension, you can begin “riding” him a little. Using approximately half of the arena, put him on a circle, applying a rhythmic, inside-leg pressure to encourage him to bend around and spiral out. If he’s settled and responsive, introduce tighter turns, serpentines, figure eights, and changes of direction. Do trot-walk and walk-trot transitions. Lengthen and shorten a bit, asking with your legs for a slightly faster trot, then with a light rein contact for a working trot. After ten minutes or so, he should be quietly performing both longitudinal and lateral movements without resisting your leg or rein contact. Give him a breather. Then repeat the entire program at the canter, making sure you walk to change direction.
Step 2: Change his bend without changing his lead.
Pick up a right-lead canter on a comfortable circle. Lay your legs against your horse’s sides: relaxed, neither driving him nor completely off him. Do the same with your hand, riding with a soft but definite contact. After a couple of circles, keep him on the circular track with a supporting leg (inside leg at the girth, outside leg a hand’s breadth behind the girth) while you very carefully bend him a little to the outside with an opening left rein. Go six or seven strides; straighten him for a few strides; then reverse your leg positions and use an opening right rein to bend him to the inside. Straighten him again, and return to the left bend. When that’s going well …
Step 3: Prepare him for flying changes.
In our original scenario, what usually happens when you come off the rail? Your horse immediately panics and thinks, “Eek! She’s going to go across the diagonal and ask for a flying change!” You’ll start to reprogram him by riding a very shallow 5-foot-wide serpentine or bending line. Pick up the right lead canter and start down the long side of the arena, keeping contact with both legs and both reins but using primarily a guiding inside-rein and outside-leg pressure to suggest, mildly, that he merely “fade” away from the rail.
Your objective is to see that he stays perfectly comfortable and experiences no change of balance, ensuring that he won’t brighten up and panic under the assumption that you’re about to ask for a flying change. Ride a few strides, until he’s come about 5 feet in; then, again using both reins and legs but with subtle left-leg and right-rein pressure, suggest that he ease back onto the rail. His reaction at this point should be “Hey, I just followed those little bits of pressure, I didn’t change leads, and my rider is happy. Maybe I shouldn’t worry so much!”
Ride as many loops as you can comfortably fit in, planning them so you can still turn a balanced corner to the right. Do the serpentine three more times to the right; then reverse and do it four times to the left. When it begins to feel pretty ho hum for your horse, move on to…
Step 4: Develop the counter-canter.
Pick up the right-lead canter. Sit halfway between a two-point galloping position and a deep seat (on your crotch, but with some weight in the saddle), and spend a bit of time relaxing and following the motion. (You’ll ruin things if you freeze up or stiffen!) Turn onto the long side and ride several straight strides before turning in on a diagonal. (This is important: You don’t want to turn across the regular diagonal and risk your horse’s worrying about what he perceives as an inevitable-and upsetting-flying change.) Using the soft left leg and right rein noted in the previous exercise, turn off the rail and onto a shallow diagonal track
When you’ve come between about 50 and 80 feet from the rail, guide your horse onto the center line, keeping him from thinking “lead change” by using your left leg to hold the right lead. Prepare him to make a roomy, gradual swing to the left by turning your head and looking in that direction. As he moves around to the left, keep him bent slightly right with your right leg at the girth and hold your left leg against him-so he understands he’s to keep his haunches toward the rail and continue cantering on the right (counter) lead.
If he flows around the turn, that’s wonderful! If he breaks to trot, start over, remembering this time to add more leg to keep him cantering. And if he changes in front, very calmly ask for the trot, regroup, and try again. (By the way, if your arena is smaller than desirable, don’t try to create more space by riding corner to corner. You’d set up exactly the environment he most fears, and he’d be unable to focus on the simple tasks you’re setting him. Instead, accomplish almost the same result as the half-turn in reverse by riding a deeper single-loop serpentine than you did in Step 3.
Step 5: Teach him not to anticipate.
I call this step, “Oh, no! Oh, no! Oh–it’s only counter-canter!” Although this pattern is really just a more elaborate version of what you’ve already practiced, it will dramatically help you teach your horse that an upcoming corner is no cause for panic.
Pick up the right-lead canter and cross the arena on a normal diagonal line. The closer you get to the corner-the place where he’s most likely to worry about getting kicked and jerked-the more critical it is for you to remain completely relaxed, especially through your arms and hands. Using the aids described in Step 4, counter-canter through the corner across the short side. Do not turn across the next diagonal-because immediately leaving the rail, even when returning to the direction of the lead your horse is on, can still prove traumatic. Instead, continue down the long side and most of the way across the next short side, only then coming across another shallow diagonal.
Once your horse remains completely relaxed performing this pattern in both directions, it’s time to…
Step 6: Ask for the change!
Finally, you are ready to ask for a flying change–but not in the conventional manner.
I normally teach my students to think of accomplishing a lead change as a two-stage process: first ensuring that the horse is straight, balanced, slightly slower, and off his front end; and only then applying the aids to request the actual change. But in this case, it’s necessary to eliminate the normal careful preparation-because the preparation in and of itself can act as the trigger that upsets him. Instead, try this:
Pick up the right lead canter and ride various circles and patterns to relax and balance your horse while convincing him that a flying change is the last thing on your mind. When he’s soft and happy, canter a circle in the short end of the arena. Leaving the circle, ride no more than 30 feet across the diagonal–a longer line will give him too much time to worry and anticipate. As you approach the 30-foot point, take two strides to straighten him; then, using more left hand than leg (but without jerking), bend him left and ask for a fairly sharp left turn.
Now, as tempting as it may be to add right leg to ask for the change, don’t! Remember, the lead change is not the point at this time–your horse’s trust is. And the way to keep that trust is to use the calmness you’ve established, the smallness of the pattern, the sharpish turn, and his change of balance to let him understand he’ll be more comfortable seeking the new lead.
If he quietly gives you a clean change, stay on the new left lead for a few minutes while you fuss over him extravagantly. Then resist the urge to drill; call it a day and don’t ask again.
If he calmly breaks to trot, he’s made what I call “an error in the right direction.” Without remonstration, pick up the right-lead canter and try again.
If he changes in front only, slow and continue to bend him left until he changes behiund. Keep cantering for a few minutes and begin again.
If he stays on the right lead and doesn’t change, not even in front, you need to be more clear about changing his bend. However, his staying relaxed is your number-one priority, so don’t think, “Well, that didn’t work. He didn’t do it.” As long as he’s calm and listening, you were both successful!


