Come to think of it, I have lived most of my life at the gallop … the important parts, anyway. My first memories are of horses, and most of those memories involve speed. I have been lucky enough to spend my life with horses and done many different things with them, but the only times I feel truly comfortable on horseback are when I rise up off my four-legged pal’s back, he breaks into a gallop and we head out into the country with a “let’s see what happens next” attitude. Galloping in partnership with half a ton of living, moving, graceful, athletic creature gives me a thrill that I would never be able to get from a pet hamster.
Galloping Mechanics
I appreciate my horse’s other three paces: walk, trot and canter. My father, quoting a U.S. Cavalry conditioning axiom, said that a rider should “walk for muscle, trot for balance and gallop for wind.” Each of these paces has its use, and certainly you can improve your horse’s wind using the canter—but the canter and the gallop are distinctly different due to both mechanics and velocity.
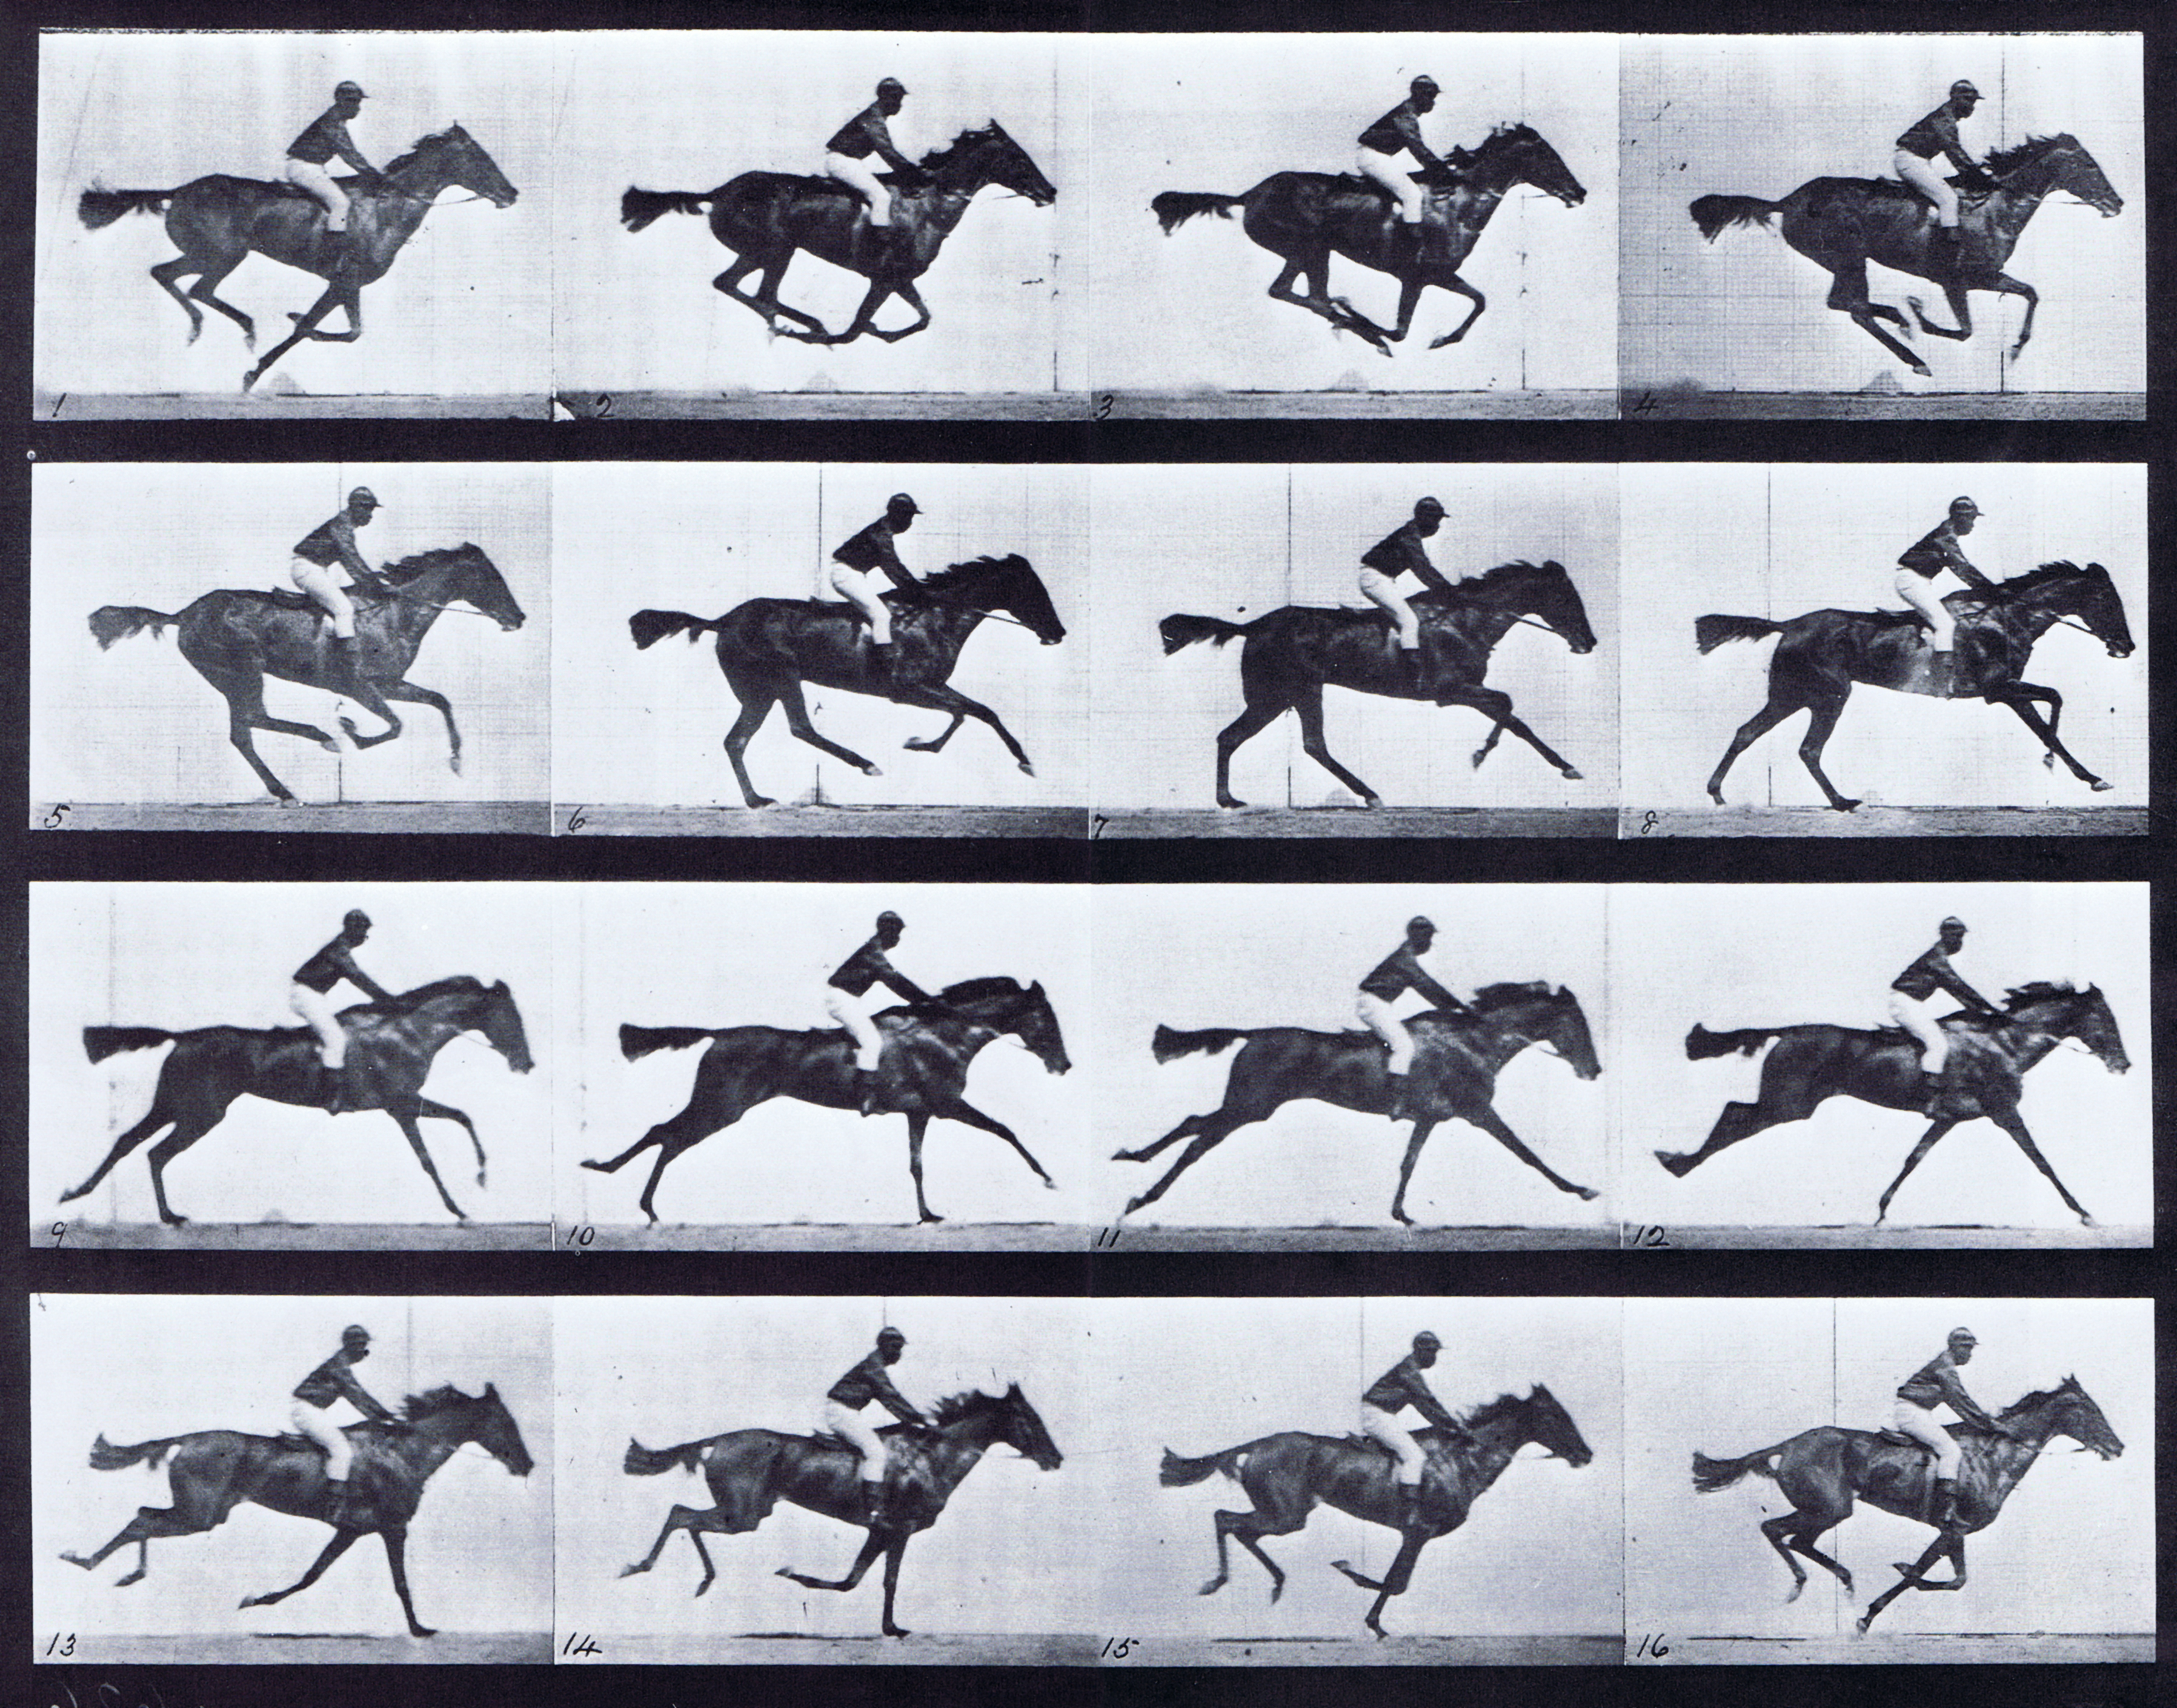
Mechanically speaking, the canter has three beats followed by a period of suspension. When we speak of a horse cantering on the left lead, for example, we mean that his left, or “leading” front foot will touch the ground last. The sequence of footfalls for the left-lead canter is right hind foot, then left hind foot and right forefoot touching the ground at the same time as a diagonal pair, and finally, the left forefoot touching the ground, followed by a period of suspension. The scientific description of this suspended phase of the canter is called the “unsupported transition.”
In contrast, the sequence for the gallop is four beats followed by a period of suspension. Horsemen describe a horse as galloping on a “lead,” using the same characteristic as the canter: the lead is determined by the forefoot that touches the ground last, meaning that the left foreleg will reach farther forward than the right foreleg. The sequence of the footfalls of a horse galloping on his left lead will be right hind foot, left hind foot, right forefoot, left forefoot, followed by a period of suspension when all four feet are off the ground.
Before 1878, most horsemen believed that the galloping horse always had at least one foot on the ground. A photographer named Eadweard Muybridge used an early version of stop-action photography to prove that there is a period of flight—an unsupported transition—during the gallop. More than a century later, the London Royal Veterinary College followed up this early scientific research with a series of studies to determine the most efficient galloping position for the rider. You can find the results of these studies here.
Thanks to science, we now have a more complete understanding of both our horse’s movement at the gallop and of the galloping position that keeps us in the closest harmony with the horse.
Depending on your horse’s individual paces and conformation, he will change from a canter to a gallop at about 600 meters per minute or about 20 miles an hour. According to some of the Internet sites I visited while planning this column, the top speed an equine can attain for a short distance is 44 mph. If you have been reading my columns for a while, you will know better than to believe everything you read, but you can comfort yourself with the knowledge that regardless of how fast you think you are going, you really are only traveling at about half the maximum possible speed of horses. Small comfort, for sure, but there it is.
See also: The Science of Galloping
Galloping Safety
OK, now you know what a gallop is—what’s next? Because I want you to be safe and secure, we need to talk about your position before you actually gallop. But even before we talk about your position, we’ll talk about using your head about your first galloping experience. If you have never ridden the gallop, then you should absolutely not borrow your friend’s 4-year-old off-the-track Thoroughbred and “take it for a little gallop” because in doing so, you will have created a potentially dangerous experience for yourself. Chances are, if you survive getting badly run away with, you will never again ride outside the confines of an arena.
See also: Cross-Country Speed Magnifies Mistakes
If this is your first experience riding out of an arena or if in the past you have only trail-ridden at the walk, we need to take the “learning to gallop” process slowly. Your first galloping experience should be on a horse who can be kicked into a gallop but will slow down the moment you stop kicking. I’m not sure you should have another horse galloping with you at the same time because even placid horses can find galloping in company exciting. In that event you might find yourself involved in a spontaneous horse race, which is not the point of the exercise.
When I introduce you to the gallop, I will first make sure you are competent trotting and cantering around a large field. The hay field between my stables and my house is about 35 acres, and I have always found that to be sufficient. You might be the sort of rider with little or no experience outside the confines of an arena and you have to be mentally adjusted before continuing the lesson.
Learn to Judge Your Speed
Find a suitable galloping area with enough room for the wider turns you will need to make as your speed increases over the next month or so. I am going to assume your field has excellent footing and is free of hazards such as rocks and groundhog holes because the quickest way to make a sound horse lame is to step in a hole or gallop him on bad footing.
Measure a 400-meter “speed trap” in your galloping area and put markers down at the beginning and the end of that measured distance. Make sure you can see the markers as you approach. (I use meters rather than yards or feet because most of the competitions I prepare riders for use metric measurements.) I set 400 meters as the beginning distance of my speed trap because it is a fast show-jumping speed and most riders will be comfortable cantering at this speed.
Pretty simple so far, right? But wait—although 400 mpm is not much greater than you are already used to, shorten your stirrup length approximately 1 inch. You should be able to maintain your two-point position, where your seat is above but close to the saddle without resting your knuckles against your horse’s neck for balance. With your stirrup leathers adjusted and with vertical stirrup leathers, test yourself at the halt: Rise out of your saddle as if you were posting at the trot, then pause at the top of that motion. Now cross your arms in front of you and keep your balance there for longer and longer periods of time without using your arms to steady yourself. This is more difficult for you to do than it is for me to say. I plan to spend several lessons preparing you both mentally and physically for riding at speed, and shorter stirrups will help you improve your fitness. You will find the shorter stirrups make your thighs and the small of your back become fatigued much more quickly than usual.
Once stirrups are set to the shorter length, canter back and forth through your speed trap, noting the time for each exercise—400 mpm should take you one minute. You may have to train him to accelerate during this section instead of cantering.
Remember, learning to gallop faster is going to be a slow process. Once you can accurately canter through the 400-meter speed trap in one minute, measure a new speed trap with markers 450 meters apart in a different location in the field. Once again you will try to cover the distance in one minute. (You can see the progression I use to develop your ability to ride at speed.) Each time I ask you to go faster through the speed trap, shorten your stirrup leathers an additional inch (roughly an inch shorter for every additional 100 mpm, up to 600 mpm). The faster you gallop, the shorter you have to ride and the more you need to close your hip angle to stay with your horse’s motion.
Chances are your horse will start to anticipate the speed traps and you will have to train him to wait before he goes back through the faster speed trap. Try to stay ahead of him mentally as well as physically.
Using the Pulley Rein
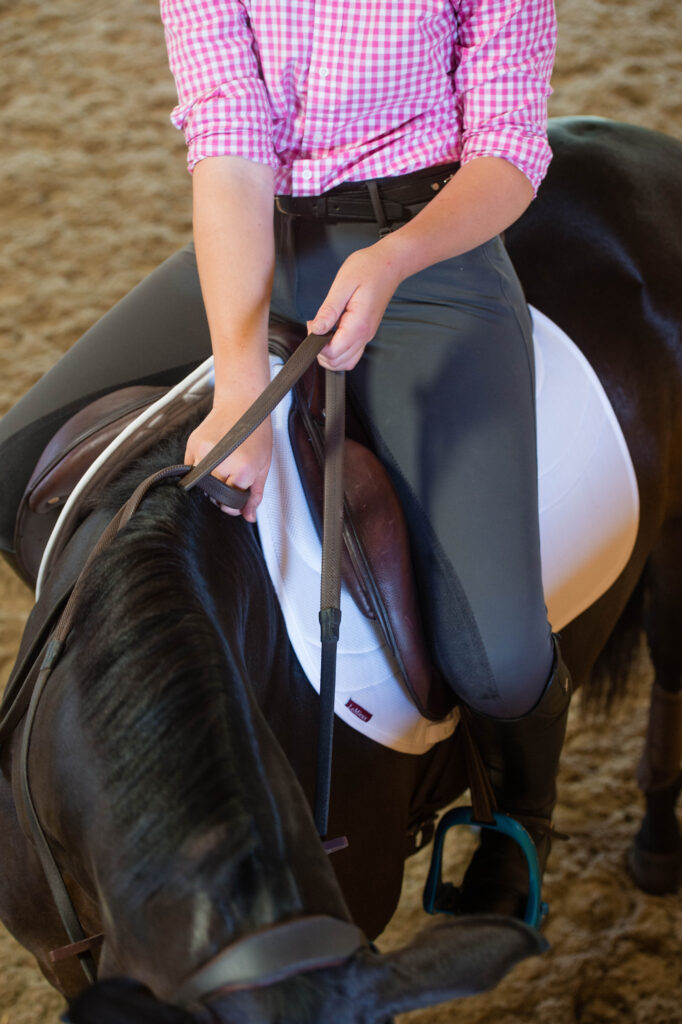
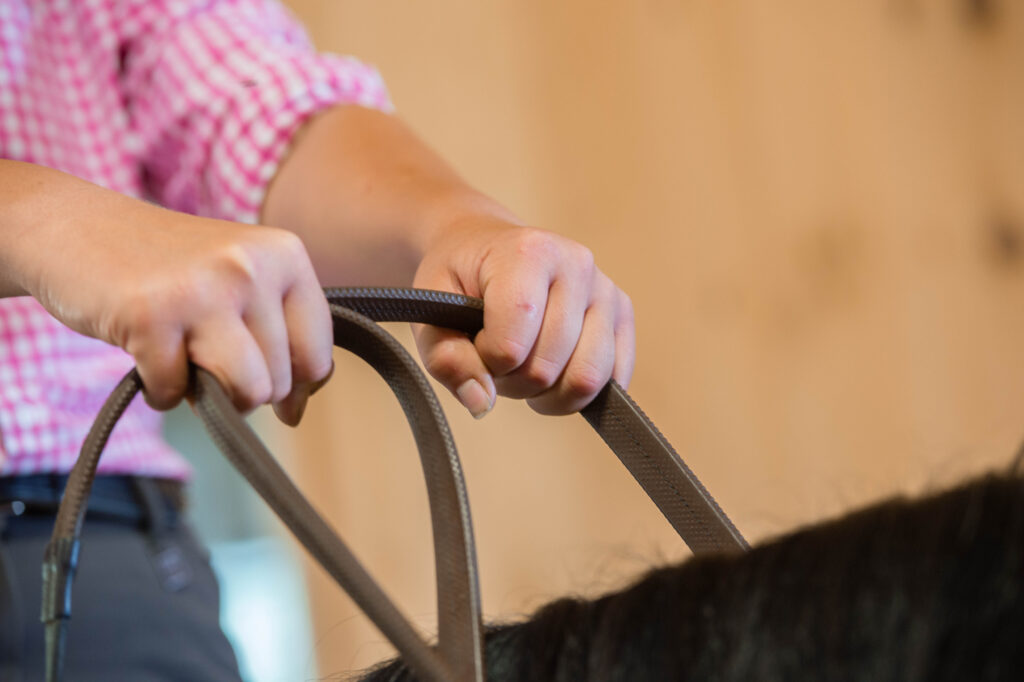
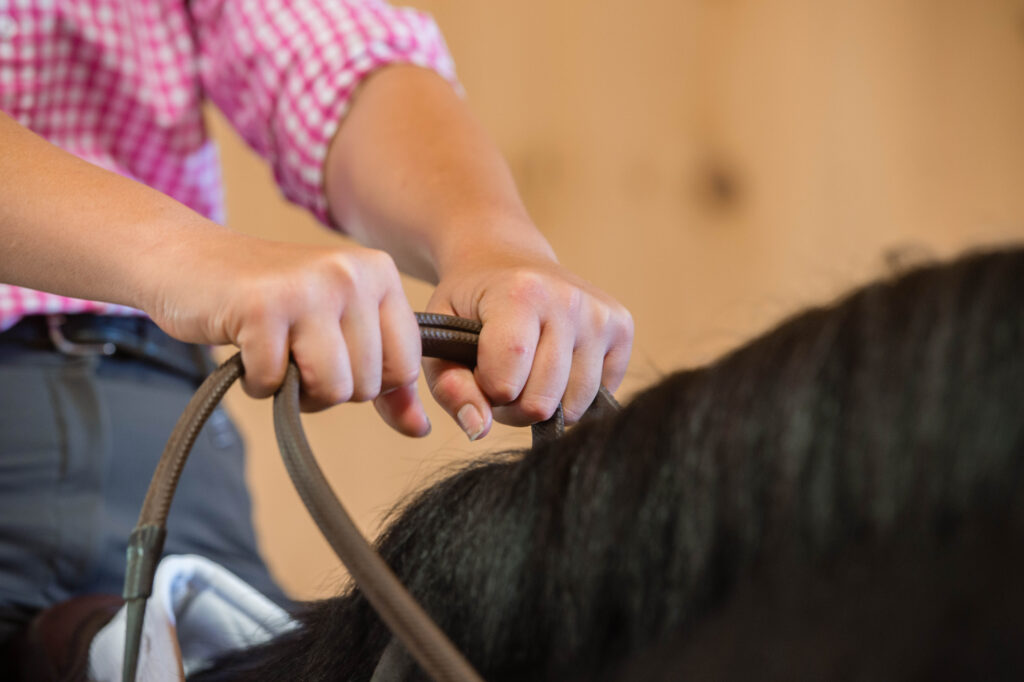
Note that your horse will get fitter during this process and his increased fitness may reflect itself in his other activities. Horses who previously cantered around Baby Novice cross-country courses on a loose rein may wake up and take a keen interest in the sport. This can be fun, but you need to change your training practices as your horse changes. That’s why I want you to know how to use a pulley rein because it is a very useful tool when you are having difficulty controlling your horse’s speed.
| © Amy K. Dragoo
If your horse is not listening to your usual aids to slow down, shorten your reins slightly, put your left hand all the way across your horse’s neck in front of his withers and press your left hand down toward his right shoulder. At the same time, bring your right hand straight back toward your right hip. As your horse slows, make sure to reward him with soft reins so that he understands what you want.
I hope you will soon feel the joy that galloping produces. I enjoy everything about horses—training them in dressage, teaching them to remain calm and balanced during their show-jumping rounds and introducing them to their first water experience. But I find a complete sense of freedom only when my horse and I are gone away, galloping toward some invisible horizon. Each time he floats through the air, I am for an instant free from problems, free from critical coaches and unhappy people, free from flat tires and expensive truck repairs, free from the laws of gravity and velocity, free from earthly constraints.
About Jim Wofford
Longtime Practical Horseman columnist Jim Wofford competed in three Olympic Games and two World Championships. He also won the U.S. National Championship five times. Additionally he was also a highly respected coach. For decades beginning in 1978, he had at least one student on every U.S. Olympic, World Championship and Pan American team. He passed away February 2, 2023.
This article originally appeared in the January 2017 issue of Practical Horseman.