Nothing shows off your horse’s neck more elegantly than a smartly braided mane. When you’re preparing for hunter/jumper shows, eventing or foxhunting, traditional hunter-style braids are both appropriate and stylish.
With a little practice and the right tools, you can learn to create this look yourself! In this video series, Jennifer Callahan, training barn manager of Hilltop Farm Inc. in Colora, Maryland, shows us how on the Holsteiner stallion GK Calucci (“Lucas”). (For more information about both Lucas and Hilltop Farm, see the editor’s note after this article.)
The Tools
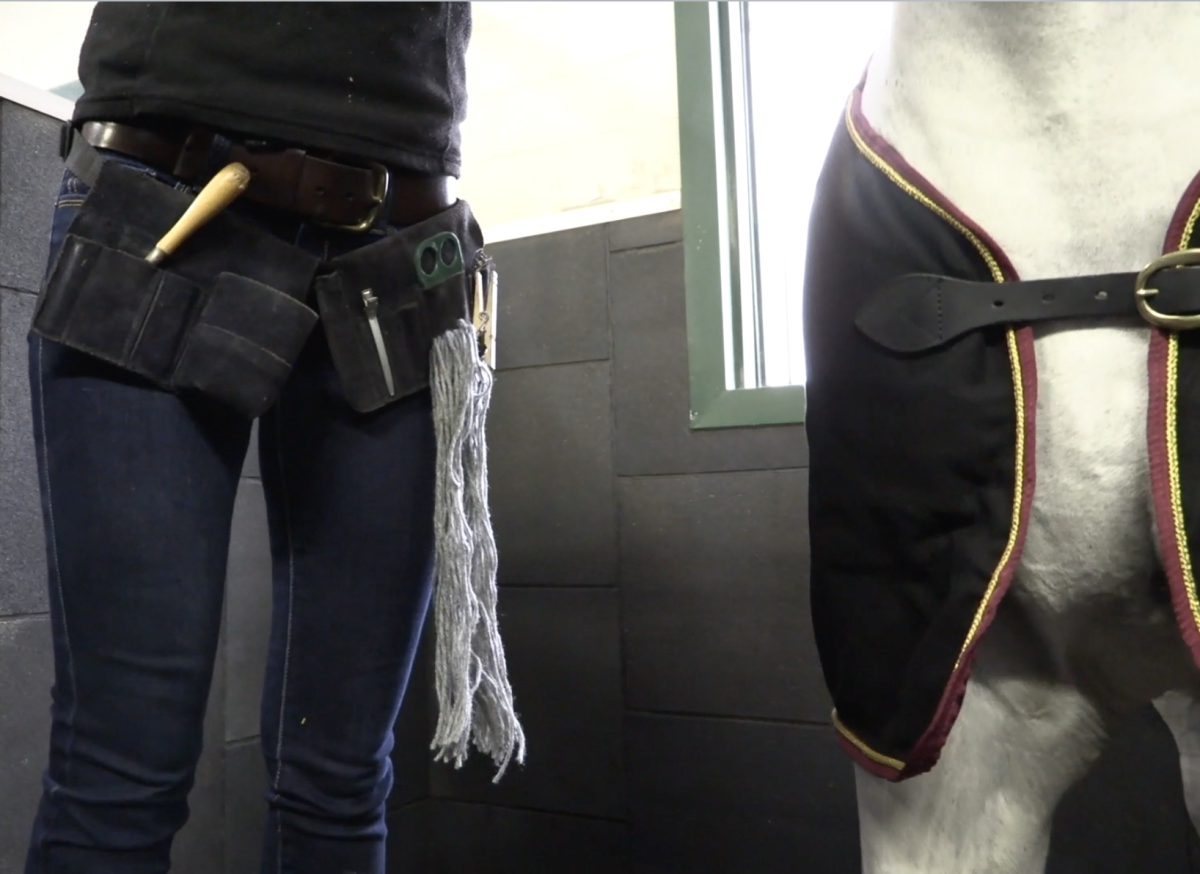
Before you begin, assemble the following items. Jennifer keeps her braiding tools handy in a pocketed belt tied around her waist.


- Metal pulling comb
- A grooming spray designed to help control flyaways (Jennifer uses Exhibitor’s Quic Braid)
- Several hair clips or clothes pins to keep extra mane out of the way
- Yarn in a color matching the horse’s mane, cut in approximately 12-inch lengths
- A small pair of scissors to trim the yarn
- A pull-through braiding tool to loop braids up and pull the forelock up
The Steps
Step 1: Mane Prep
Start with a clean, well-trimmed/pulled mane on which no conditioner has been used. For hunter braids, Jennifer says she likes the mane to be about 4-5 inches long. (Note: Lucas has a slightly longer mane, because he is usually “done up” in dressage-style braids.)
Step 2: Tease Out A Section Of Hair
On the pulling comb, mark the width of mane that you want to section off for each braid. This helps to ensure consistent size braids all down the neck. (Jennifer does this with a rubber band. A section of mane that is 1 ½-2” wide is a good size for a hunter braid.)
Step 3: Start From The Poll Down
Then it’s time to get to work. “For hunter braids, I start at the poll, separate off my first section and give it a healthy dose of Quic Braid!” Jennifer says. “It’s important to keep the three sections of the braid of equal width and pull the braid TIGHT,” she adds. “I like to think about pulling each section across, instead of down, as you go.”
Step 4: Weave In Yarn
About halfway down your braid, start weaving in one of the sections of yarn (folded in half). Braid as far down as you physically can, then loop the yarn around the end tightly to tie it off. Repeat this all the way down the neck.
Step 5: Pull Braids Under
Once you have the whole mane braided, it’s time to pull each braid under. Using your pull-through tool inserted at the base of each braid, pull the two pieces of yarn under and through the top of the braid, creating a loop. Do this for all the braids.
Step 6: Tie Braids Down
Next, tug on the yarn to get the end of each braid to sit snugly on the underside of the loop, against the neck. Then separate the two pieces of yarn, pull them around each side of the braid and tightly tie them underneath.
Step 7: Knot Braids
Flatten your braid loop, and, taking a piece of yarn from each side, tie them around the braid loop again, this time about one-third or half of the way down. Finish by tying a knot in the center of the braid. Repeat the last three steps for each braid.
Step 8: Trim Excess Yarn
Trim off the extra yarn close to each knot. “Avoid cutting flyaway hairs; you’ll regret it the next time you braid!” Jennifer says. Instead, she advises, “Flatten flyaways with more Quic Braid.”
Step 9: Forelock
Next, it’s time to address the forelock. Here is the procedure:
- French-braid the forelock using strands of mane from each side and the middle. Weave the yarn in halfway through, like you did with the mane. Unlike the mane, however, it’s important to avoid braiding the forelock too tightly. You need to leave enough room to pull the tail of the braid up into the French-braided portion.
- Use your pull-through tool to pull the yarn and tail of the braid up into the French-braided portion. Again using the tool, pull each strand of yarn horizontally through the sides of the French braid at the poll—one to the left, one to the right. Then tie the strings together on top and knot them. Trim off the extra yarn.
The Results
Step 10: Admire your work

Stand back to review your work, straightening each braid where necessary and admiring a job well done!
Every horse’s mane is unique to that horse. However, the more you practice, the easier braiding will become and the faster you’ll become at doing it.
Editor’s Note
GK Calucci (2001 Holsteiner stallion, 16.3h, by Calido I) is approved for breeding with sBs, Westfalen, ISR/Oldenburg, & Rhineland registries. Offspring are also eligible for KWPN registration. “Lucas” has a long show record from both Germany and the U.S., competing up to the Grand Prix level with both a professional and an amateur rider. After he retired from competition, he moved to Hilltop Farm to begin his breeding career. The oldest crop of Calucci offspring turn 4 this year, and Hilltop Farm employees say they “definitely see his strong stamp come through in his offspring.” For more information, see http://www.hilltopfarminc.com/stallion/gk-calucci/.
Hilltop Farm Inc.(www.hilltopfarminc.com) is a world-recognized training and breeding facility in Colora, Maryland that typically offers breedings from more than 25 warmblood stallions each year via both cooled and frozen semen. Also offered are extensive mare management and young horse raising programs. The training department focuses on the development of dressage horses up to the Grand Prix level.


