You use your position to connect yourself with your horse. The correct position provides a sense of unity, allowing you to communicate with him in a subtle and invisible manner. This is the foundation for correct riding and it is amazing how good your results are when you ride correctly.
In my previous two columns, I reviewed the correct positions for dressage and show jumping, respectively. This month we are going to study the basics of your cross-country position.

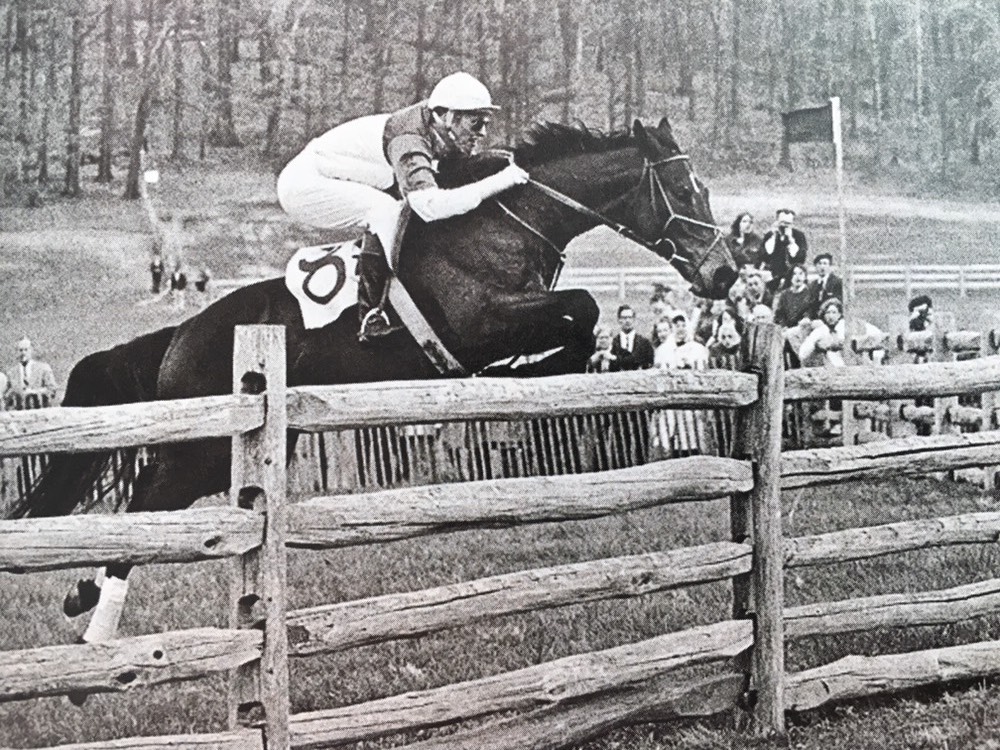
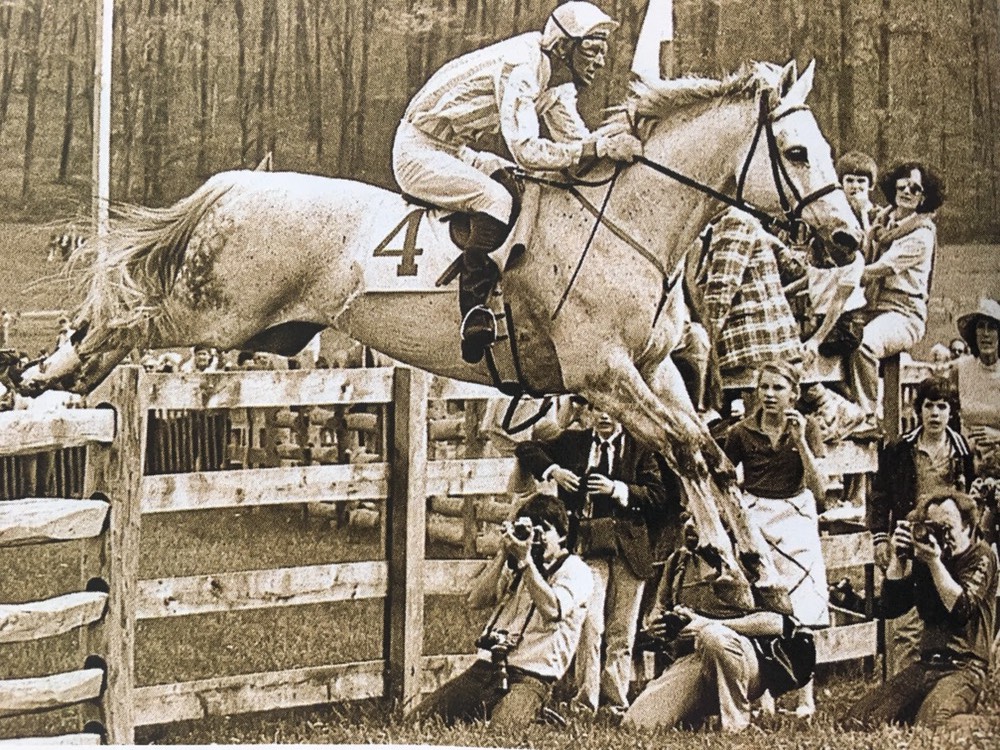
The first thing people notice about the cross-country phase of eventing is that speed is a factor, one that becomes increasingly important as you progress from Novice to Advanced. One reason is “speed magnifies mistakes.” That is a quote by Louis (Paddy) Neilson, one of our greatest timber-race jockeys. Paddy knows something about riding at speed over fixed fences, having won the Maryland Hunt Cup three times between 1968 and 1989. The Hunt Cup features fences constructed of wooden boards and posts and rails that can reach nearly 5-feet tall.
Paddy’s statement is a chilling reminder that the basics of your cross-country position must be as flawless as possible if you are to avoid accident and injury, because the speed of this phase will magnify your every error.
Higher Level, Shorter Stirrups
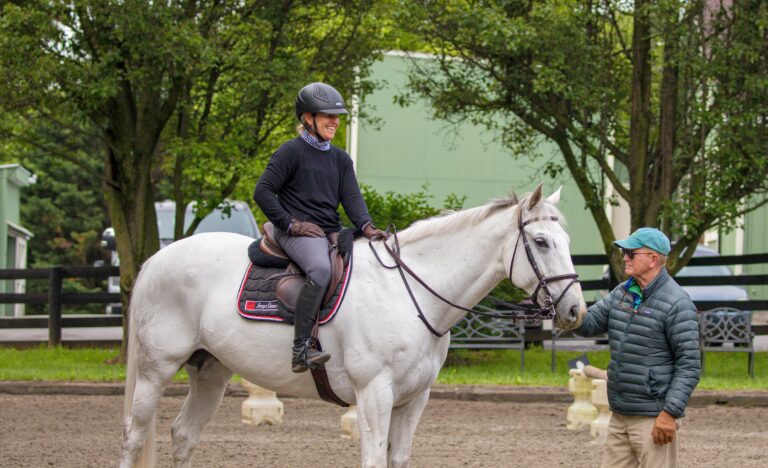
The correct cross-country position at the lower levels (Pre-Novice through Training) is the same as the show-jumping position: You should adjust your stirrup leathers until you have a 90-degree angle behind your knee when you are seated. If you’re riding at these levels, you are accustomed to this length due to your work in the show-jumping arena. At these levels, the required cross-country speed is not fast enough and the variation in the terrain is not dramatic enough to require you to change your position.
You must, however, change your position as the requirements of the levels change. Beginning at Preliminary level, your speed and the size of the drop fences increase and the variation in the terrain becomes much more challenging.
As your speed increases, you need to shorten your stirrup leathers and close your hip angle. This allows you to stay balanced and connected with your horse’s motion. In general, I suggest you shorten your stirrup leathers 1 inch for each star level. This means at the Preliminary or one-star level, you should ride cross country 1 inch shorter than your show-jumping length, for Intermediate, ride 2 inches shorter, and so on.
Some trainers have recently begun suggesting we return to a position that was widely used in the 18th century, standing straight-legged in the saddle with long stirrups. Fortunately we have scientific research to confirm that this is not the most effective galloping position for your horse, hence, it is not correct. I discuss this research in The Science of Galloping.
Regardless of length, your stirrup leather should form a vertical line at all times: uphill, downhill and on the level. The stirrup leather can support your weight only when it is vertical. Many riders try to ride shorter in a saddle not designed for shorter stirrups, with the result that their leg gets pushed back when landing over fences. Riders in this unstable scenario typically let their stirrups back out to show-jumping length to compensate, even if the speed for their level requires them to ride shorter.
If you are going to ride at speed cross-country, you owe it to your horse to be able to ride in a balanced and harmonious fashion and the shorter the stirrup length you ride with, the fitter you must be to be able to sit quietly at speeds up to 20 miles an hour. We ask our horses to do difficult things; we should not make their task more difficult by interfering with their natural movements.
You will be able to partly improve your fitness while you practice this position. During both your trot warm-up sets and your conditioning canters, shorten your stirrups at least one hole from the length you use for your competitive level. Do your warm-up trot sets in a two-point rather than posting. If you listen carefully, you can hear me laughing most of us cannot trot in a two-point for three five-minute sets, much less stay there for our conditioning canter sets. Even though you will probably fail, stick with it. Make a project of your fitness while you condition your horse. When you gallop through the finish line with a clean and fast round, feeling as if you and your horse could both go back through the start line and do the same course again, then your efforts will have been worth it. Working with short stirrups is hard, but once you return your stirrup leathers to your competitive length, your position will become second nature for you.
In my February column, I talked about the beneficial effect of riding without stirrups. Riding without your dressage stirrups makes your position more independent; when you regain your stirrups they will feel shorter, even though you have not changed the length of your leathers. In the same way, after you practice galloping with very short stirrup leathers and then let them down to your competitive level, you will feel as if you are riding longer than you actually are, which will make you more confident and secure in your cross-country position.
Swap Sensitivity for Security
The speed of cross country requires a few more adjustments. You may recall that for show jumping, I want you to place the ball of your foot on the tread of the stirrup, with your little toe against the outside branch. Once you start galloping at increased speeds, however, move your foot a little deeper into the stirrup and place the ball of your foot against the inside branch. This foot position is not as supple and sensitive as the show-jumping position, but it is more secure. The shorter your stirrups, the more dramatic the penalty for losing them–remember, speed magnifies mistakes.
When you are competing in rain and mud or have just been through a deep water jump, the tread of your stirrups and the soles of your boots may become slick. In these cases, I encourage you to place your foot “home” in the stirrup–your foot is so far into the stirrup that the heel of your boot is against the tread. There are situations where it is wise to sacrifice sensitivity for security. Remember to keep your reins shorter when you will be galloping. If you adjusted your reins when you were seated, you will find them too long when you rise to your two-point position because your upper body will be closer to your horse’s neck.

Stillness at Speed
Now that you have made all these adjustments, it is time to discuss your actual galloping position. Cross-country courses typically have 20 to 30 jumping efforts. That may sound like a lot, but it will take you several hundred galloping strides to complete the course. My point is that you will spend a great deal more time galloping than you do jumping. Therefore, now that you have a saddle suitable for cross-country work and have gotten yourself as fit as your horse, it is time to talk about the position that is safest and most effective for galloping cross-country.
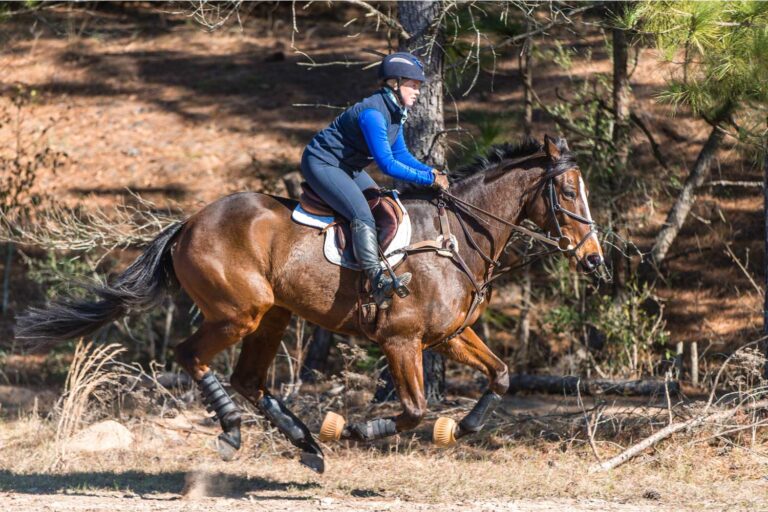
The terminology varies, but to be in the most efficient galloping position, you are in what I call a “two-point,” meaning your weight is carried in your knees and ankles and you are suspended above your horse’s back.
I want you to keep your seat close to the saddle while you gallop, without sitting down or even worse “posting” at the canter/gallop. Your back should form approximately a 45-degree angle to the ground, and your elbows should be well in front of your hip bones. When you practice your dressage and show-jumping positions, you can often look at yourself in the arena mirror to check on your position. While this is not possible outdoors, all of us can have a friend take photos or a short video with a smartphone.
Make sure you absorb your horse’s motion in your knees and ankles, not in your hip joints. Have the feeling that you are standing on a trampoline, allowing the trampoline mat to push your knees up into your hips and back down. Watch your shadow as you are conditioning your horse; does the distance between your seat bones and your saddle remain constant, or is your upper body moving back and forth? If you can see this extraneous motion, your horse can feel it and will be unbalanced by it.
That we should be quiet in the saddle at the canter and gallop is easy to understand but difficult to put into practice. You will have to study videos of yourself, watch other riders who have discovered how to gallop in balance and persevere until you find the answer. Success in modern eventing requires technical perfection in all three phases. It is not enough to study the subtleties of dressage collection or develop accuracy in your approach to show-jumping obstacles. You need to study every aspect of your cross-country riding because, after all, speed magnifies mistakes.
See also: Develop a Strong Galloping Position
This article was originally published in the April 2013 issue of Practical Horseman.


