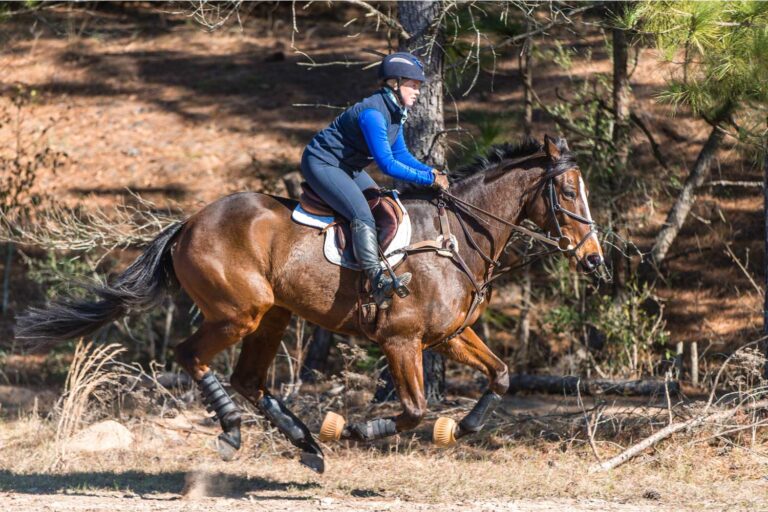
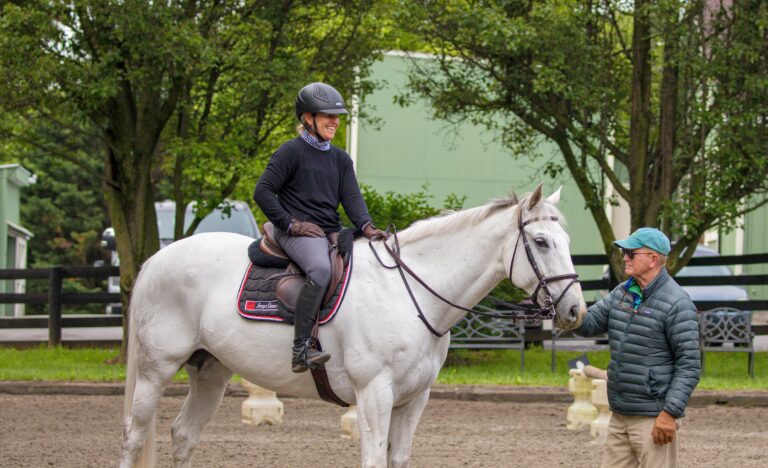
Every coach I have ever worked with has used gymnastics as a training tool. Some used them often, some occasionally, but they all used them. They did so for the simple reason that gymnastics work. Early in my career I noticed improvement in my horses during gymnastic training sessions and have made them an essential part of my training program ever since.

By gymnastics, I mean two or more obstacles placed a measured distance apart in order to produce a certain desired number of strides between them. Horses benefit from jumping obstacles repeatedly from a correct takeoff spot. (I am assuming you have measured the gymnastic correctly. We will discuss this in a minute.) As horses jump more obstacles correctly, their confidence improves. This confidence leads to relaxation, which will improve their technique. Rodney Jenkins, one of our most successful show jumpers, once remarked that if a horse has any tension in his topline, he will leave his legs down.
You also will benefit from gymnastic jumping, for the same reasons as your horse. The predictability of the jumping motion, which includes knowing when your horse will leave the ground, allows you to relax and to concentrate on following his motion correctly. Because you know what should happen at each stage of his effort (approach, takeoff, flight, landing, departure), you can concentrate on being in the right place at the right time. When you know that your horse will proceed calmly and rhythmically through a gymnastic grid, it is easier to think about sinking into your ankles as your horse lands after the obstacle or relaxing your elbows to produce the correct following action of your hands as he uses his head and neck.
Start Simple
Once you are convinced of the value of gymnastic jumping, the next step is to decide which particular exercise to use. There are a couple of considerations to keep in mind when selecting an exercise—the state of training of your horse and the lesson you would like to teach him in this session.
Naturally, your horse’s state of training is by far the most important factor in your decision. While we would like our horses to be able to jump some incredibly intricate puzzle of rails and distances, that puzzle is not suitable for horses with limited jumping experience. Stick to “plain vanilla” exercises at first, and your horse will tell you when he is ready to progress.
There are several books of gymnastic exercises available, and I have written a couple of them myself. If you and your horse are both inexperienced when it comes to gymnastics, choose one of the book’s simplest exercises for your first gymnastic endeavor. If you confirm your horse’s technique now over simple exercises, then later on you will be able to make complex exercises appear simple.
Set Up With Care
Once you have selected your exercise, we need to discuss how to set it up satisfactorily. You will need a level area (60 x 120 feet is probably the minimum size) with good footing. I use a great many gymnastics in the winter, which means the majority of my exercises are done in an indoor arena. An enclosed area is desirable but not essential as long as your schooling area is level and the footing is suitable.
The next item you will need is a measuring tape. Eventually, I would like for you to be able to pace distances accurately; for now, use a tape measure. There are already enough variables in the training of horses without your inadvertently introducing a distance that will not produce the desired result.
Measure the interior distance between the gymnastic elements, by which I mean for you to measure from the back surface of the first standard to the front surface of the next standard. Measure both sides of the exercise to make sure that it is symmetrical. In addition, measure from the outside standards to the wall or fence of the arena and make sure this distance is the same all the way down the gymnastic line. If your gymnastic is skewed, you will teach your horse to drift to one side or the other of the gymnastic rather than to jump in a straight line. If your arena does not have a perimeter fence, make your best effort to have the gymnastic set in a symmetrical manner.
Maintain While You Work
To maximize their effect, gymnastics require the help of a jump crew. Make sure they have a rake to attend to the footing. The measured distances in gymnastic jumping cause horses to step on the same place repeatedly. This will cause the footing to dislodge in a circular area. The jump crew should rake the material from the outside of the circle back in, otherwise you will eventually have a pit in the ground at the point of takeoff.
As you build your exercise, put the rail you intend to use into the cups, and make sure the standards are set wide enough apart to allow the rail to fit. Once you are sure it fits, place the rail on the ground next to the standards, ready for use. Once you have done this, remove the cups and pins as a safety practice. I tend to use a single rail for my verticals, and one rail in each pair of standards for my oxers. I rarely use ground lines in gymnastic lines. Why? First of all, I am usually alone in the ring with the horse and rider, acting as my own jump crew, and the less material I have to handle, the better. More importantly, I want your horse to learn to focus on the top rail of the obstacle because this produces more accurate jumping on his part.
Mistakes Are Useful
As you ride through your gymnastic exercises, things will go wrong. This is normal and not reason for panic. Your horse’s mistakes will usually fall into two general categories: stopping and rushing. Although refusals are demoralizing for horse and rider, this problem is easy to correct. Lower the obstacle where the problem occurred until your horse is once again willing to proceed through the grid. Then you can attempt to gradually return the obstacle to the height and spread that caused the original problem.
Rushing can also be dealt with by gymnastics. First of all, relax. You are not the first rider whose horse has rushed through a gymnastic, scattering rails from Hell to breakfast, and you won’t be the last. You can solve your problem, but you need a calm, disciplined attitude to succeed. If your horse speeds up before the cavalletti or placing pole preceding the first obstacle, work him in a figure-eight pattern so its intersection is centered in front of the entrance to the gymnastic. At first, you should ride your figure eight several horse lengths in front of the grid. Concentrate on maintaining a rhythmical trot, and don’t worry about jumping yet. Your attitude should be that you will reward your horse for his steady, consistent trot cadence by allowing him to jump a few simple exercises. As your horse relaxes, you can move the intersection of the two circles closer and closer to the entrance to the gymnastic grid until you finally step into the gymnastic and proceed through it.
Other horses step into the exercise quietly but then gain speed over succeeding obstacles and leave the exercise at the gallop rather than the canter. Horses of this type can usually be improved by putting a landing pole 9 feet behind the obstacle. This pole causes your horse to look down for his landing, which will improve his bascule; the stretching of his topline will induce relaxation. In addition, the landing pole will cause your horse to return to the ground in the correct place behind the last obstacle, which will allow more room before the next obstacle. If your horse has never seen this technique before, make sure you teach it to him by trotting back and forth over a single placing pole set 9 feet from a vertical less than 2 feet high before using it in a gymnastic grid.
Add to the Question
Over the next few weeks and months, your horse should become able to proceed through a gymnastic grid of three to four obstacles in a straight line while maintaining a steady rhythm at the canter. If you are able to do that, you can start to use your gymnastic training in a more sophisticated manner. As your horse is now stable in his balance over obstacles, you can start to teach him to be flexible as well. To introduce the concept of flexibility, you have to establish a connection with your horse’s mouth. You now need to be a rider through the gymnastics, not just an intelligent passenger.
We have two basic tools to teach flexibility—distance and shape. For example, we can teach your horse to step quite close to an obstacle and still jump safely by introducing bounces (also called no-strides, these are obstacles set 10 to 12 feet from each other.) Later on in your training, you can increase the difficulty of the gymnastic by adding double bounces and by shortening the distances between the elements in one- and two-stride exercises. Finally, if your horse can shorten his stride easily, then you need to teach him to expand his stride by gradually opening the distances between obstacles.
Another way to teach your horse to stretch is to use the shape of obstacles to change the shape of his bascule. I use very low, very wide oxers to teach horses to lower their heads and necks, stretch their toplines and push with their hindquarters over the obstacles. When I use low-wide oxers, I always place a third pole diagonally across the top of the obstacle to prevent the horse from thinking it is a bounce and stepping into it. (As an aside, I notice that I can improve horses’ jumping style in front by working them over low-wide oxers. I think they improve because they learn a better use of their shoulders. They are then able to tighten their forehands when they next get too close to an obstacle and need to be proficient with their front ends to jump clear.)
You may notice we improved your horse’s flexibility by lowering his head and neck and making sure he is pushing through his topline correctly. The parallel here with working your dressage horse “long and low” certainly exists. It is a reminder that whatever the discipline, we must never ignore the basics in training our horses.
To buy a copy of Jim’s book, Modern Gymnastics, you can visit www.HorseBooksEtc.com.
This article originally appeared in the March 2014 issue of Practical Horseman.


