
Before diving into Part 2, be sure to check out Part 1!
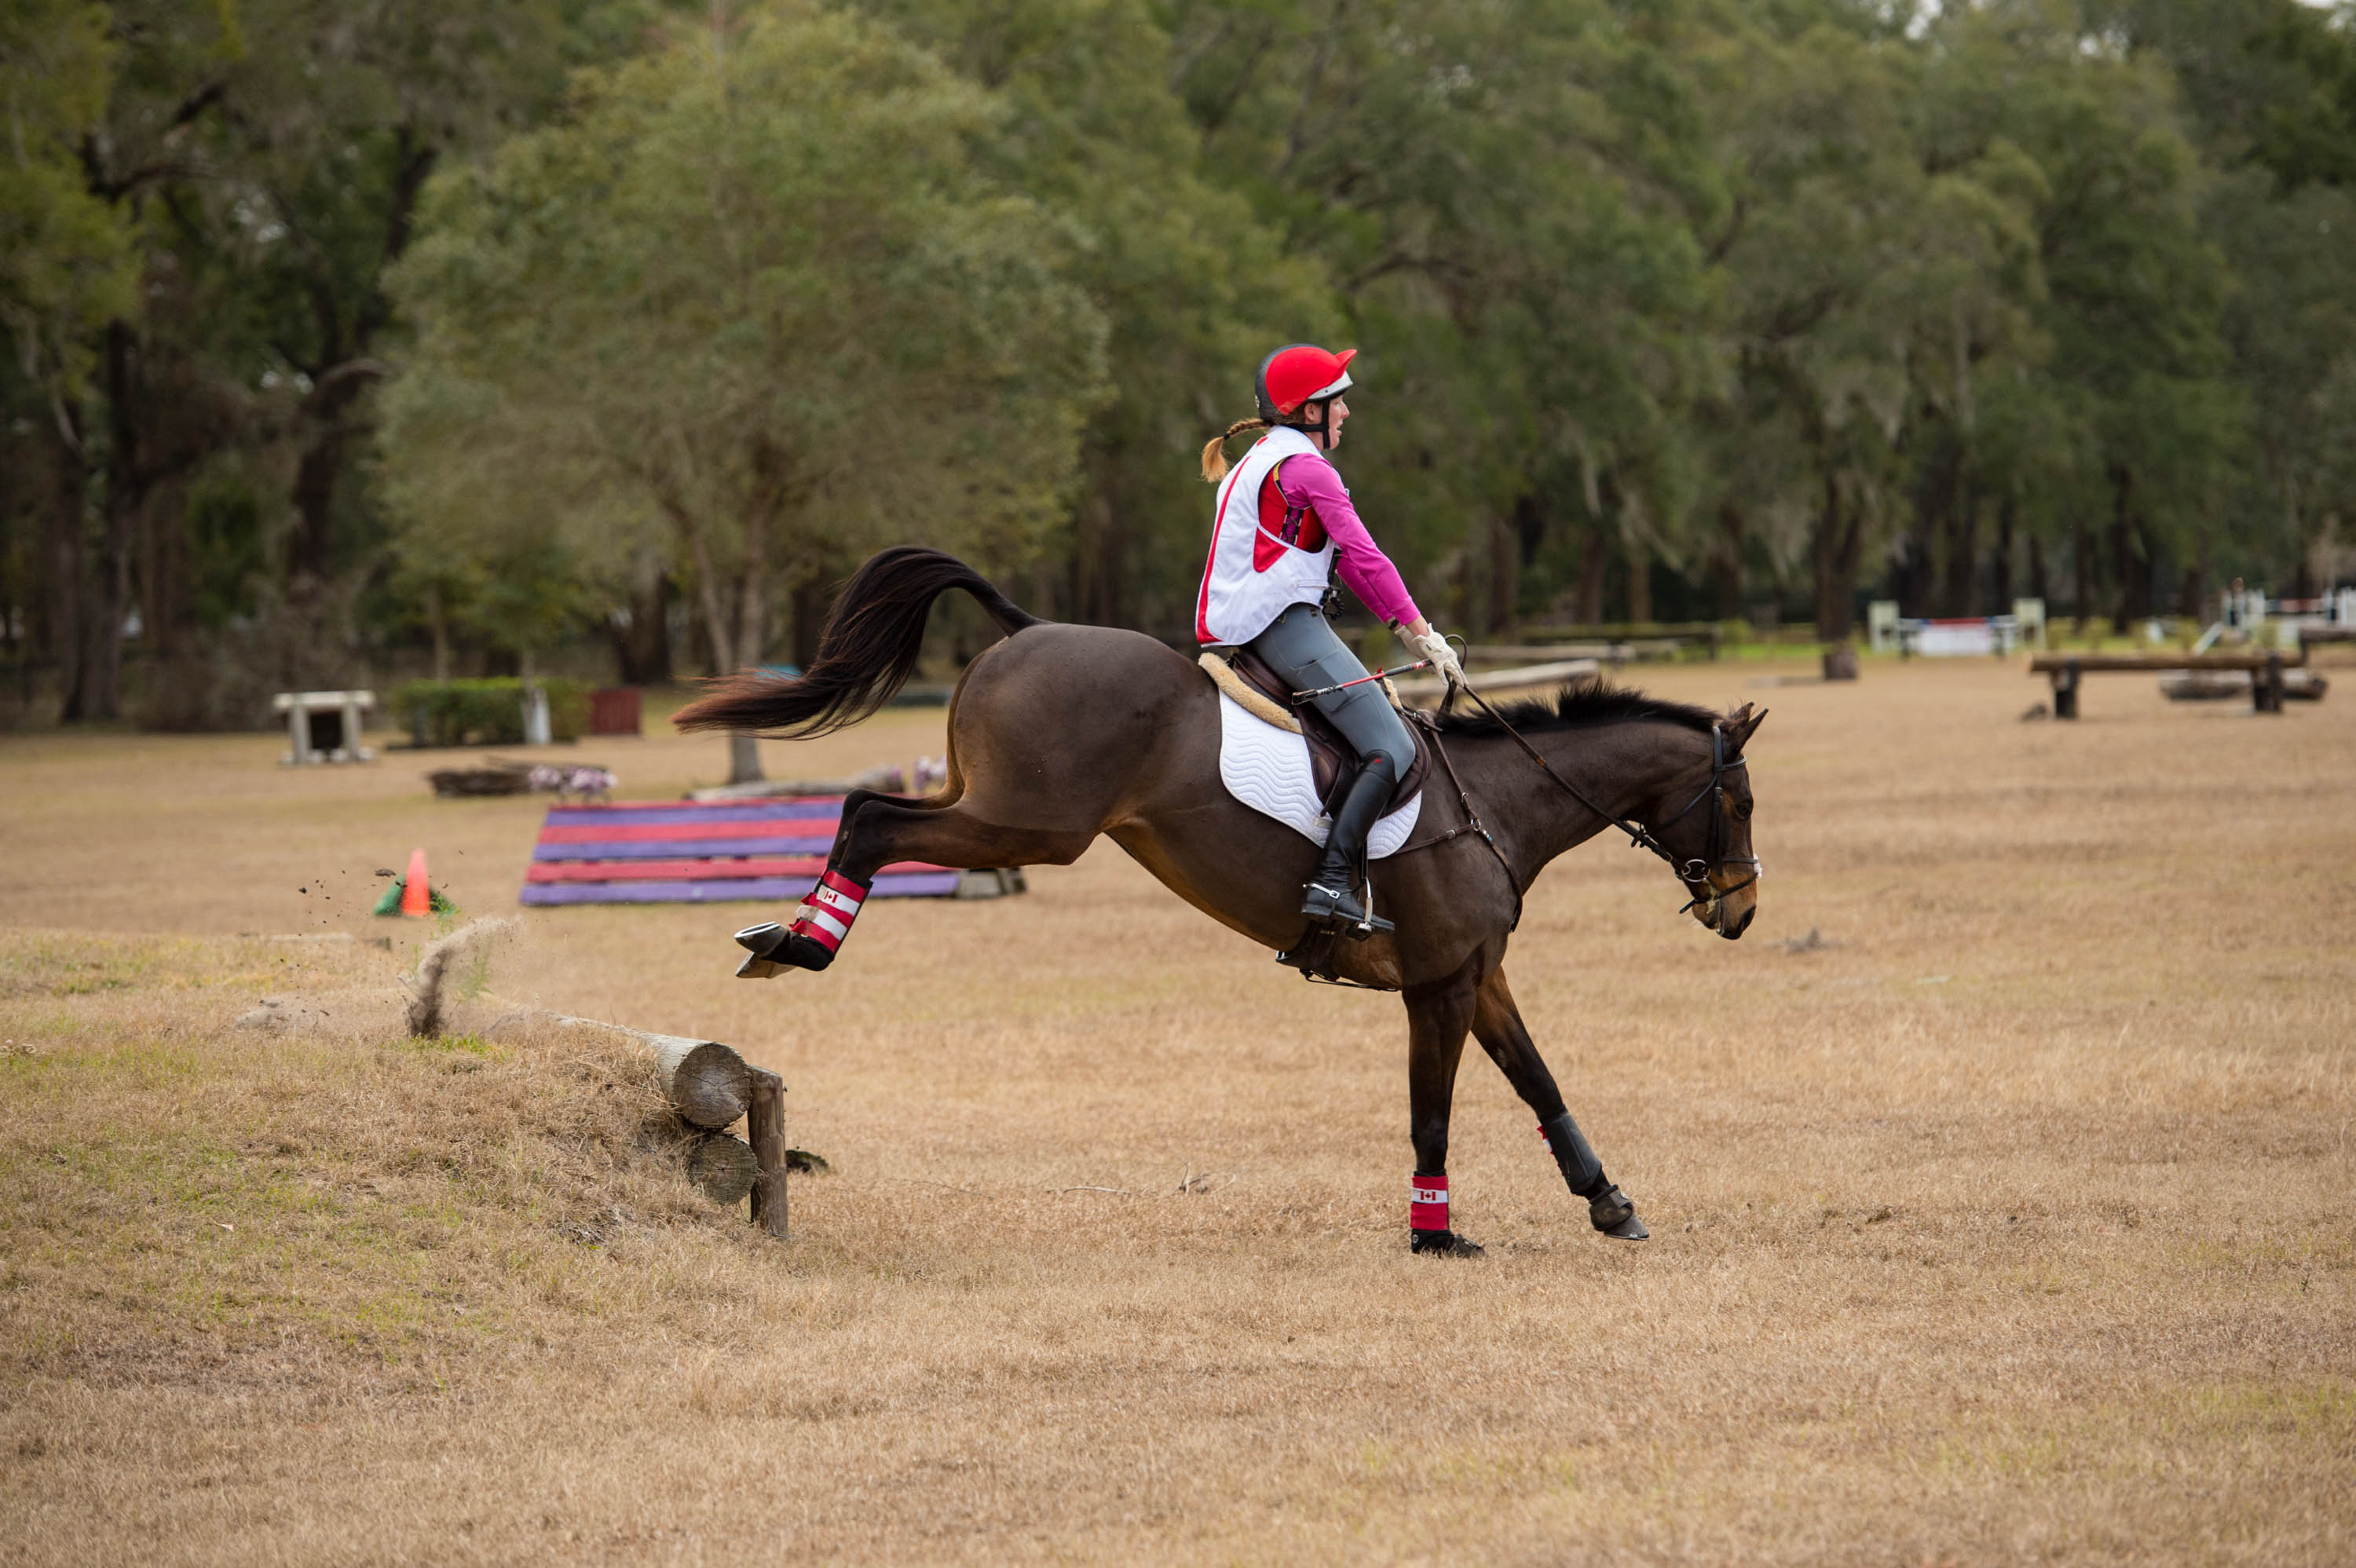
Imagine approaching an Advanced-level jump up a large bank, followed by a bounce to a narrow brush jump. There’s no room for error. In the last few strides before takeoff, you ask your horse to gather his stride and tip his balance uphill, coiling his energy like a compressed spring so that when he gets close enough to the bank, he can power smoothly up it, land, then power up again over the brush fence. You find yourself sitting at the center of his teeter-totter-like motions as his forehand rotates up in front of you and his hind end rotates underneath you to jump the bank. Then his body levels out momentarily at the top of the bank before the teeter-totter tips upward again to jump the bounce fence.
As we discussed last month, that’s how smoothly and effortlessly your “up” and “down” banks should ride at any level. In that article, I described how to introduce a green event horse to small up and down banks. I explained how important it is to build his confidence early, keeping the jumps as uncomplicated and drama-free as possible, so that you can organize quickly on landing before the next obstacle. This will become more and more important as you progress up the levels.
In Part 1, we introduced your horse to a very small bank by simply stepping up and down it, first at the walk and then at the trot. I offered tips on how to stay with your horse’s motion without making any dramatic moves that might interfere with his focus on the drop or throw him off balance. Review those tips to prepare for the exercises in this article. We’ll carry the skills you learned last month over to slightly larger up banks and drops this month and will discuss how to produce the correct canter in the approaches for both. Then I’ll explain how to tackle on–off banks, which are even more challenging.
Warm Up at the Trot
If your initial schooling session over a small bank went well, for your next session choose a slightly more challenging bank: 2-foot-3 or 2-foot-6 high. Ride up and down it several times at the trot just as we discussed last month: Keep your horse straight and square to the up bank, being careful not to tip your shoulders forward in the approach. When he takes off, follow his mouth with your hands as if you were handing a tray to someone on the top of the bank. Meanwhile, keep your weight in your heels and your legs closed against his sides, so his body doesn’t slip through them.
As you approach the down bank, stay tall in your upper body and drop your weight into your saddle and heels, turning your toes out slightly to bring your calves against his sides. Remember to keep your chin up all the way to the takeoff, using your peripheral vision just briefly to look down the sides of your nose to check for the bank’s edge. Otherwise, keep your eyes focused up and ahead of you. When you reach the edge, close both legs on your horse’s sides and slightly lower and soften your hands to encourage him to plop down softly off the drop.
Canter the Up Bank
When that is going well, move on to a canter approach. For the jump up the bank, think of riding the last six or seven strides as if you were approaching a very large vertical show jump. To practice transitioning from your gallop to this compressed canter, set a marker (a cone, upturned bucket, etc.) about five strides away from a simple cross-country jump, such as a coop or roll-top, then another marker seven strides away and another eight strides away.
1. Get up some speed as you gallop across the field at your normal cross-country pace.
2. At the first cone, initiate your aids for the uphill canter, closing your legs on your horse’s sides and applying what I call “bicycle brakes:” Squeeze and release the reins as if you were squeezing and releasing the handlebar brakes on a bike. Think of closing your fingers in your gloves just enough so your horse feels temporary pressure in the corners of his mouth, then release the pressure without letting the reins sag. His neck should remain a natural length and his ears should stay pricked forward as he focuses his attention on the jump—not on you.
3. Repeat these half-halts as many times as necessary, aiming to achieve the more uphill canter by the time you reach the third cone.
4. In the last few strides, drop your seat into the saddle, sit a little taller in your upper body and maintain the rhythm and pace all the way to the jump, resisting the temptation to pull backward on the reins.
With practice, you’ll learn how far away from the jump to initiate these aids on your particular horse to get the canter you need for those final strides. When you get the hang of this, approach the up bank. As you transition from your gallop to your compressed canter, sit up tall with your upper body and think of closing your legs on your horse’s sides in a way that encourages him to lift up his rib cage, bring his hocks more underneath his body and adjust and supple his back right behind the saddle. At the same time, say “whoa” and apply your “bicycle brakes.”
These combined aids will produce the uphill balance he needs to power up the bank. In the last few strides before it, you want to feel like he pats the ground like a cat on a hot tin roof, compressing his stride while keeping the “revs” up—one, two, three; one, two, three.
The bigger the bank is, the more uphill power you want to create in these last few strides. Balance is key here. Your horse must be in self-carriage in the final strides of the approach. You cannot hold him in an uphill balance. So you need to help him find the correct balance early, then maintain it to the takeoff without ever taking his eye off the bank.
When your horse takes off, ride the bank just as you did from the trot: allowing his motion to close your hip angle naturally while following his mouth with your hands—and grabbing mane if he takes a bigger jump than you expected.
Canter the Drop
Cantering to a drop off a bank requires a different approach. In fact, I prefer that horses don’t canter the last step or two before jumping off. If they slow to the trot, they’re more likely to lower their bodies carefully down the drop—instead of launching off stiff-legged and landing in a heap at the bottom.
This can be a fine line, though, because you never want to slow your horse down so much that you risk inviting a refusal. If you’re not sure your horse will slow to a trot on his own, plan to bring him down from the canter to the trot seven or eight strides away from the drop. (With practice, you can shorten that to three or four strides, so you don’t lose too much momentum.) If he tends to be strong in the bridle and drag you all the way to the edge of the drop, it’s very important to teach him early that he must come back to the trot for jumps like this.
Some horses don’t need to come back to trot before big drops. They know how to slow their velocity at the last minute, bend their knees and hocks and crouch their bodies down toward the ground before dropping carefully over the edge. Until you know that you can trust your horse to do this, however, it’s safer to bring him to a trot. Whatever gait you’re in when you arrive at the edge of the drop, always lower and soften your hands in the last stride to allow him to use his head and neck for balance and depth perception. Just as you did over the walk and trot drops, keep your chin up, your seat close to the saddle and your lower leg directly underneath your body so you can recover your balance quickly on landing.
Caution: If at all possible, avoid schooling drops when the ground is firm. The sting of repeated impacts on hard ground can not only contribute to injuries but might also discourage your horse from jumping drops in the future. It’s important to school banks at least once in the beginning of an event season, though, so if your only choice is to do it on firm ground, limit the number of repetitions as much as possible.
Ride an On–Off Bank
Riding an on-off bank—where you jump up onto a bank, ride a few strides across the top and then jump down off it—is much more challenging than a simple step up or down. It happens faster than you expect. There’s very little time to reorganize on top of the bank, so you have to think on your feet. If you tend to have a loose lower leg, this may be a tough wake-up call! Your horse will shift his center of gravity so quickly—tipping up the bank, leveling out, then tipping down off it—that, without a snug grip on his sides, you may have trouble staying with his motion and maintaining your own balance.
On–off banks with only one stride on top are especially unforgiving, so start with a two- or three-stride bank, which will give you more time to react if you make a mistake. Always prioritize your line over your distance. If your striding is slightly off, your horse will most likely figure it out. But if your line is off, that can lead to a runout or, even worse, a trip or fall caused by a crooked approach and hung leg.
1. Approach the bank in the same uphill canter you used for simple step-ups, being sure your line takes you straight and square to the middle of the bank. As your horse jumps up it, follow his mouth with your hands.
2. As soon as you feel all four feet reach the top of the bank, focus your eyes on the straight line you want to ride across it. Then re-establish even contact on both reins, drop your seat into the saddle and your weight into your heels and ride forward toward the jump off. Unlike a simple drop, there’s often not enough time to allow your horse to slow to the trot before takeoff without risking losing too much momentum (and inviting a refusal). But it’s also not essential that he put in the exact expected number of strides. Again, prioritize line over distance. If he adds a stride or shuffles a little before takeoff, that’s fine so long as he stays straight on the line. As always, be careful not to pull backward on the reins.
3. When you arrive at the drop, soften your elbows and lower your hands. Turn your toes out slightly and close your legs on his sides. Be prepared to let the reins slip through your fingers if necessary so he can use his head and neck for balance.
With practice your horse will learn to jump these questions carefully and efficiently while you get the hang of staying with his motion and reorganizing quickly on landing. This will enable you to tackle more complicated bank combinations in the future.
About Selena O’Hanlon
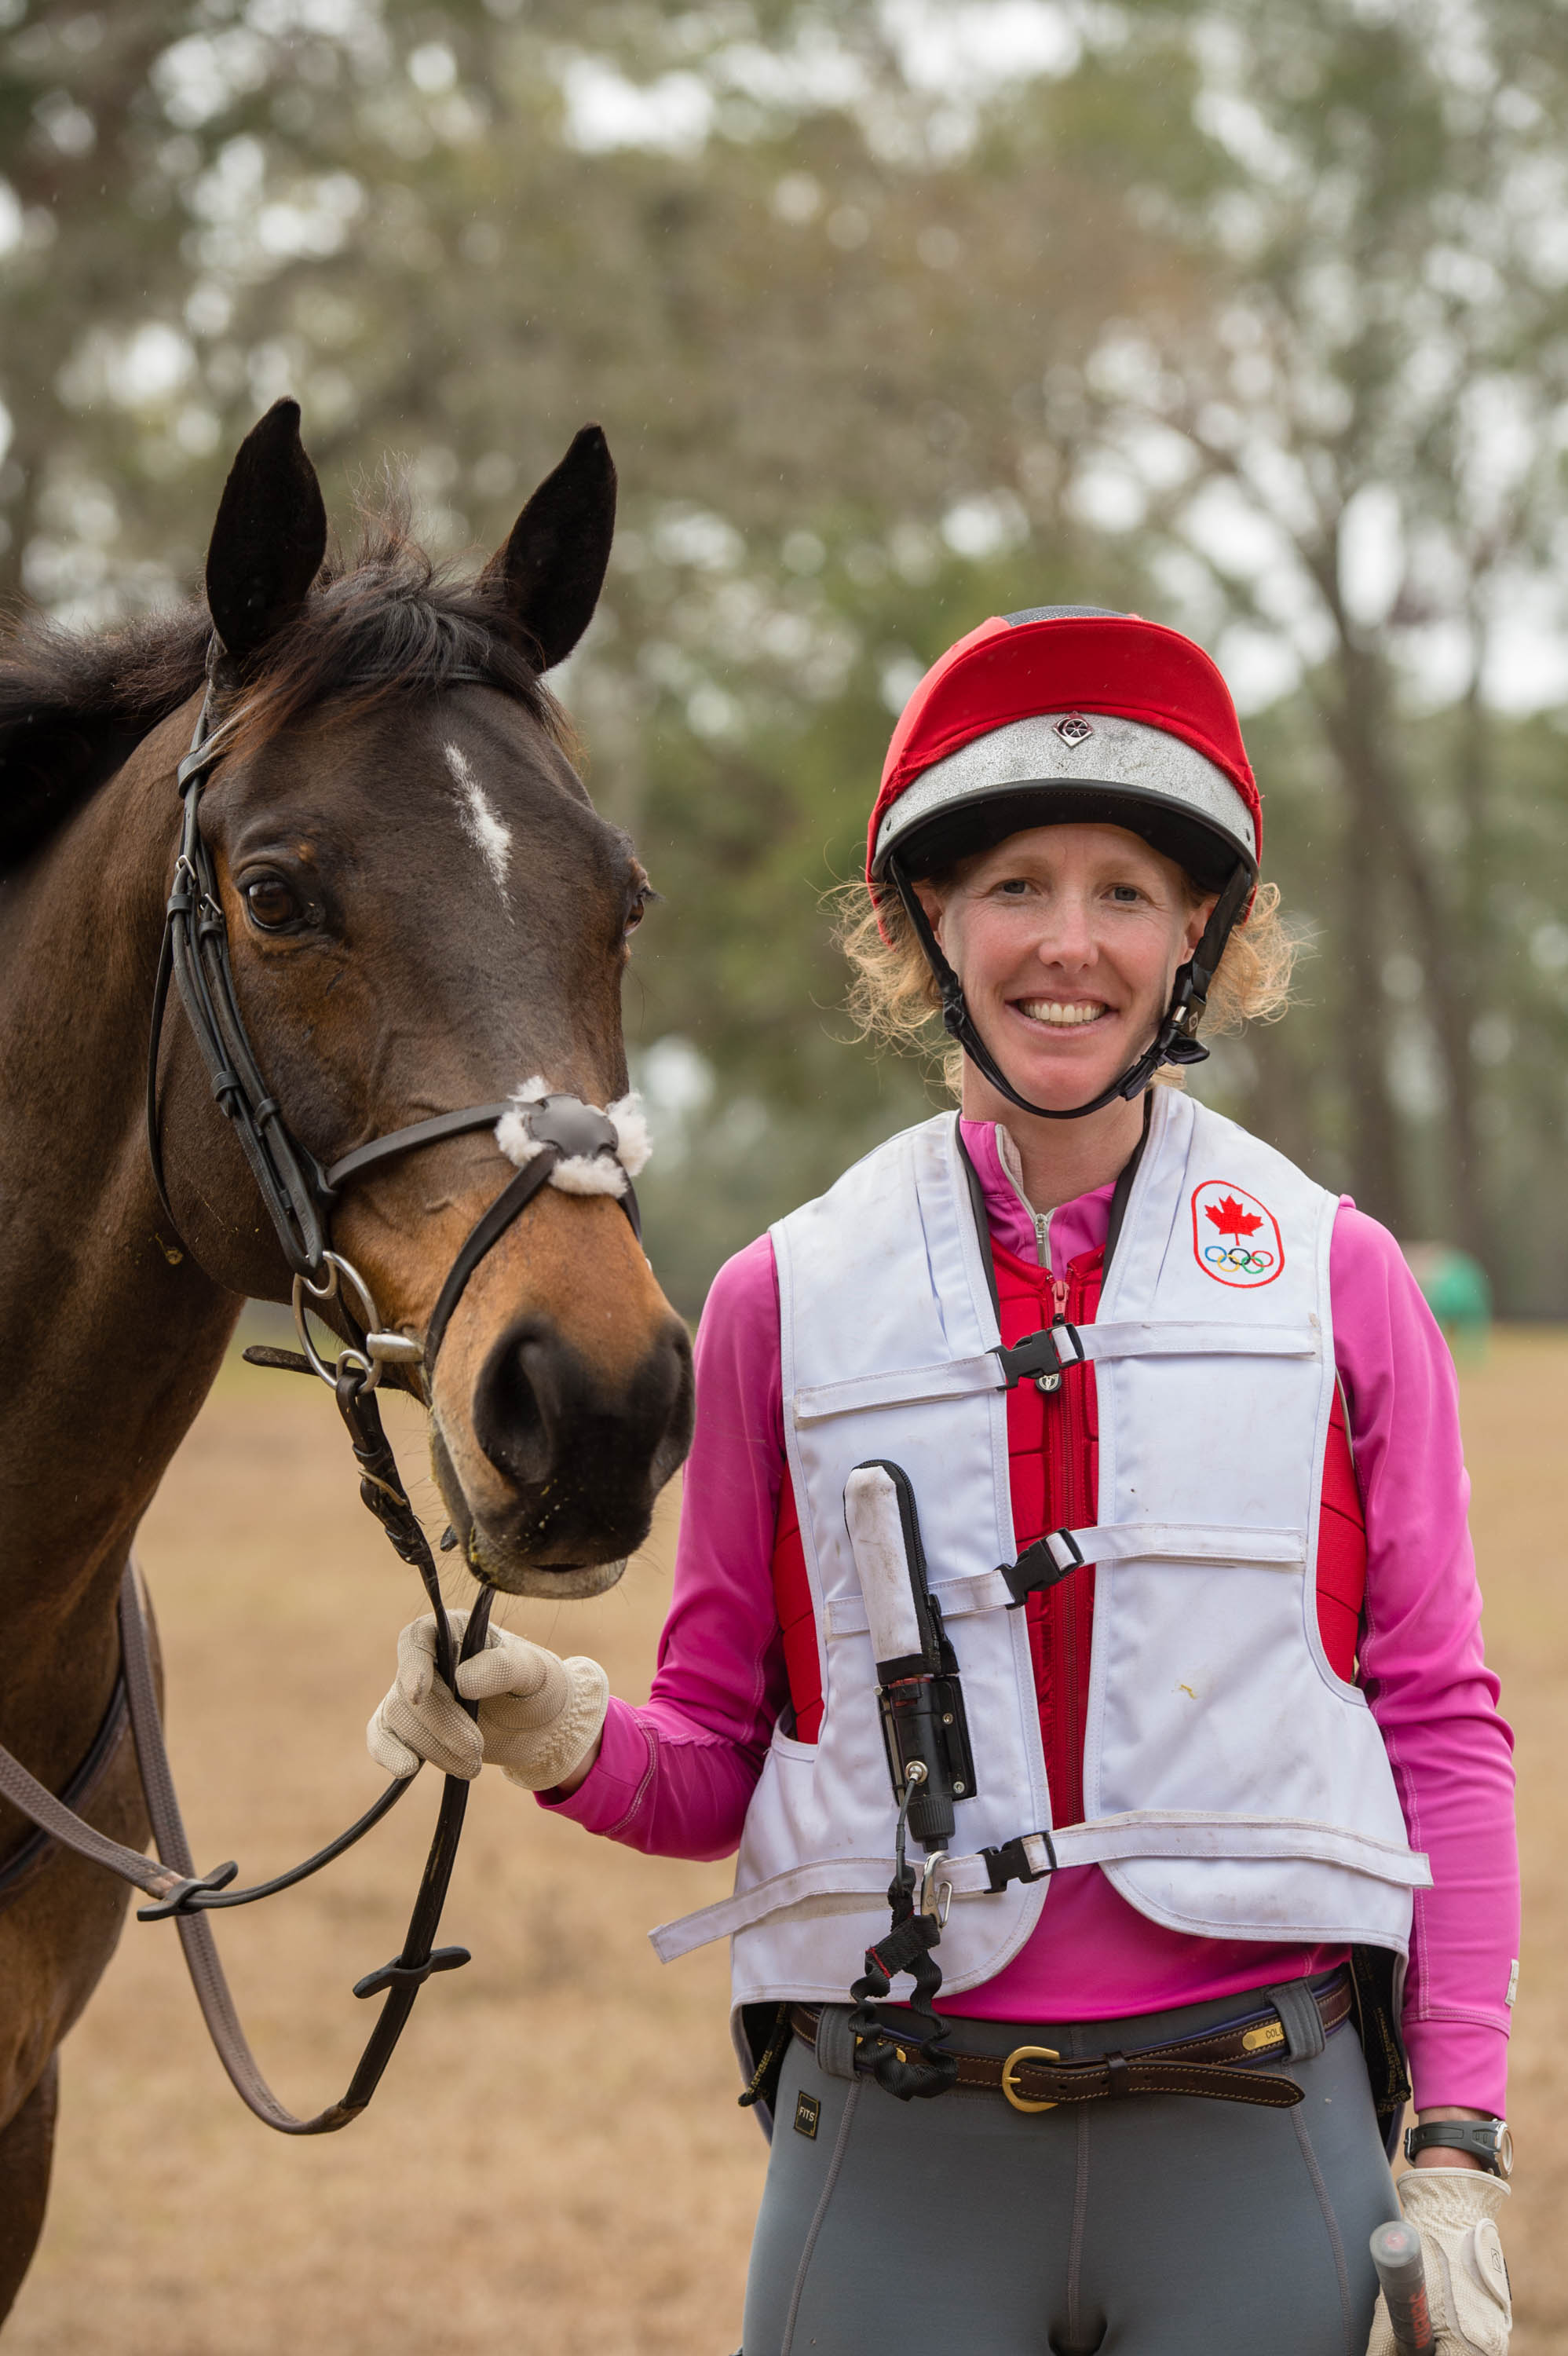
Canadian eventer Selena O’Hanlon represented her country in the 2008 Olympics, the 2010 World Equestrian Games, the 2011 Pan American Games and the 2014 World Equestrian Games, winning team silver medals in 2010 and 2011. She was the top-placed Canadian rider at the Rolex Kentucky Three-Day Event in 2014 and 2017 aboard John and Judy Rumble’s Canadian Sport Horse gelding, Foxwood High. She and “Woody” also won the 2017 Fair Hill International CCI***, and he was named the 2017 U.S. Eventing Association Advanced Horse of the Year. Based at Balsam Hall in Kingston, Ontario, Selena and her mother, Morag, teach event and dressage riders of all levels and produce and sell talented young horses.
This article was originally published in the June 2018 issue of Practical Horseman.


