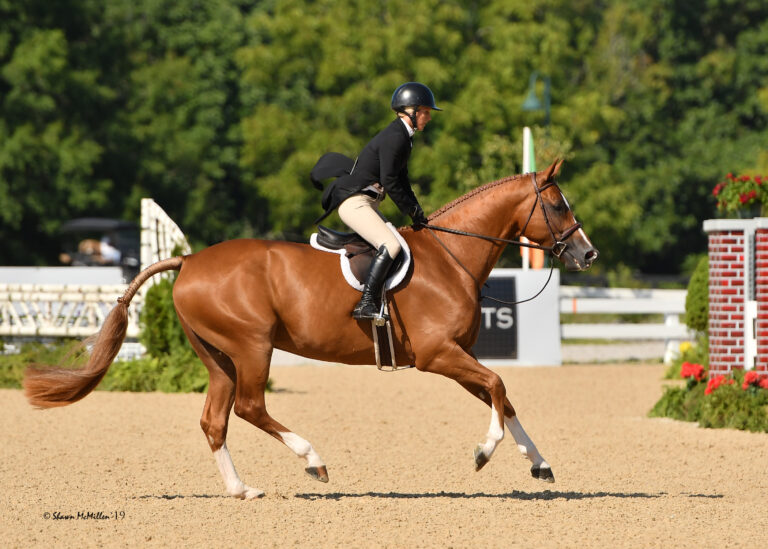
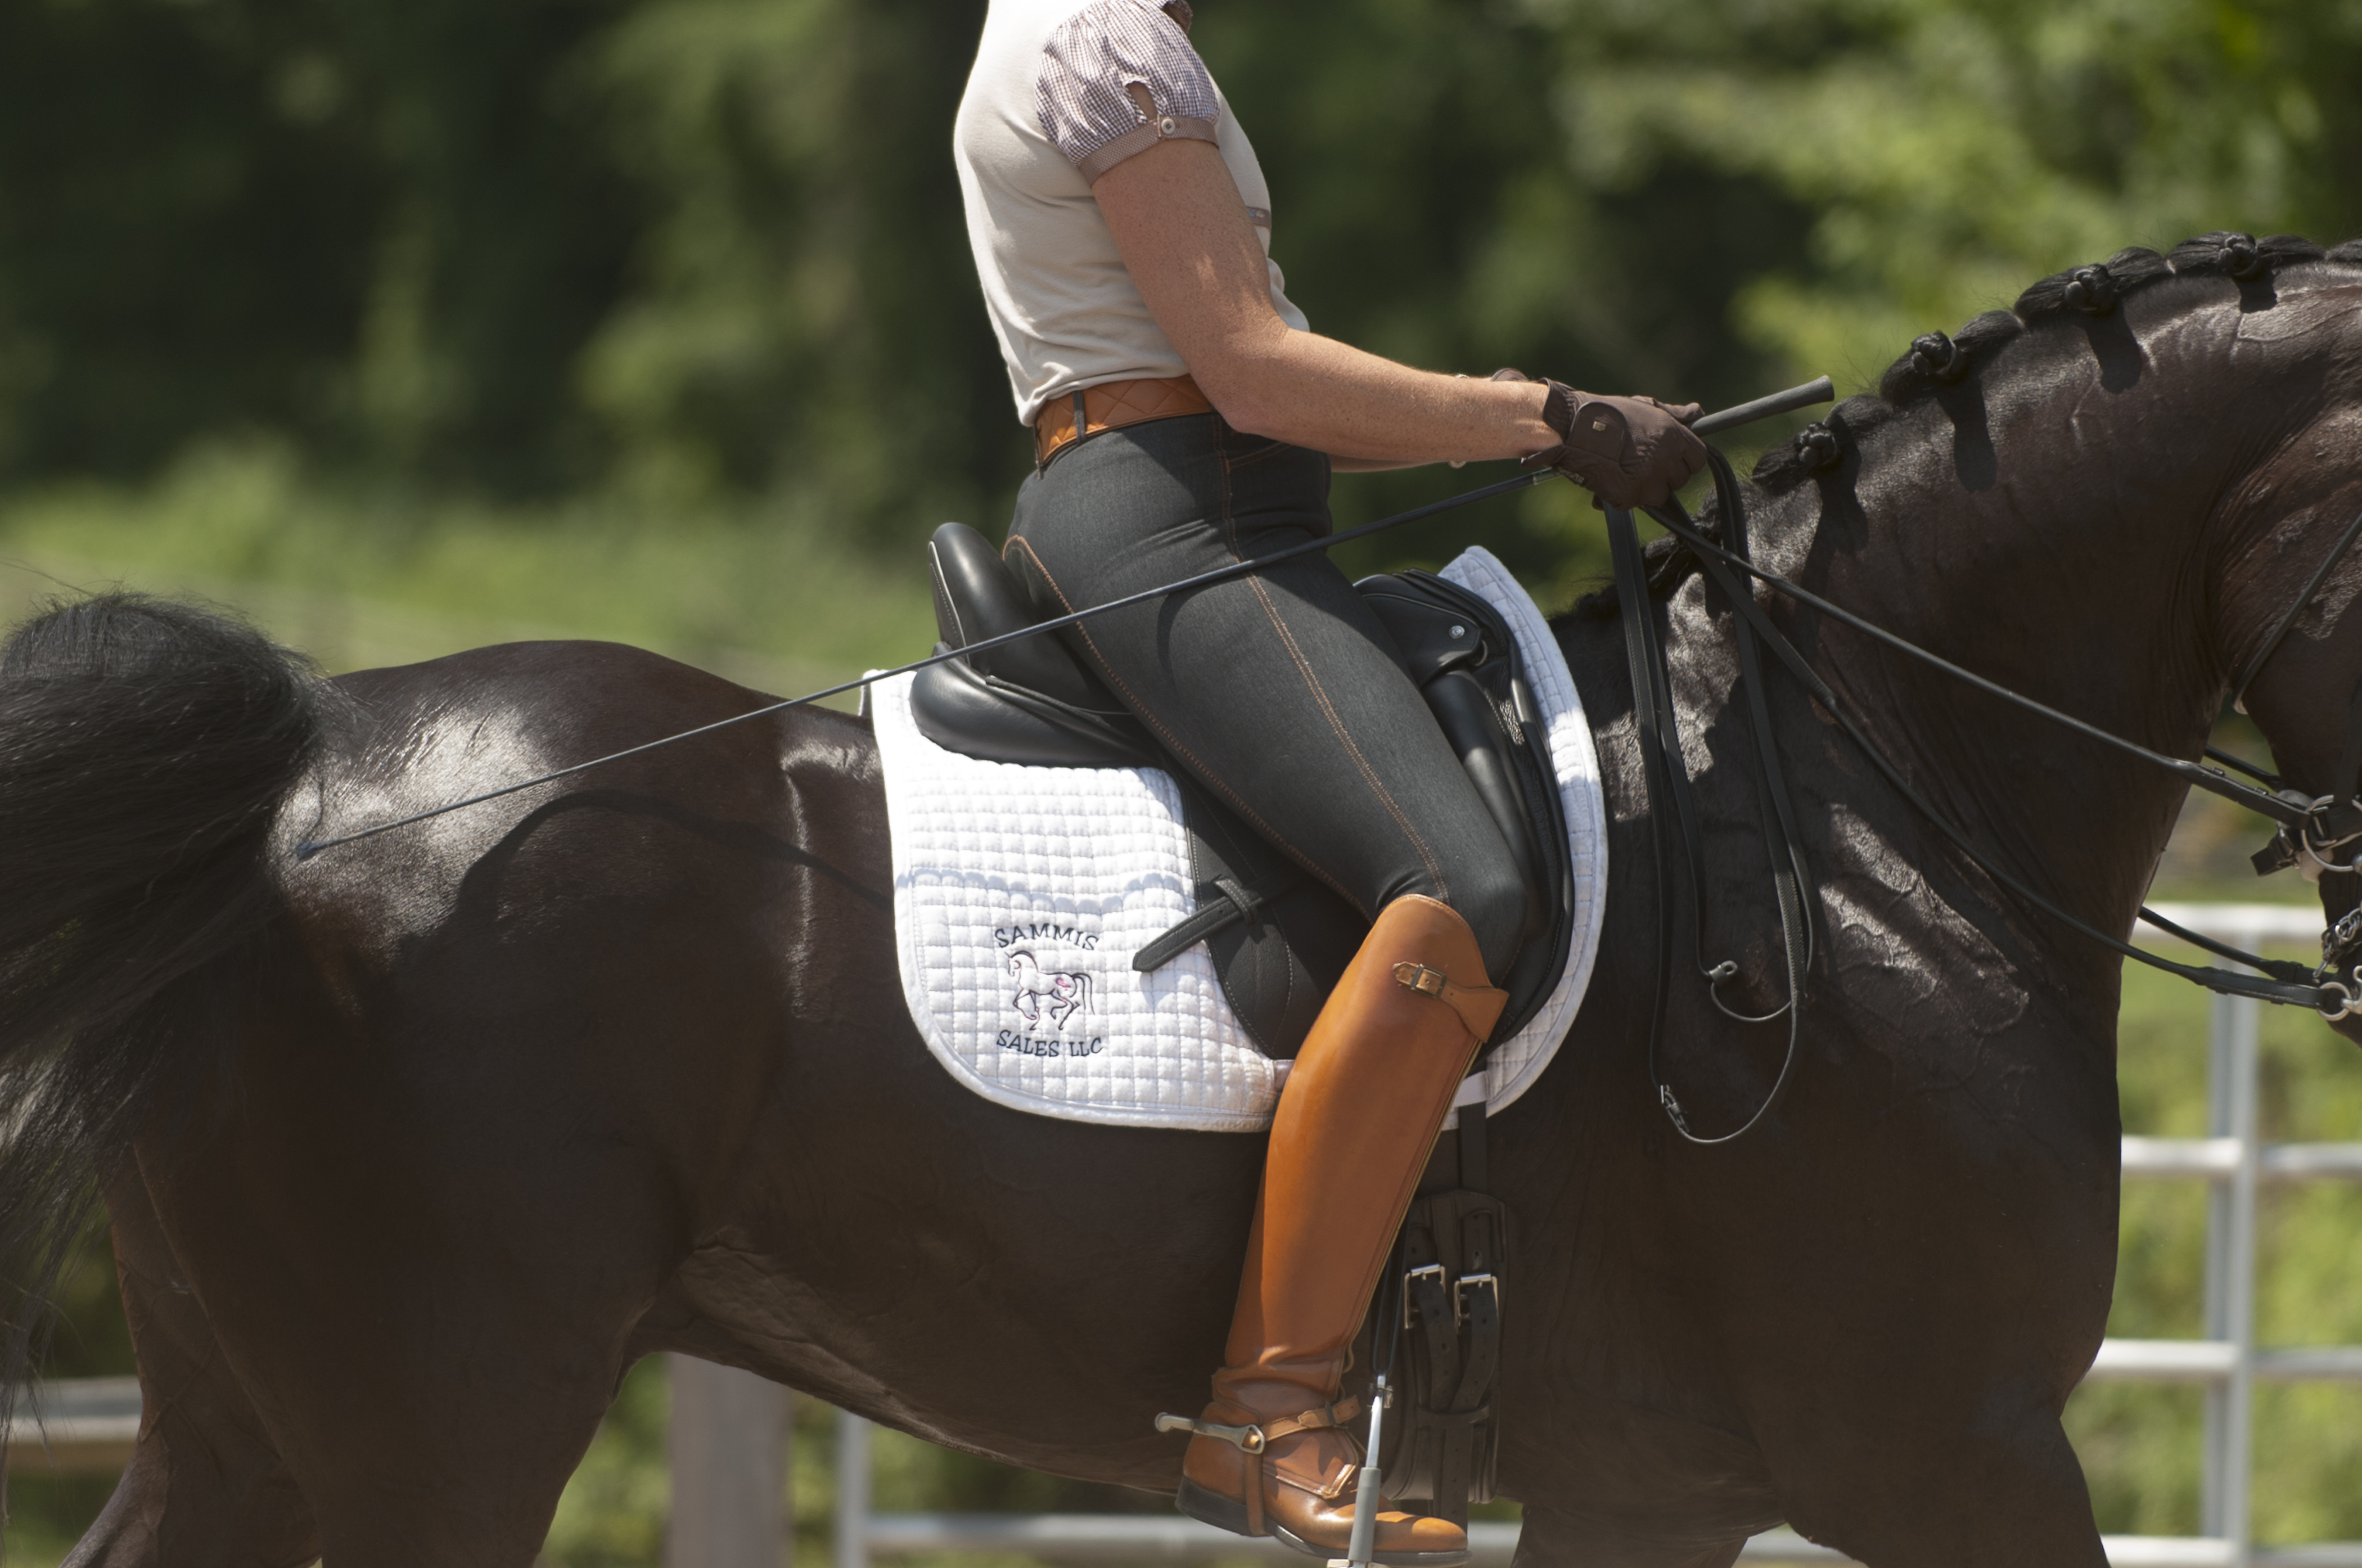
When a horse performs a great canter lengthening, the impression he gives is more than just the technically correct lengthening of his stride and frame, stretching over his back and neck into the bridle. He also gives the impression of “breathing” through his body, channeling energy from his hindquarters up into his back and shoulders to create big, fluid strides. As he transitions from working or collected canter into the lengthening, his cadence actually slows down—because he needs more time to take each elongated stride. It speeds up again when he transitions back to working or collected canter.
Most importantly in this ideal performance of the movement, the horse shows no signs of tension. Even the slightest tightening in his body produces the opposite effect: a quicker cadence with no increase in stride length. This is the most common mistake we see in the show ring. When riders come out of the corners and “gun it,” their horses hold their breaths and sprint down the arenas, without ever lengthening at all.
Although the canter lengthening is a steppingstone to the more powerful, expressive, uphill extended canter, which requires significant training to produce, you can introduce the basic concept very early in your horse’s education. As soon as he understands that legs mean go and reins mean slow down, you can begin to ask him to go a little forward and back within the canter. This is an incredible everyday training tool you’ll use all the way through the levels. It helps to make your horse more connected between your legs and hands and more “through” in his body, the quality I described as energy flowing forward from the hindquarters. It also keeps his mind active, making him start to ask, “What’s next?”
To teach your horse to lengthen, rather than quicken, you need to master three skills. First, you need to keep him straight in his body. If he’s crooked, for instance, with his haunches shifted to the inside, some of his power will be lost sideways. To maximize his power, both his hind legs need to reach directly under his body so they can push it up and forward.
The second skill you need to master is the ability to initiate the upward and downward transitions with your seat and a light leg. I’ll explain how to do that in this article. It’s easier than it sounds.
Finally, you need to allow your horse to relax and breathe through his back as he lengthens, so he feels free to lift up underneath you and produce bigger strides. I’ll explain how to do that, too.
Lengthen on a Circle
Let’s start with a lengthening exercise on a 20-meter circle. It’s easier to maintain the feeling of riding your horse from your inside leg to outside rein on a circle. This is very important because your outside rein is your speed rein. By following more with it, you allow your horse to go forward. By increasing the contact on it, you slow him down. The better your connection is on this rein, the better you’ll be in control of his speed.
The steps I’ll talk you through to produce a lengthening are the same, though, whether you’re on a circle or a straightaway.
Step 1: Check for straightness. Start with your position, being sure that the shape your body makes on top of your horse is absolutely symmetrical, so the right side of your body matches the left side, thus balancing your weight evenly across his spine. Ask yourself, “Are my shoulders even and parallel to the ground? Are my elbows even? Are my hips even? Are my seat bones even? Are my heels even?” Your horse will bulge out wherever you have a symmetry weakness, so constantly remind yourself to stay in balance.
Next, check your horse’s straightness. Mirrors are vital for this. As you canter on a perpendicular line toward your mirror, his shoulders should block your view of his hind legs. If they don’t, he’s not straight. Use your reins and legs to try to bring his haunches in line again with the shoulders. If you don’t have a mirror, ask a friend to evaluate your straightness as you canter toward her.
Also check that your leg position is correct, with your inside leg at the girth and outside leg slightly behind the girth.
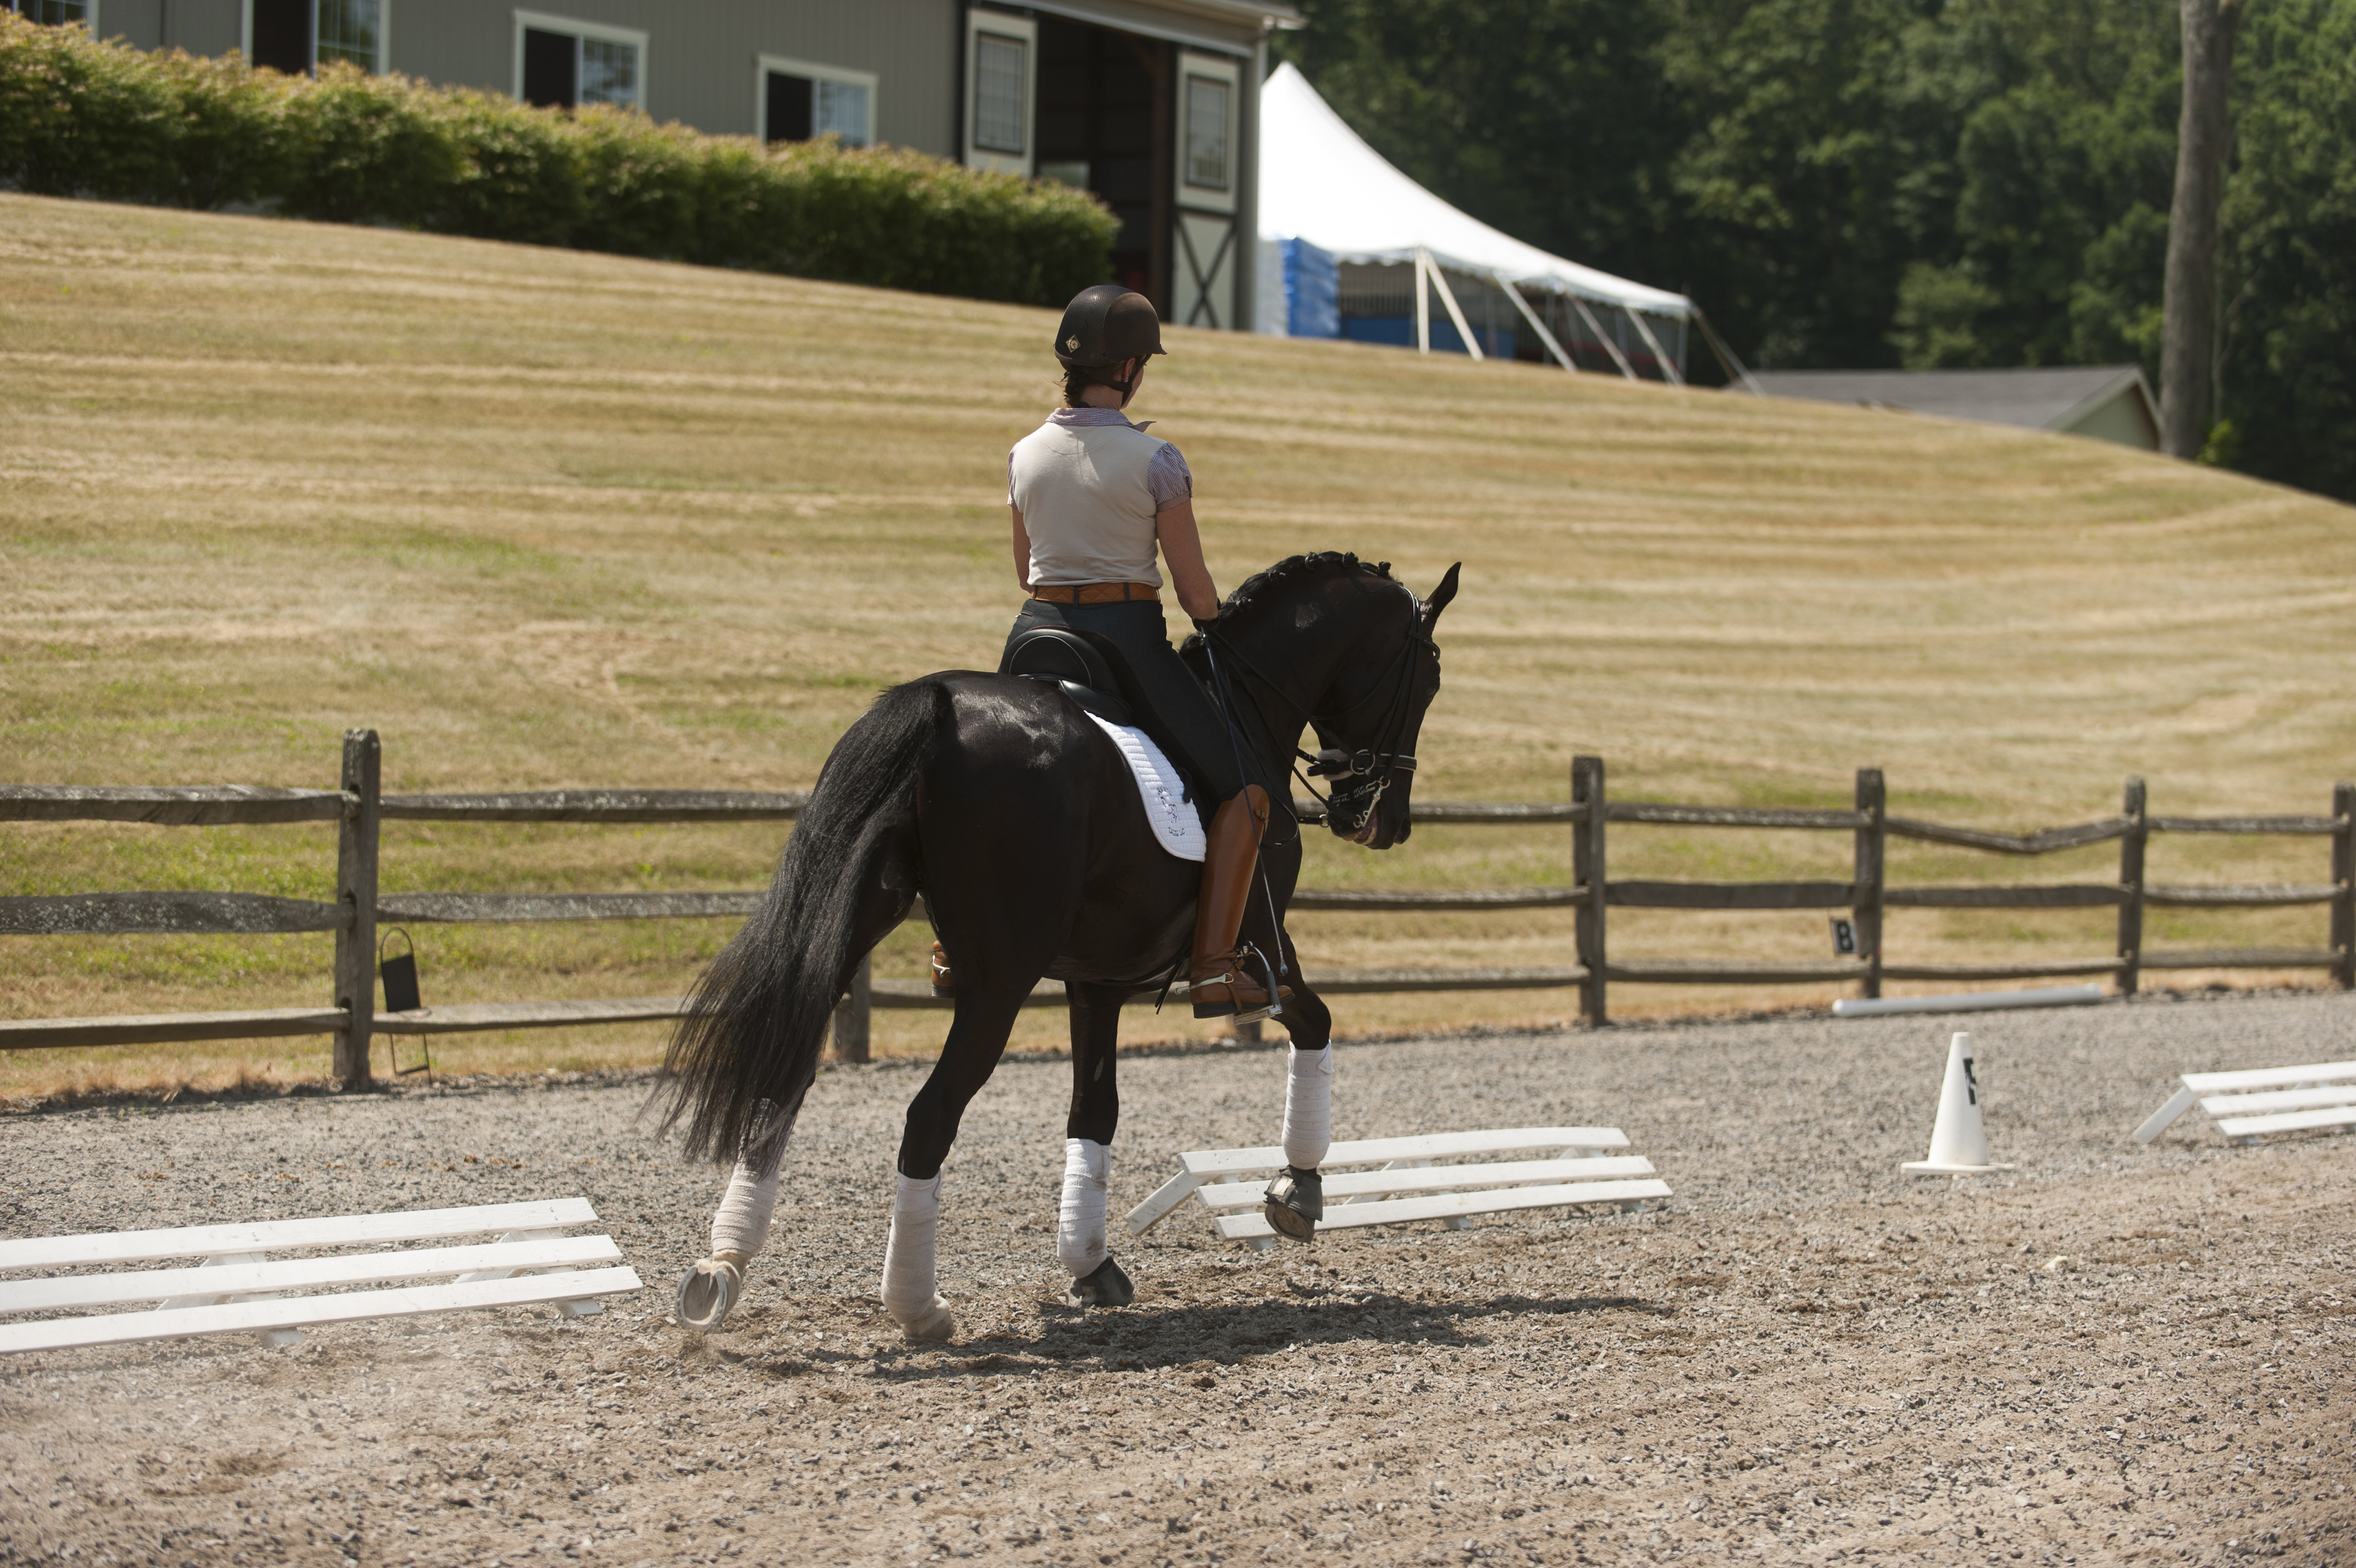
Step 2: Load and go! When riders prepare for lengthenings, they’re usually thinking, “forward, forward, forward!” But to create the power you want to unleash in the movement, your horse needs to load his hindquarters. Here’s how to help him do that:
Begin in the working canter on the rail, planning to make a 20-meter circle midway down the long side of the arena. A few strides before you reach that point, ask him to shorten his stride slightly—think baby steps. Do this by counting the strides in your head, one number for each stride, in a clipped, staccato rhythm: “One, two, one, two.” While staying neutral in your upper body—not leaning forward or backward—allow your hips and lower back to swing forward and back in this same rhythm. This will help your horse shift his weight back over his hindquarters, producing more carrying power. Imagine his tail dropping toward the ground as if he’s doing a wheelie.
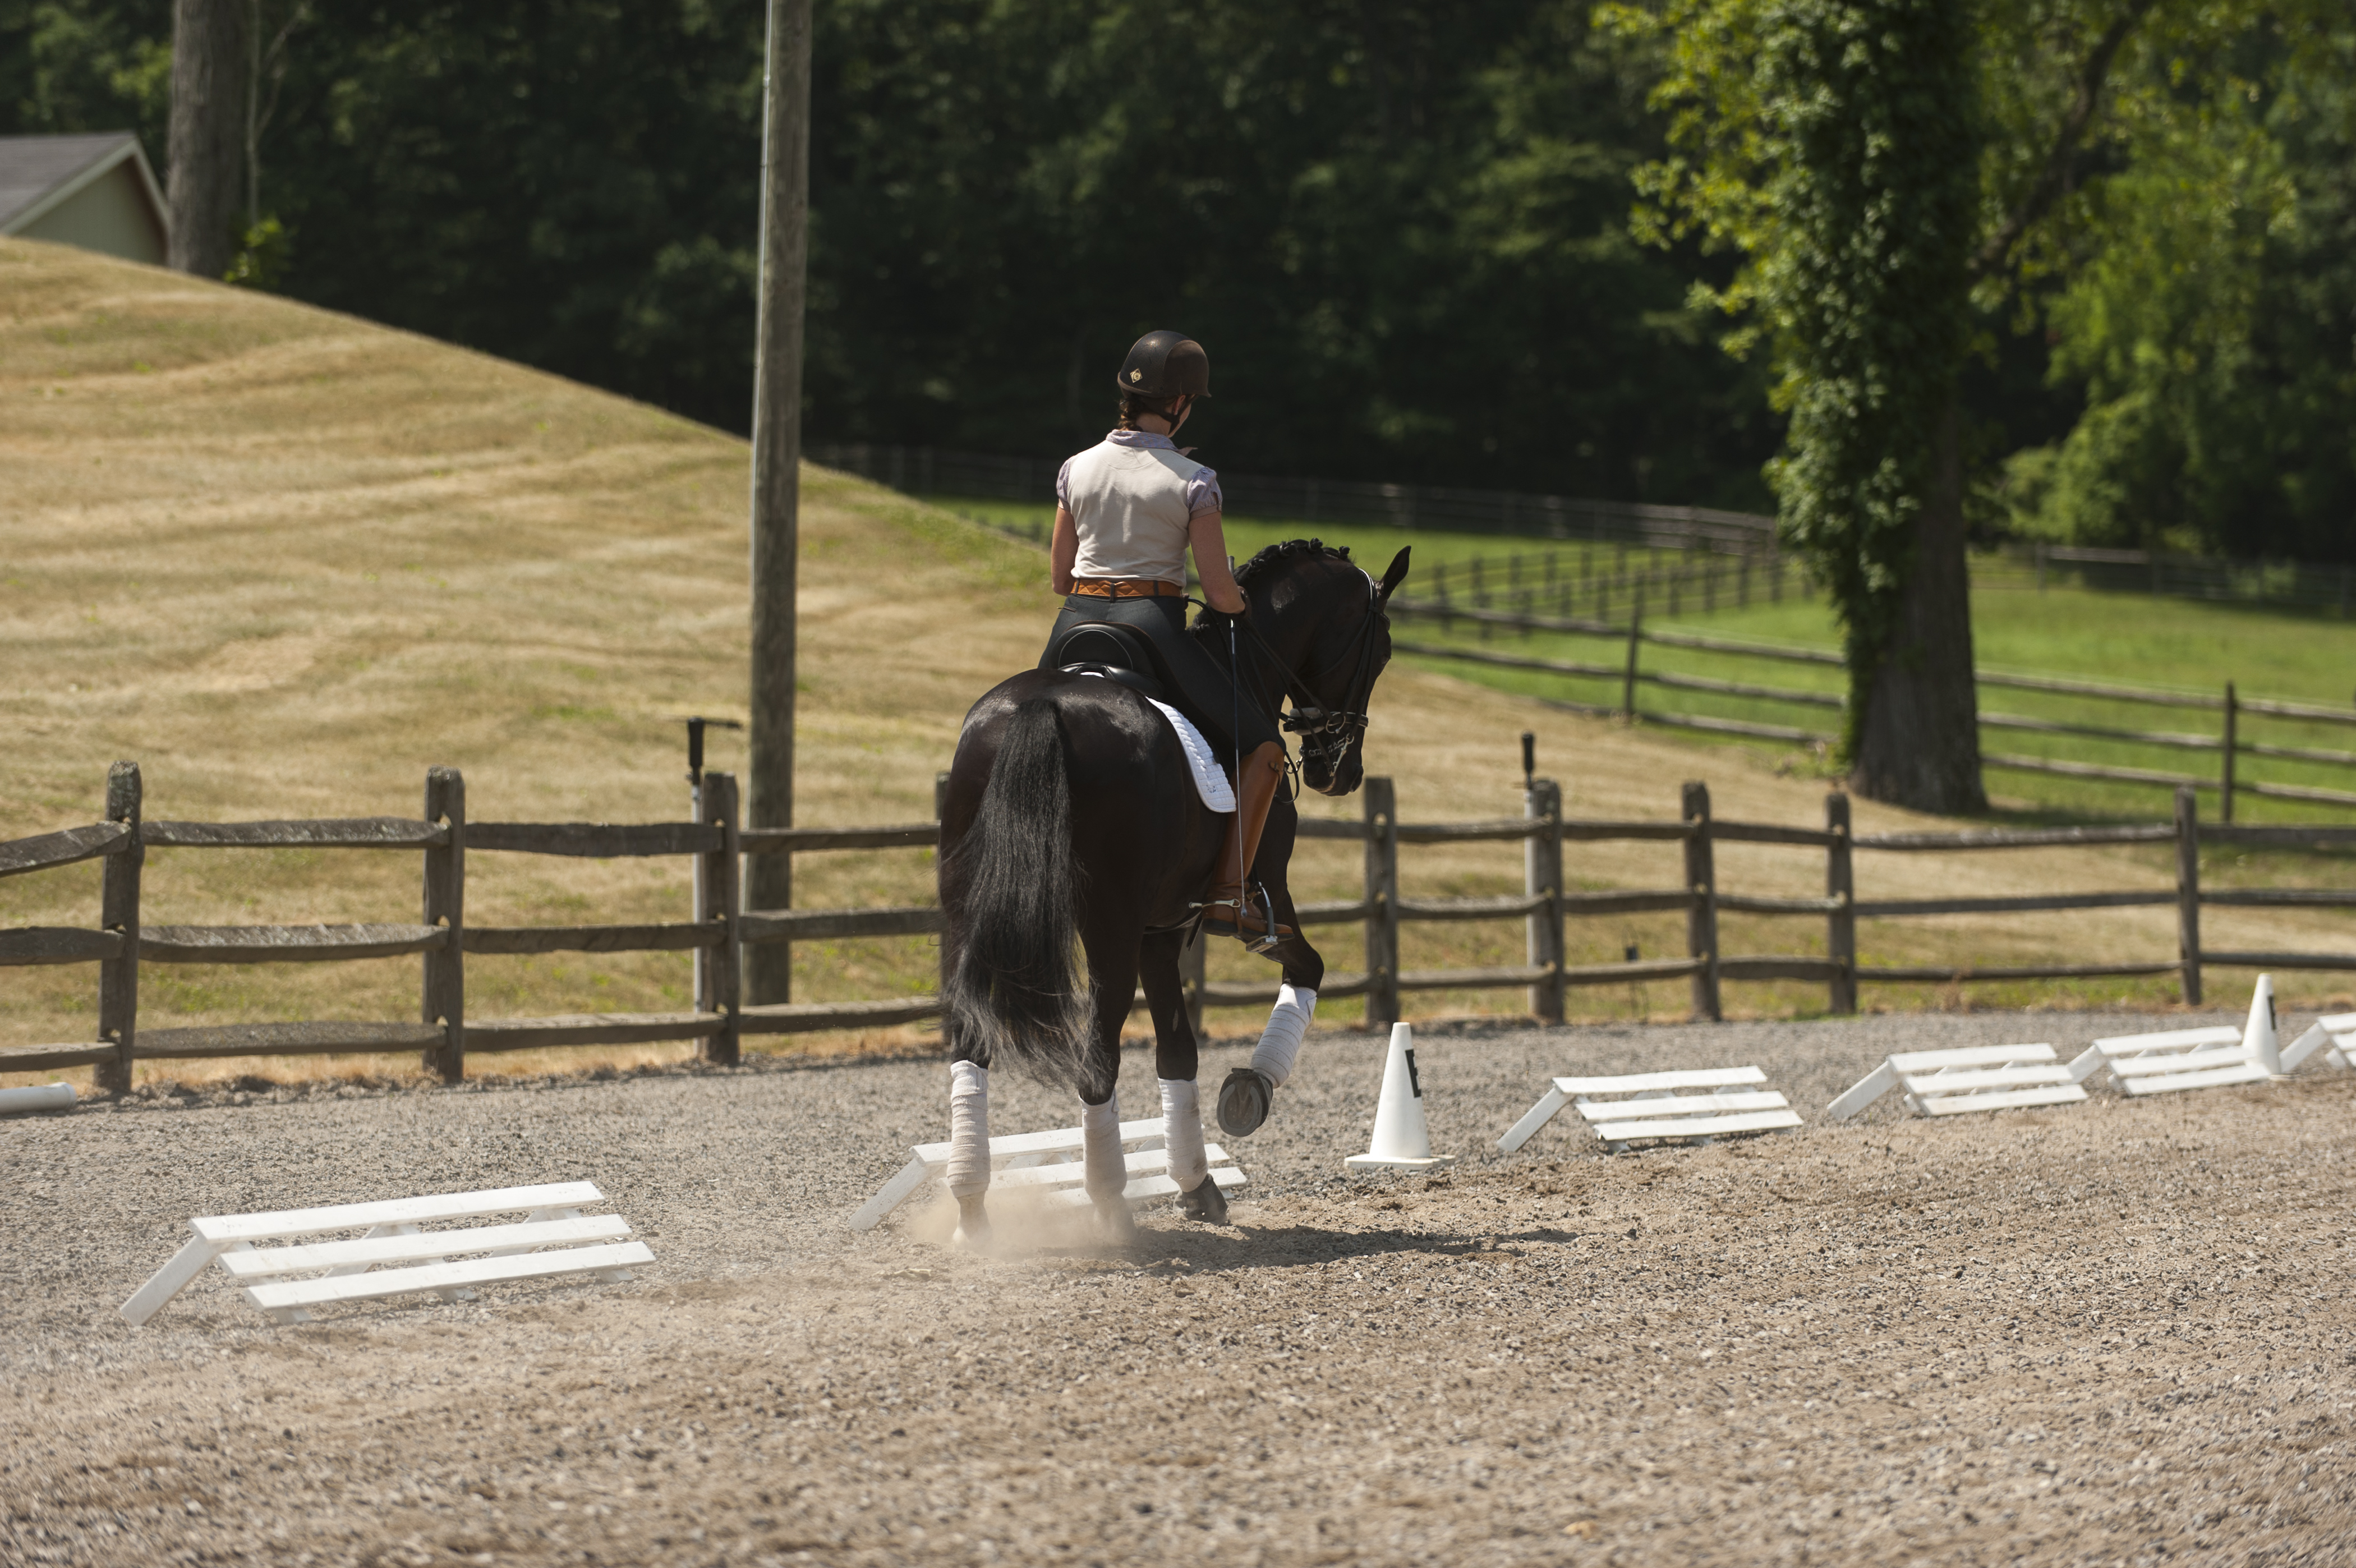
At the same time, create more energy by using quick, loose leg aids in rhythm with your horse’s canter stride. Being loose is key here. If you’re constantly squeezing your legs around him, he’ll feel like he can’t expand his rib cage in nice, big breaths. So, instead, keep your upper legs loose in the saddle and apply your leg aids with a quick closing-and-releasing motion in your lower legs. Think of gathering his belly up underneath you with each stride, encouraging him to jump higher during the upward swing of each stride. In between each light kick—during the downward phase of the canter stride—take your entire leg off him and stretch it down toward the ground. Try not to overanalyze this leg-aid timing, though. Your natural rhythm will help you apply the aid at the right time.
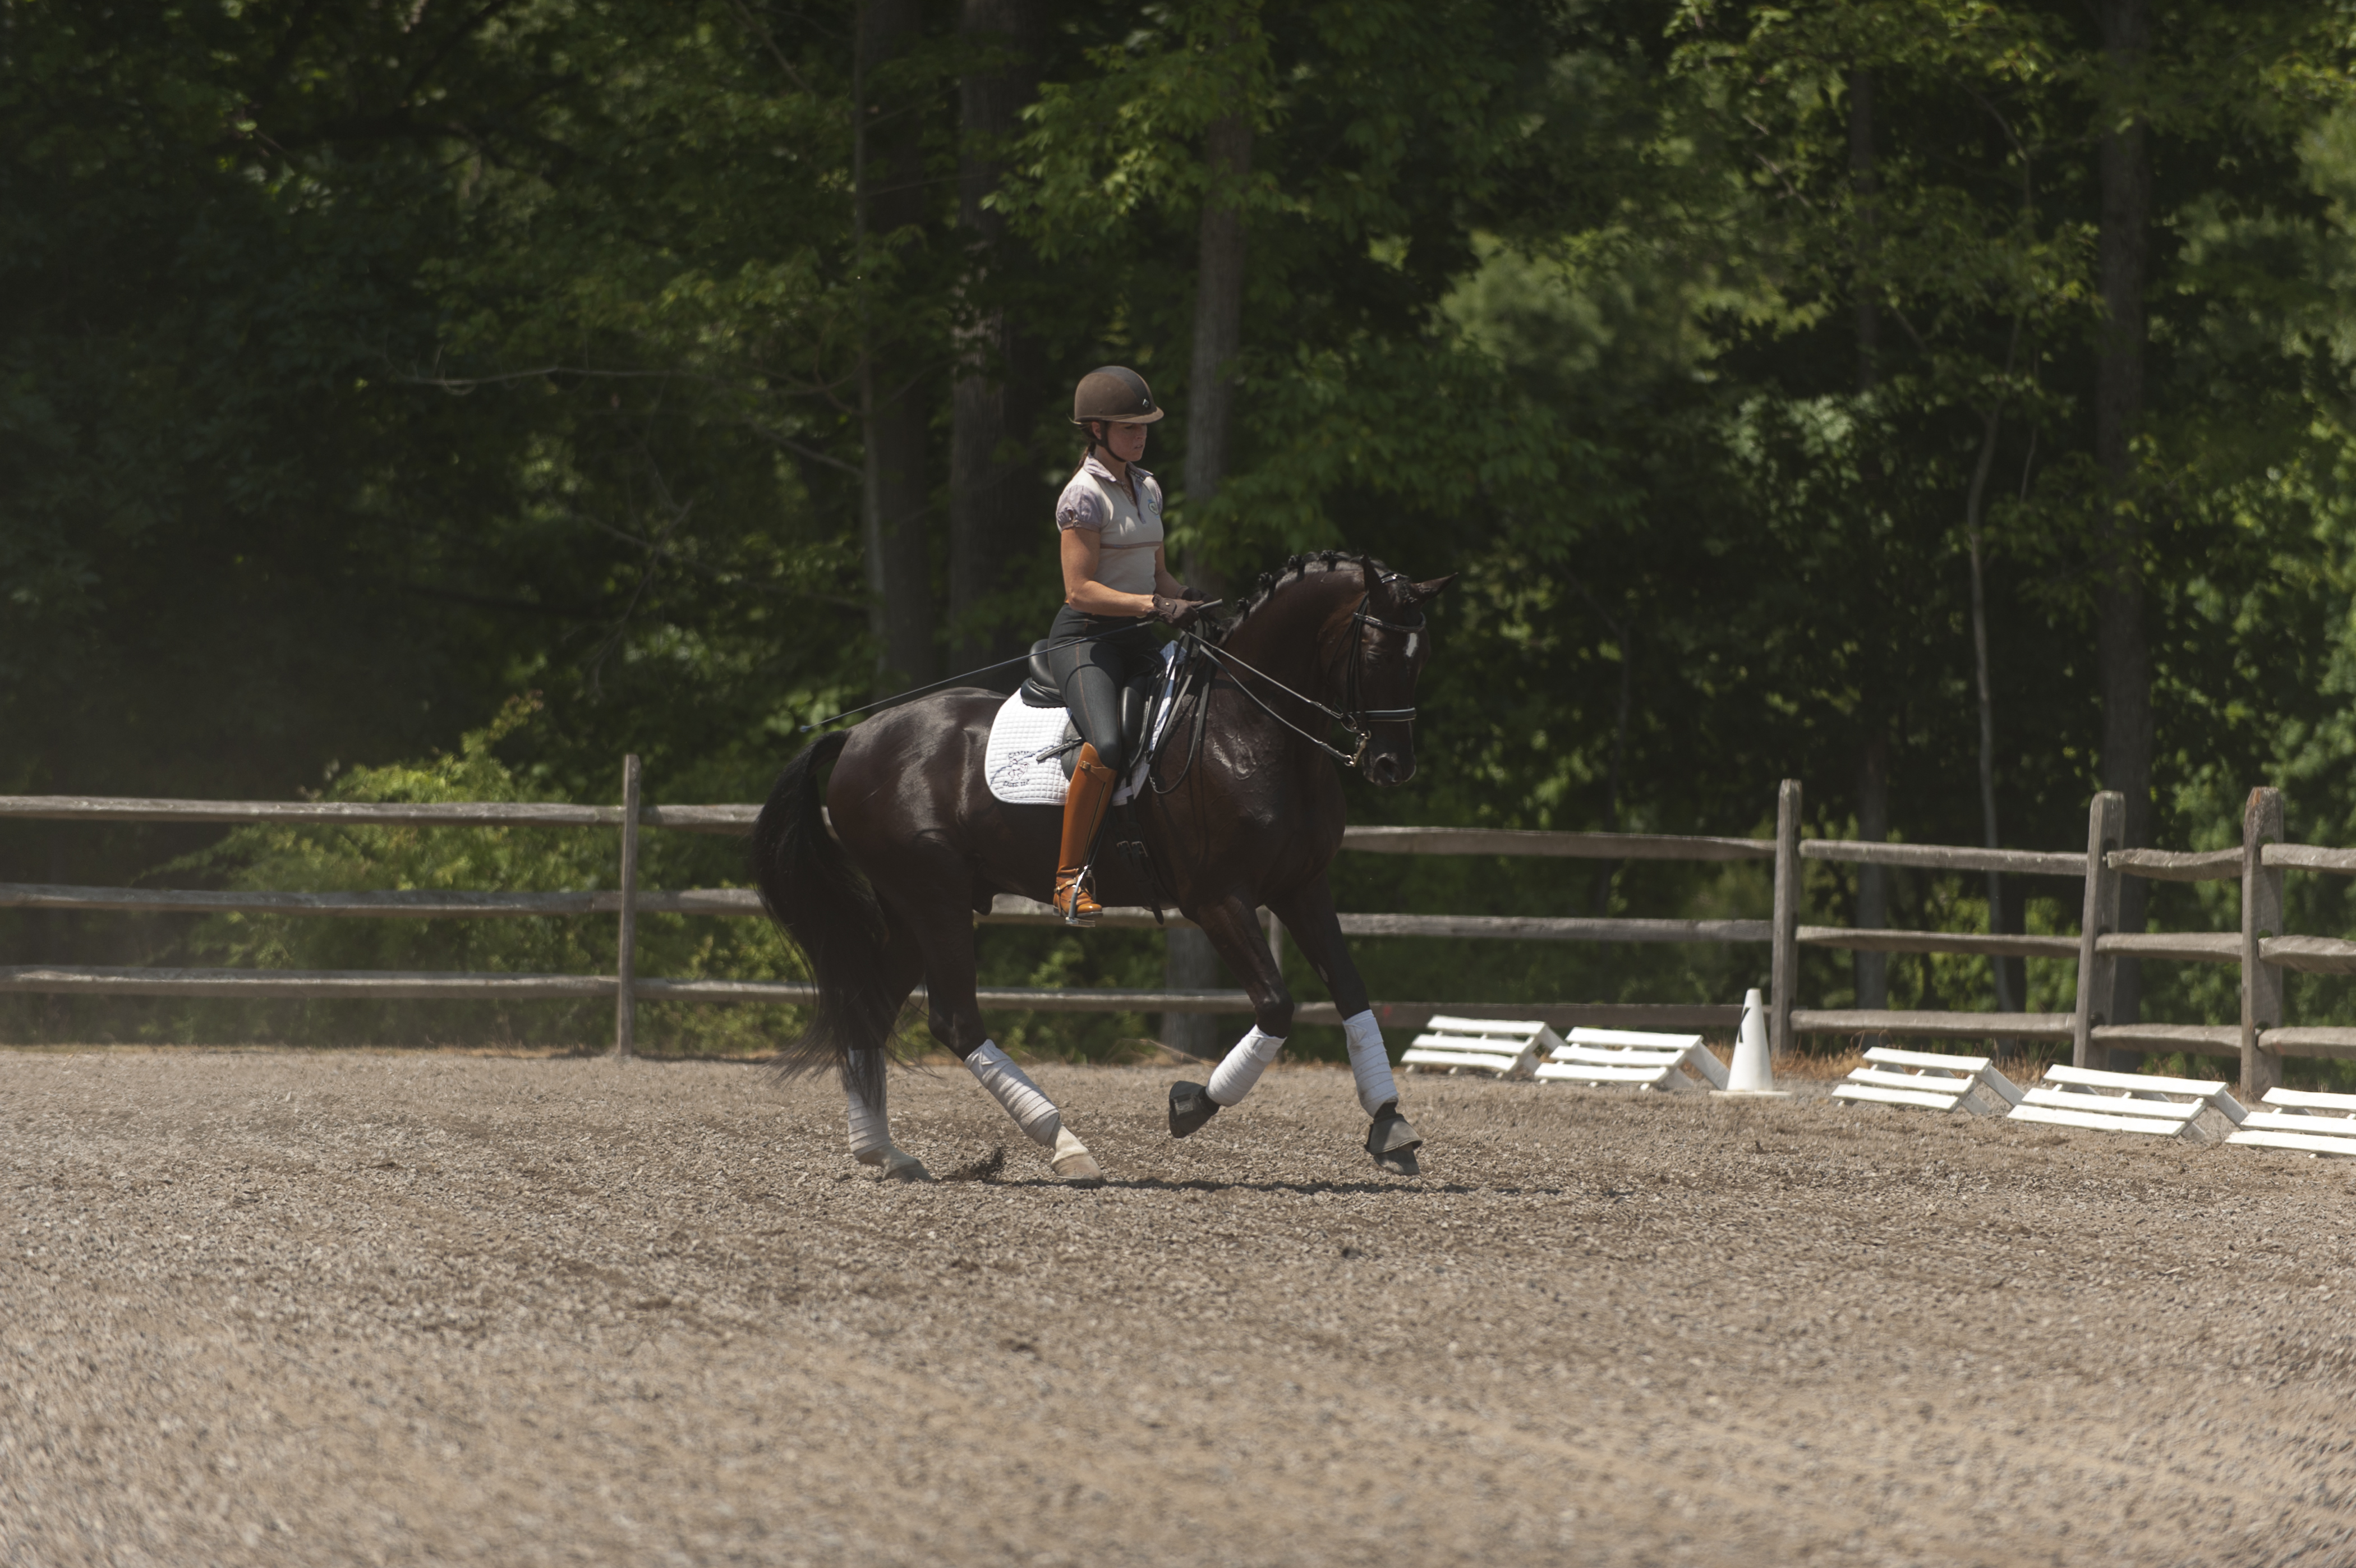
Step 3: Allow bigger steps. When you turn onto the circle, gradually slow the swinging motion of your seat, thinking of a slower cadence in your head: “one and two and three and four.” For some reason, counting to higher numbers seems to help me create bigger strides. This is where you have to trust that your horse will try to change his tempo to match yours. It might not happen right away but, with practice, he will do it.
Now think of growing the canter within each stride. Instead of slamming him from first gear to fourth, progress gradually and fluidly through the gears, first to second, second to third and so on, all the while allowing him to breathe through his back. Follow the motion of his mouth with your hands, maintaining a light contact so the power flowing forward from his hindquarters gets recycled back through his body.
Step 4: Bring him back with your seat. As you approach the rail again, ask him to return to working or collected canter. Instead of using your reins first, concentrate on changing the tempo in your seat. Quicken the swing again to create the “one, two, one, two” tempo you had before the lengthening. Give your horse a few strides to respond to this. Again, you’ll be surprised by how much he tries to match your tempo. Meanwhile, keep your legs in position and continue to apply the light gathering leg aid to encourage the jump in his canter.
In the downward transition, think of him lowering his tail while growing up through his shoulders. By using your seat to initiate the transition, you’ll encourage him to respond first in his hindquarters. This will produce a smoother, engaged transition. As he shortens and quickens his steps in his hind legs, he’ll stay balanced in his front end. If, instead, you use your reins first, he’ll brace against your reins, shorten his neck and tip his hindquarters up, rather than down.
If he doesn’t respond at all, squeeze and release your fingers on the reins until he returns to working canter. As your horse’s training progresses, you’ll find that you actually want to give him more rein in the downward transition to avoid shortening his neck. Then ride through the short side and repeat the exercise on a new circle, starting on the other side of the arena.
With repetition, you’ll notice your horse responding more and more to your seat aids in both the upward and downward transitions.
Lengthen on a Straightaway
When your lengthenings are developing well on a circle, try them on the long side of your arena, following the same steps I described above. First check your body symmetry. Then, in the corner, think “load and go,” asking your horse to add strides. For example, instead of taking three strides around the corner, see if he can make five or six.
After initiating the lengthening with your slower seat swing, try to make each stride a little bit longer than the previous one by swinging your seat in an increasingly slower, longer rhythm. As you progress down the long side, check your straightness—all points of your position even and level with the ground. Then check again just before the downward transition in the next corner. Use your seat to ask your horse to shorten and quicken his stride, adding more steps around this corner, too.
Be careful not to lean in as you approach the second corner. Changing your balance will affect your horse’s straightness, too, possibly even causing him to swap leads or counter-canter in the downward transition.
Repeat this several times as you go around the ring. Lengthen down each long side, and come back to working canter for each short side. After a few repetitions, you’ll notice your horse begin to anticipate the far corner and collect and balance himself before it.
Incorporate this same forward-and-back concept throughout your daily rides, both to increase your horse’s engagement and tune him in to your aids. The degree of lengthening and collection you ask for depends on your horse’s level. With my Grand Prix horses, for example, I ask for a full extended canter, then bring them back to a pirouette canter (a very collected canter)—thus asking them to demonstrate the full range of their strides.
Use the same concept in the show ring, not just for the actual lengthening movement, but for any other moment in the test where you can show off your horse’s canter a little. For example, ask for the slightly quicker tempo in the corners to improve his balance, then open up a little on the short sides of the arena to produce a little bigger, flashier canter.
Troubleshooting
For lazy horses: With practice, most horses respond well to the seat aid I described above for initiating the canter. If your horse is on the lazy side, though, he may need a little encouragement from the whip at first. This may sound counterintuitive, but the most effective time to use the whip is in the working or collected canter before you ask for the lengthening. When you’re loading the canter, use a tickle of the whip behind your leg in rhythm with his stride to encourage him to jump up and through from behind. This will help him build the power he needs to produce the lengthening, which you can then simply allow by swinging your hips in a slower tempo while following with your hands.
If he still doesn’t lengthen his stride, give him another tap as you initiate the seat aid. Praise him for any effort he makes, even if it’s just one or two longer strides. Then build on this over time, asking for three lengthened strides, then four, and so on.
Use the whip again when you ask for the downward transition. It’s harder for horses to gather their bodies back into a working or collected canter than it is to go forward. So as you speed up the swinging of your seat, tickle him with the whip to ask him to “jump, jump, jump” again.
For strong horses: Horses who get strong in the bridle during lengthenings (particularly ex-racehorses who associate rein pressure with going faster) sometimes don’t respond well to downward-transition aids. For horses like this, work circles into the exercise. For example, in working canter, turn down the long side and immediately make a 10-meter circle. When you return to the rail, lengthen stride until about halfway down the arena. Then make another 10-meter circle while asking him to make a downward transition back to working canter. This will help to reinforce your downward aids, encouraging your horse to collect his stride for balance. Ask for one more lengthening down the second half of the arena, followed by another 10-meter circle.
As his responsiveness improves in the downward transitions, take out the middle circle and try lengthening all the way down the long side between the first and last circle. Eventually you’ll be able to do it without any circles.
For cold-backed horses: If your horse is a little stiff or tight in his back during warm-up, try doing canter lengthenings in half-seat. Stand up a few inches out of the saddle, balancing your weight over your lower legs, being careful not to lean on the reins for balance. This will encourage him to round his back and jump up and through from behind. Be sure he’s still lengthening his frame and stretching his back and neck forward into the contact.
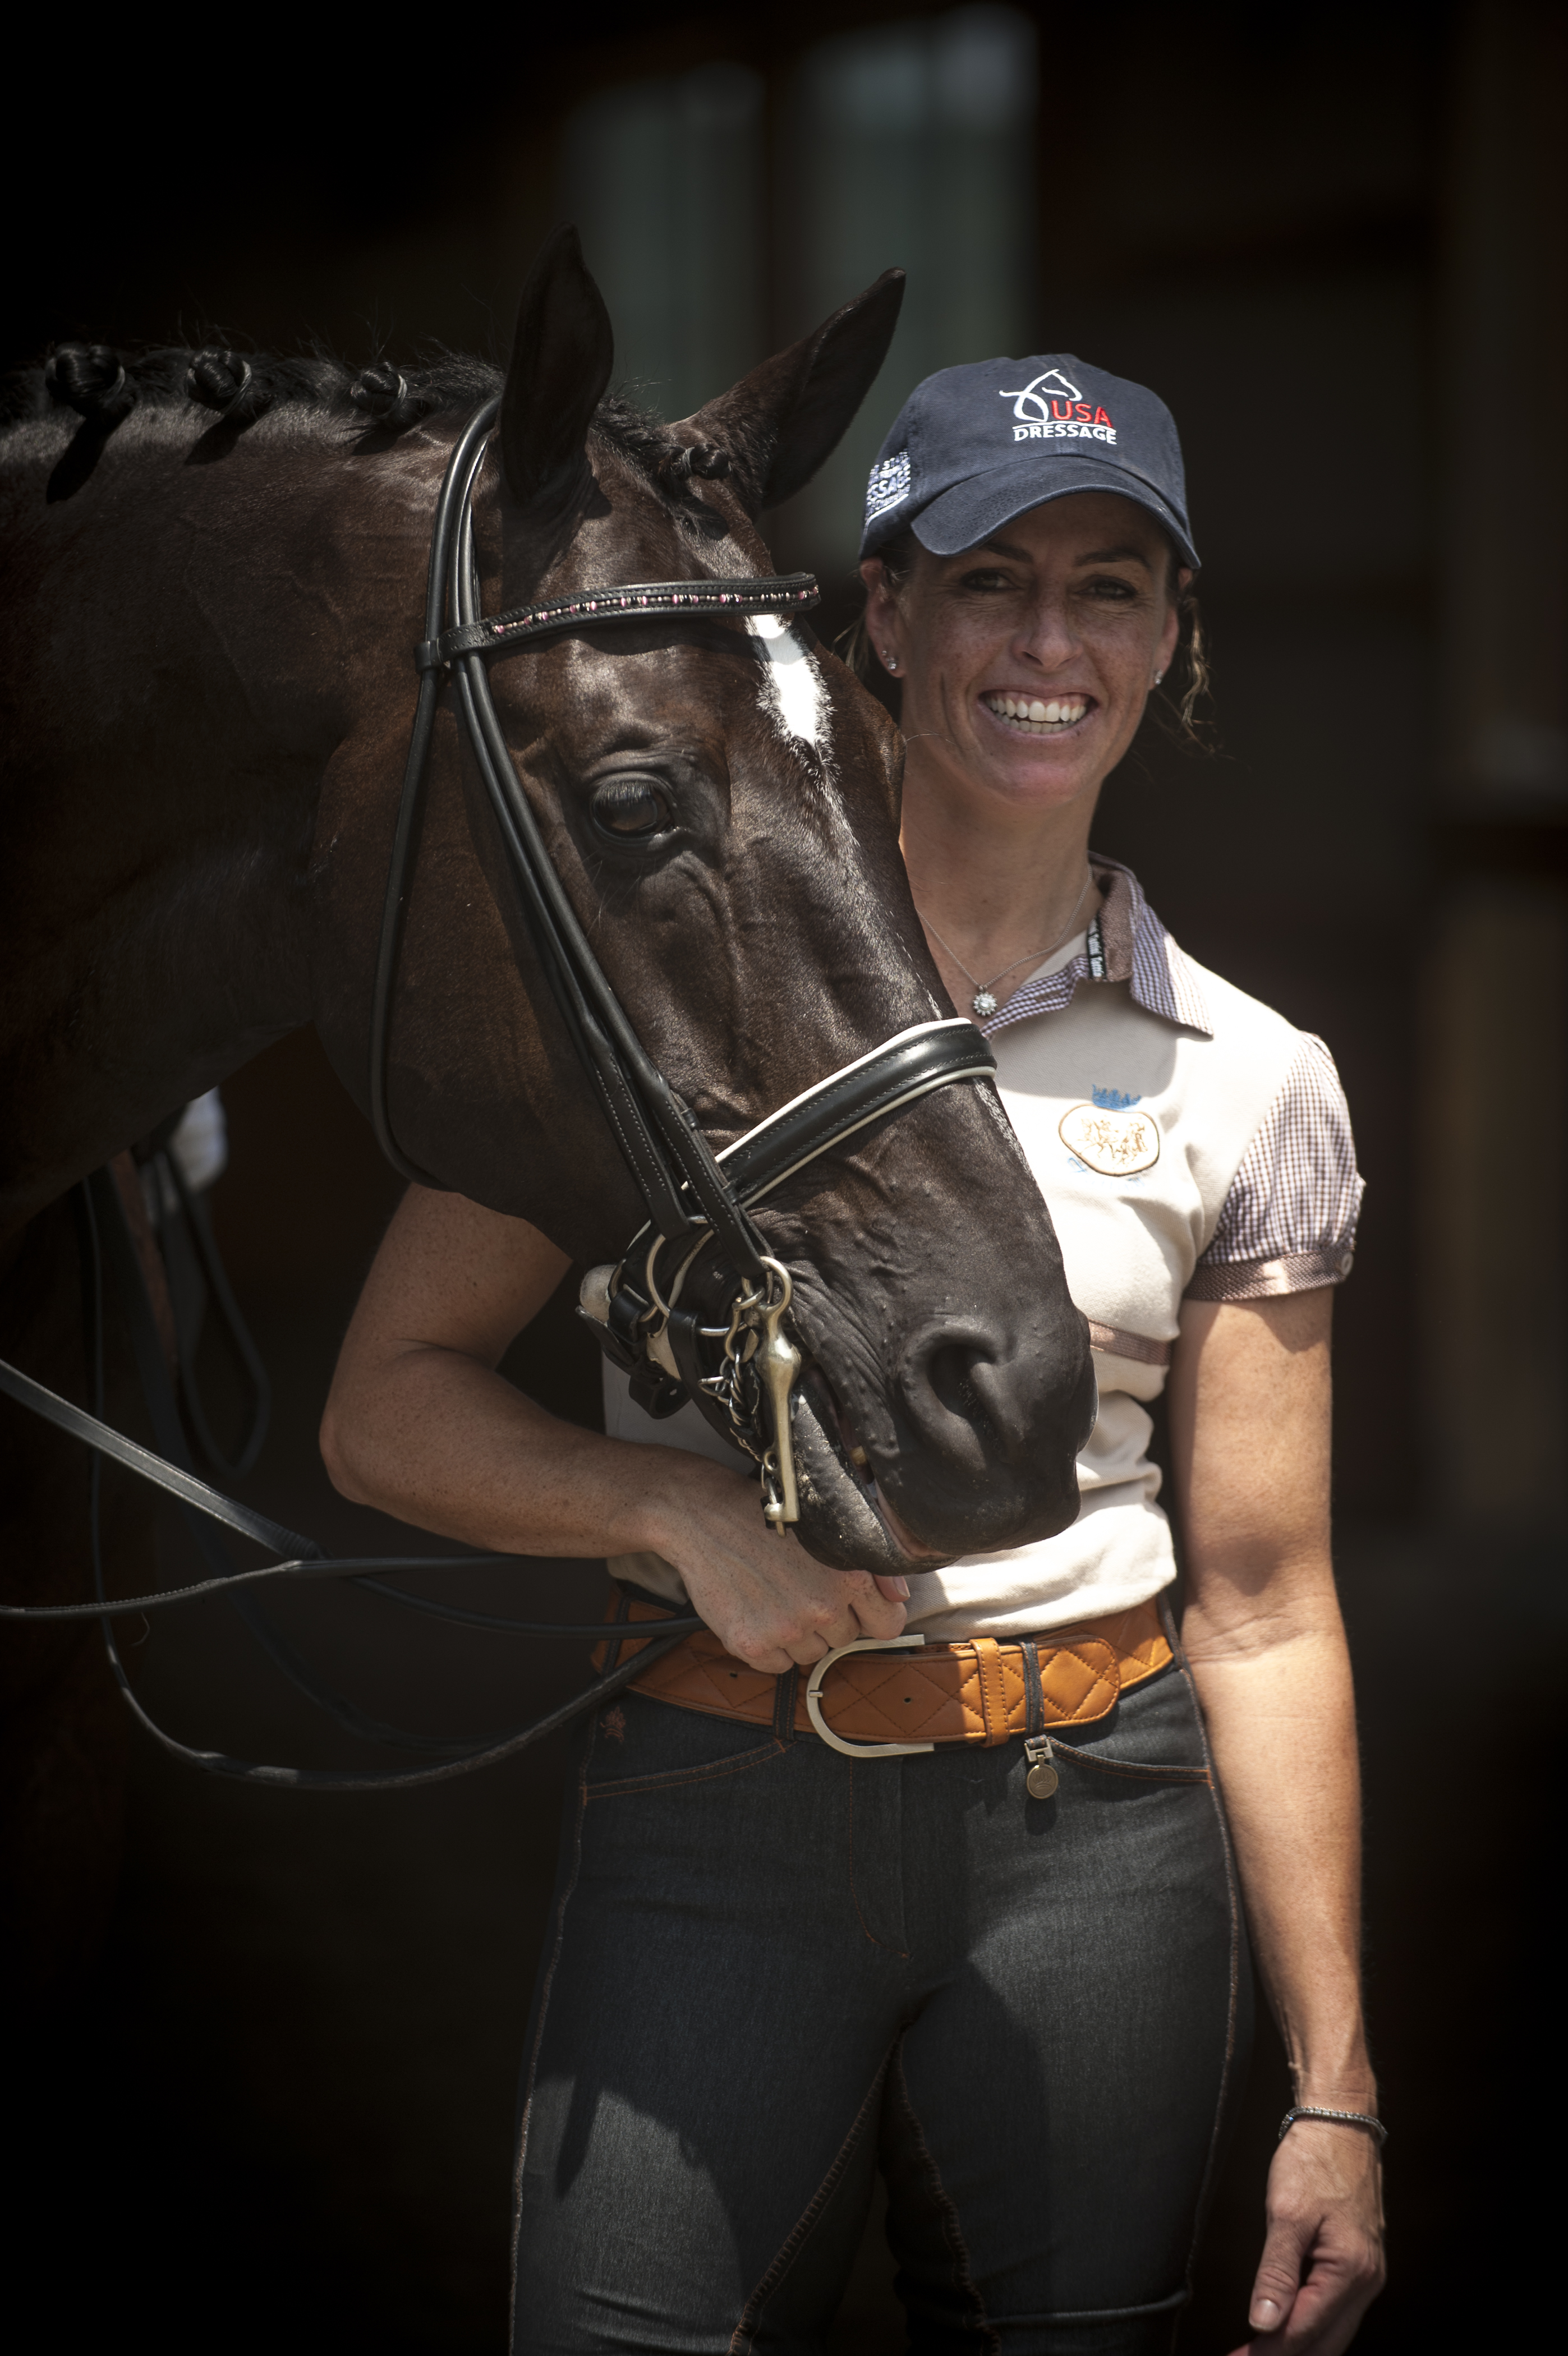
Grand Prix dressage rider Lauren Sammis has earned her U.S. Dressage Federation bronze, silver and gold medals. In 2007, she and Hyperion Farms’ Dutch Warmblood gelding Sagacious HF represented the United States at the Pan Am Games, earning individual silver and team gold medals. A strong supporter of the Riders4Helmets advocacy group, Lauren always wears a helmet while riding, even when competing in the Grand Prix ring. She has also developed a reputation as an importer of talented European dressage horses. Lauren is the founder of Sammis Sales LLC, a business of training Dressage horses. Lauren offers world-class dressage training, instruction and coaching through the Grand Prix level.
This article originally appeared in the September 2012 issue.