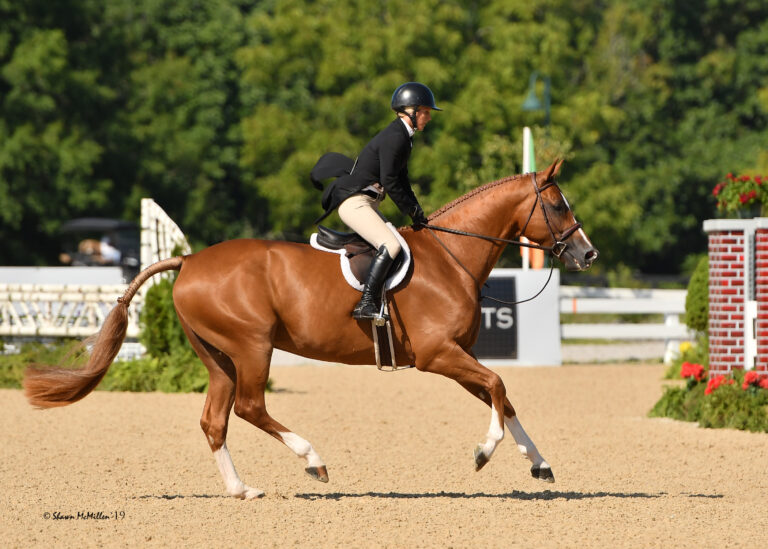
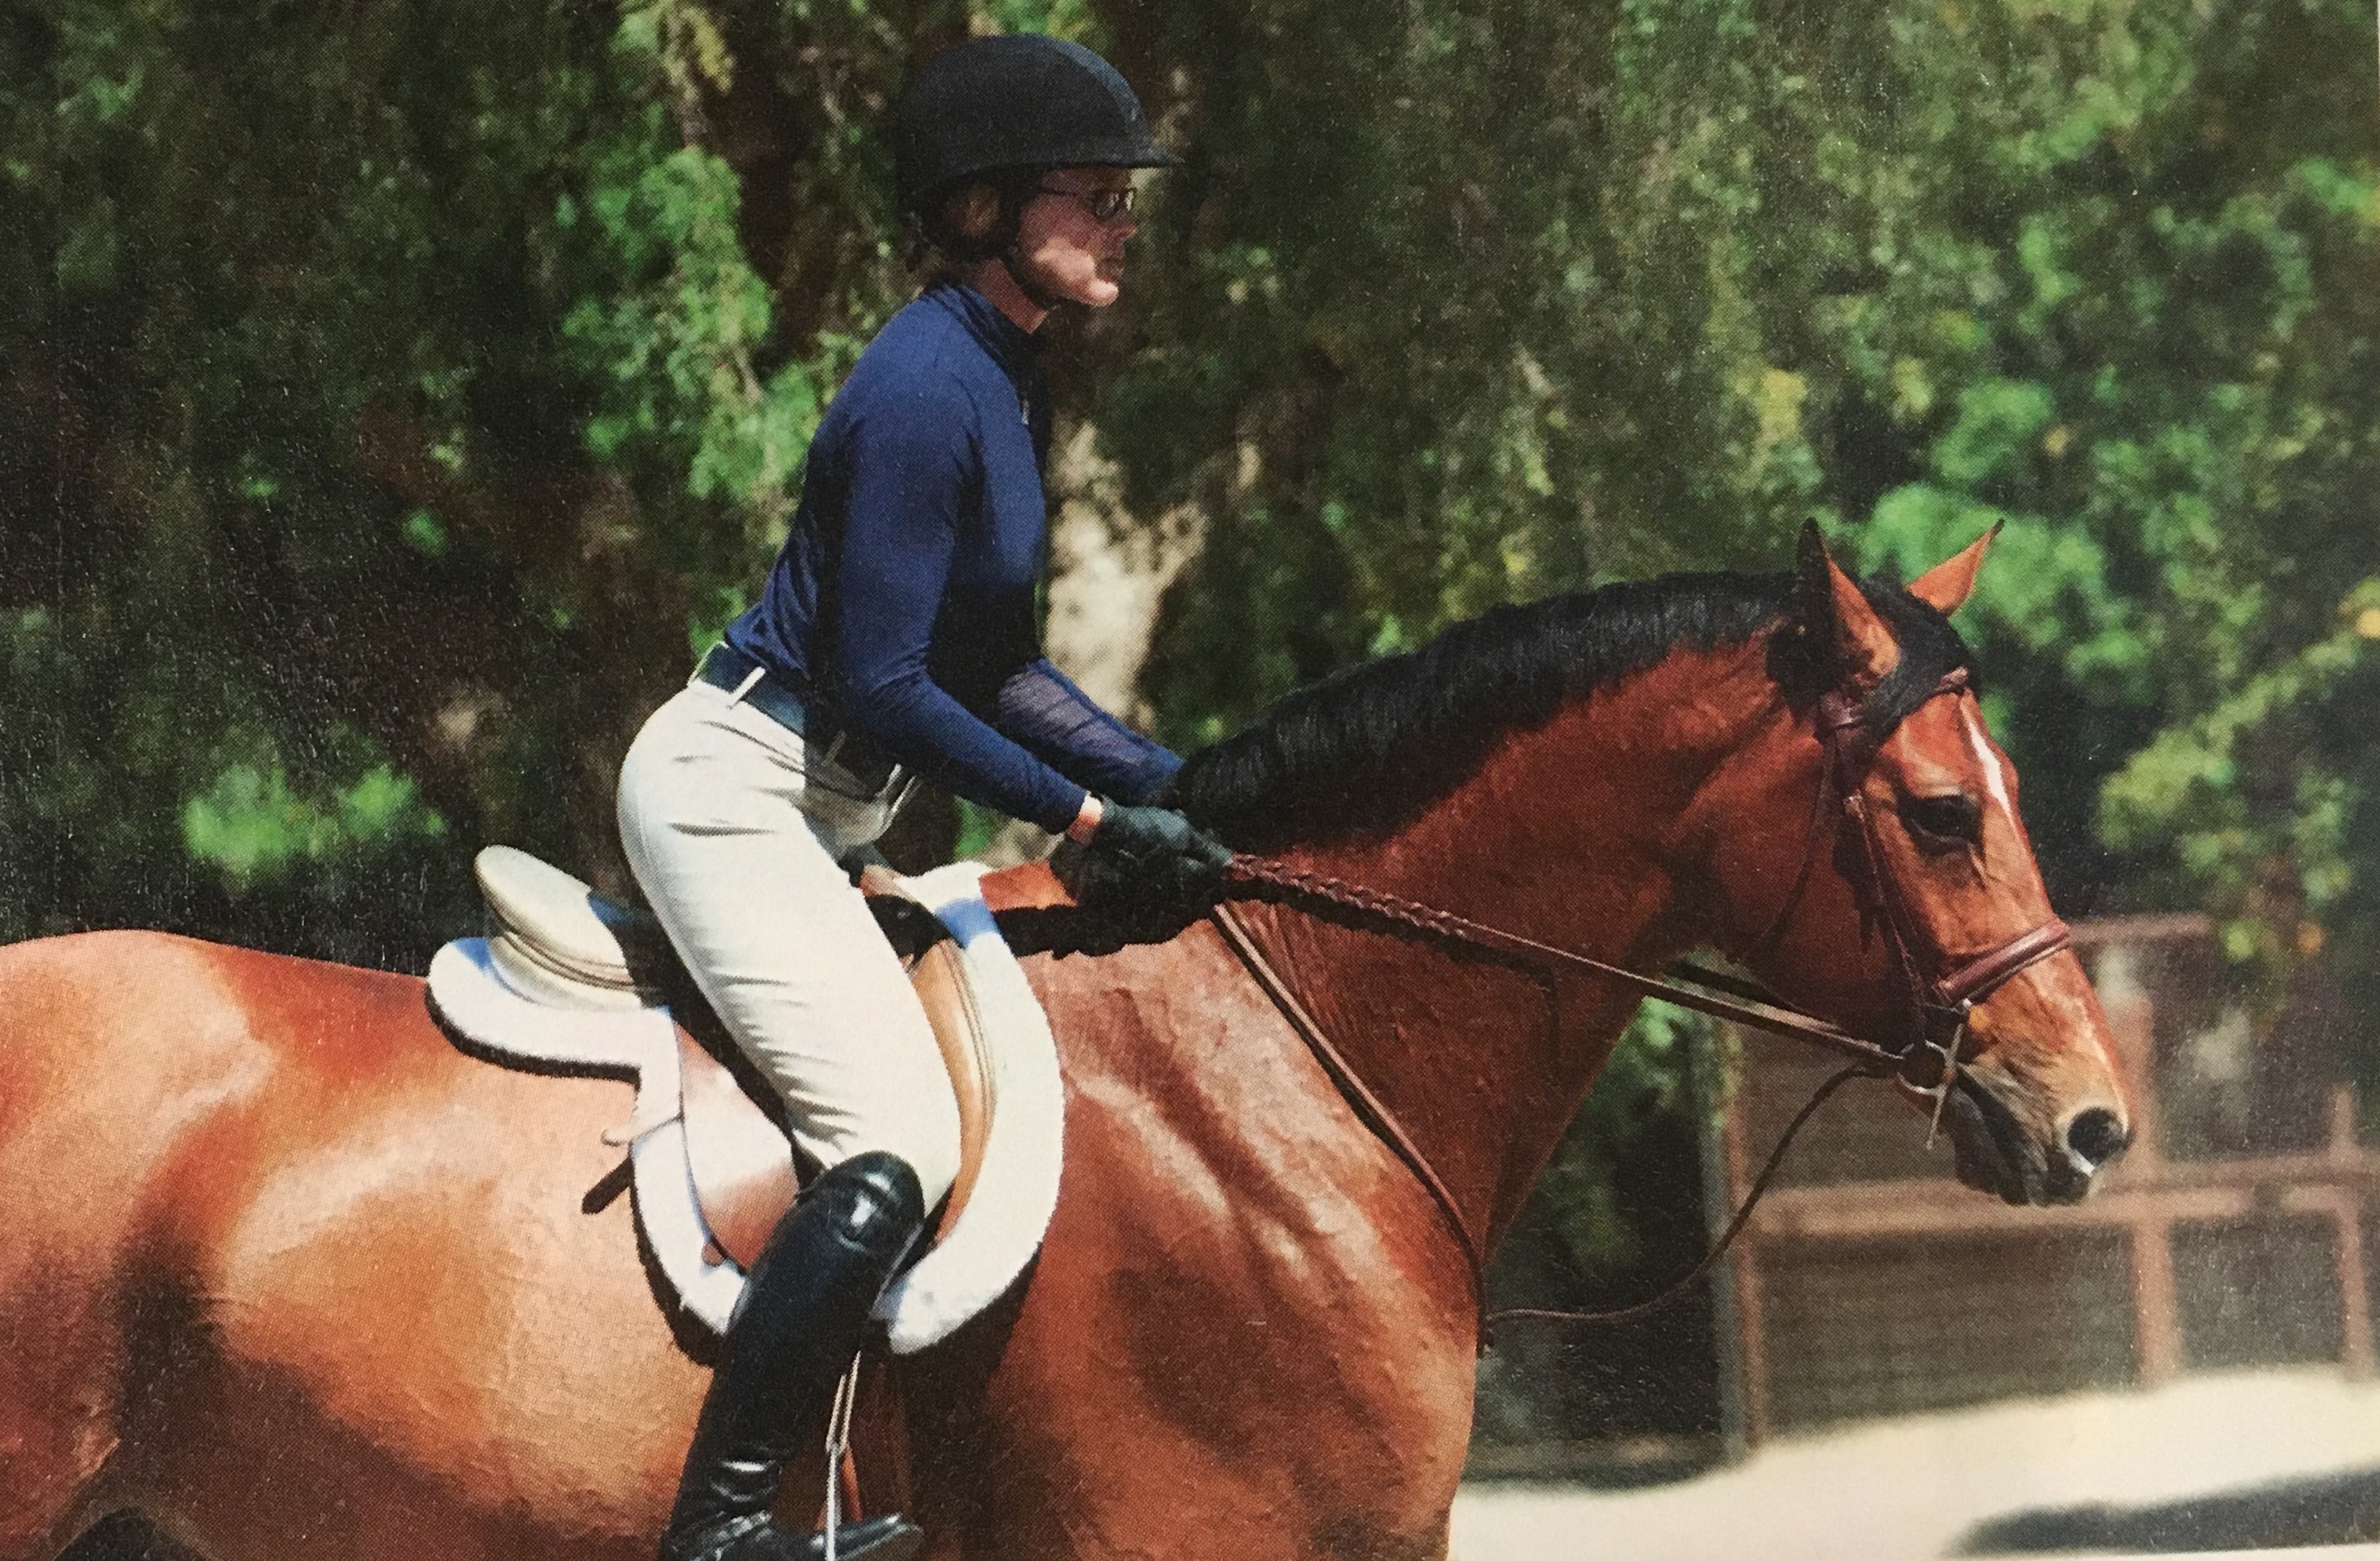
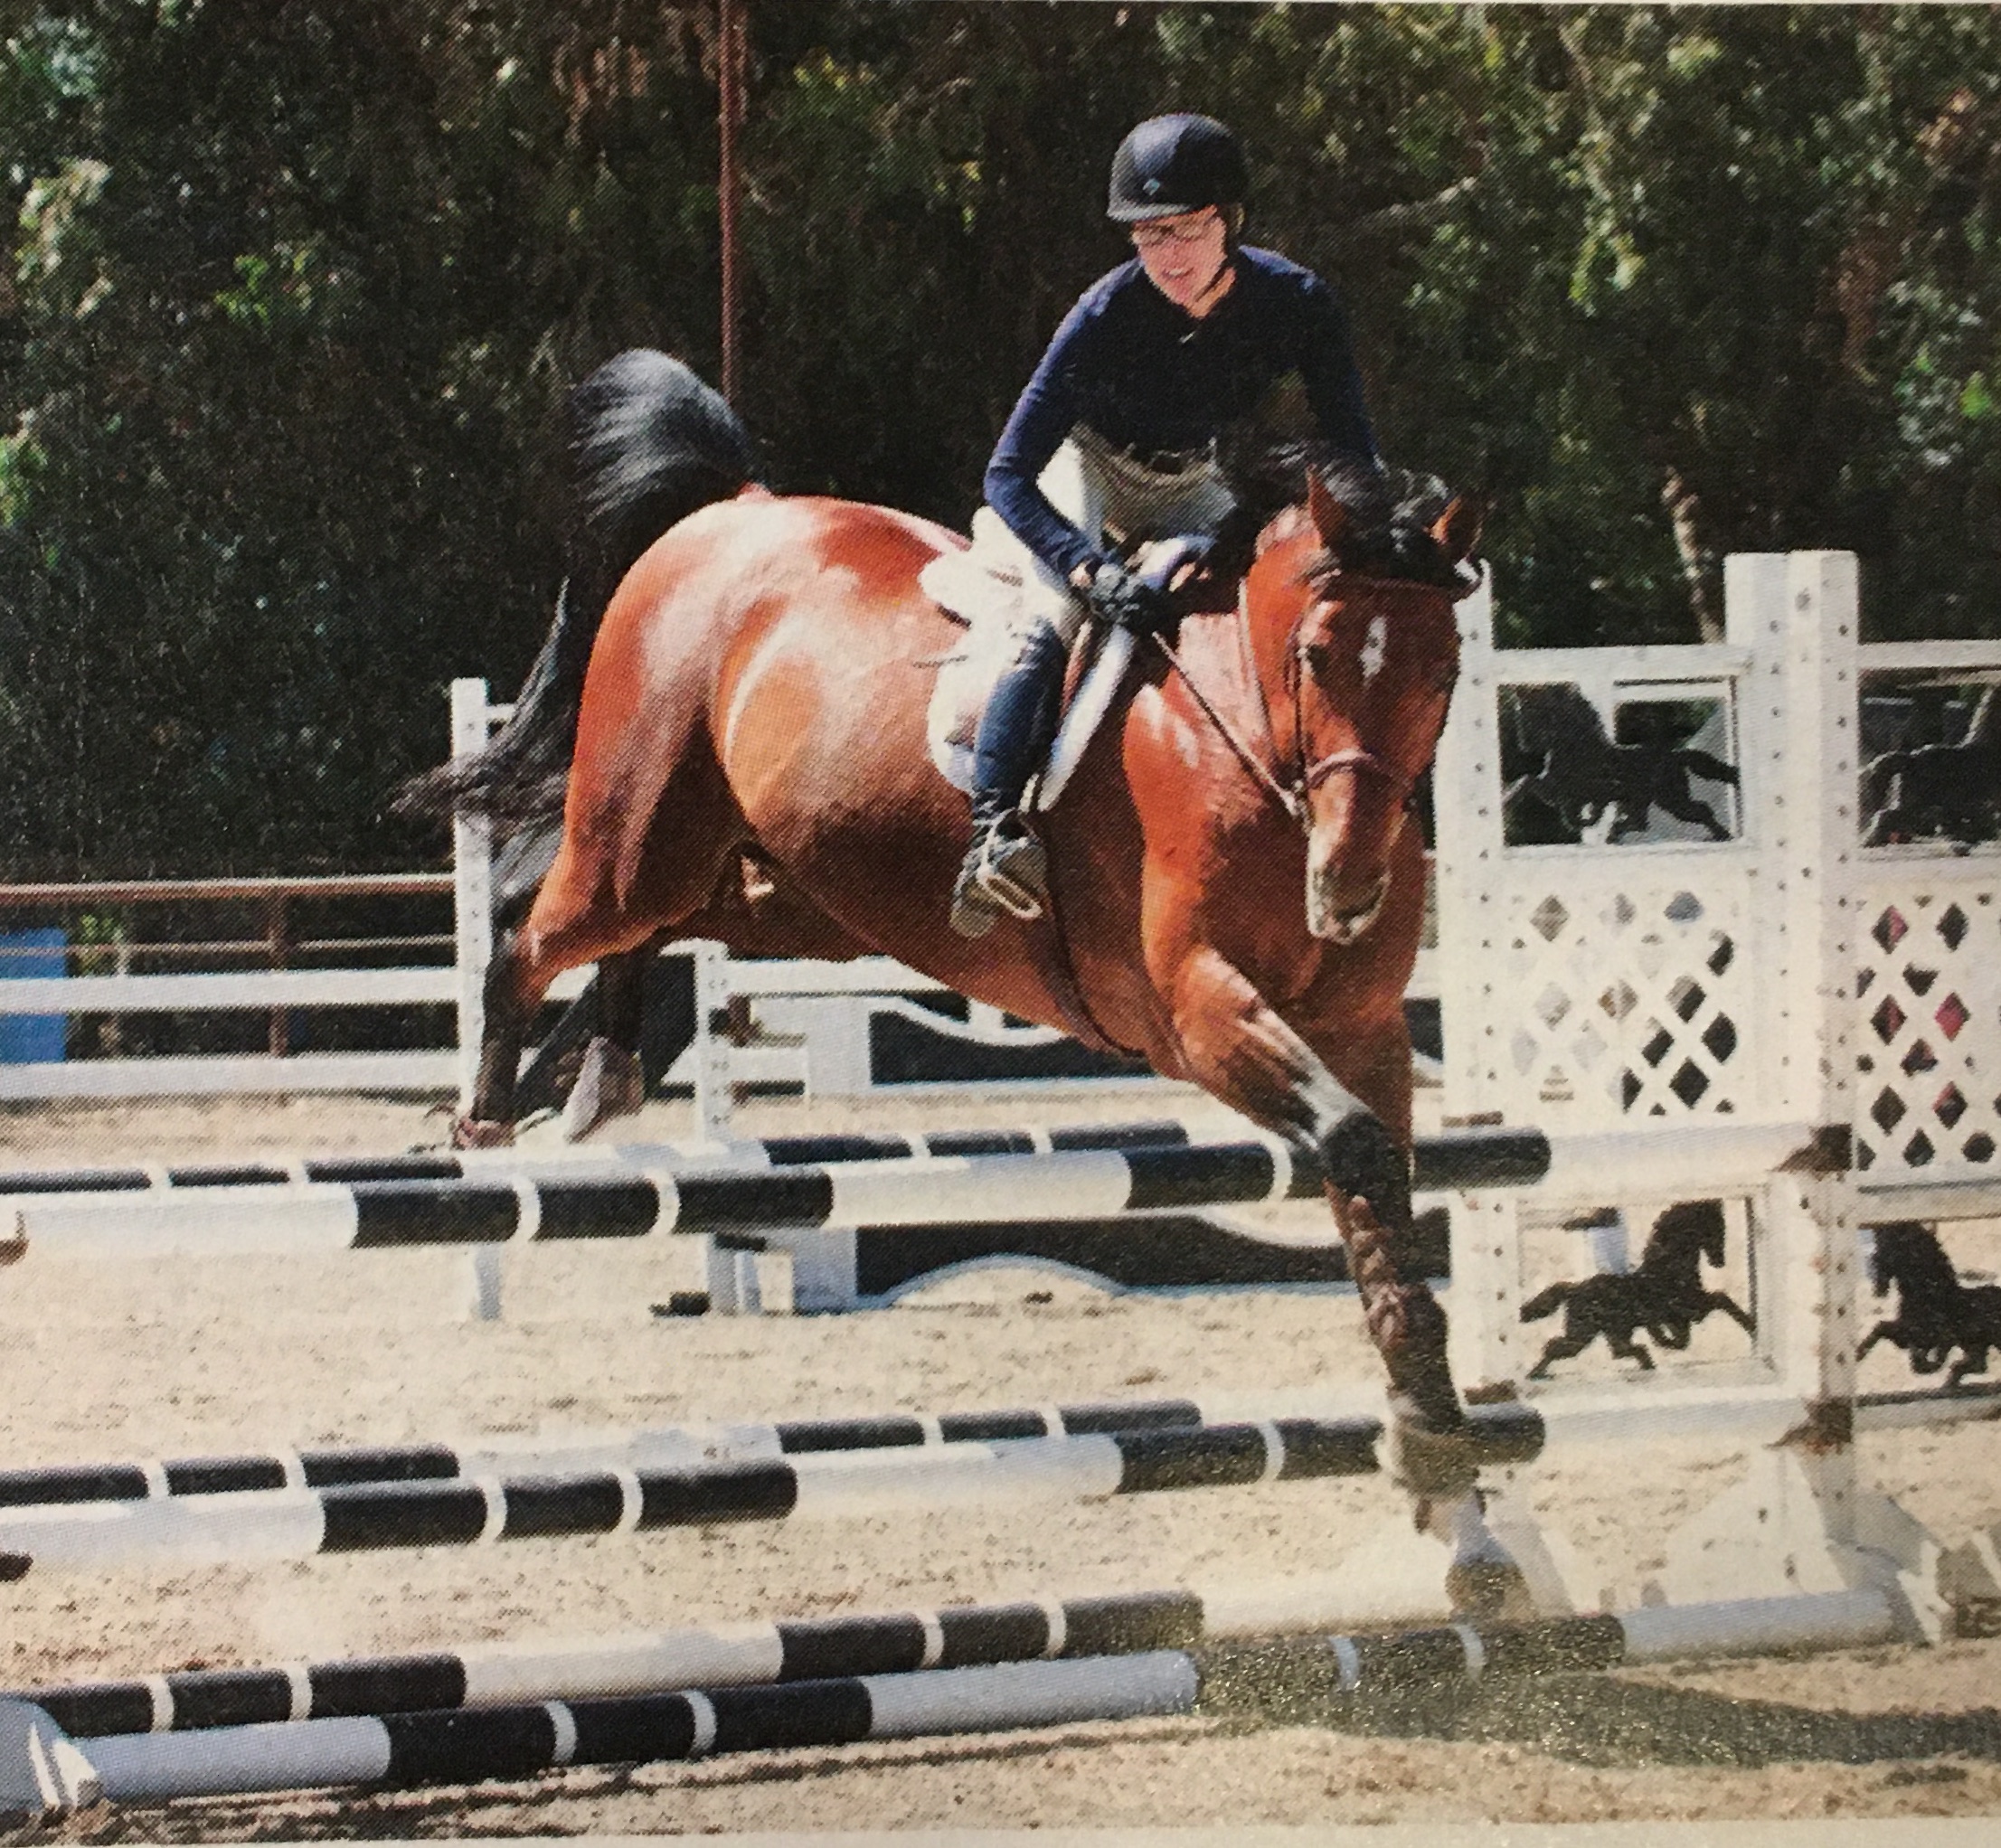
When your horse jumps in his best form, he curls his body over the fence, lowering his head and neck and lifting his legs close to his body. To allow and encourage this ideal “bascule” shape, you must do two essential things: (1) take your weight off his back, and (2) give his head full freedom to move by following its motion with your hands—providing a release with your reins. Your horse’s back and mouth are the two parts of his body most sensitive to rider interference. Anything you do to them during the jump—either intentionally or not—will affect the quality of his effort. That’s why we teach proper jumping position and rein release from the very beginning of every rider’s jumping education. As I’ll explain later, these two skills are interdependent and evolve together as your riding skills develop. At first, your rein release helps you stabilize your position. Later on, your stronger position will enable you to use more sophisticated rein releases.
What happens if you don’t release your horse’s mouth over a jump? Without the freedom to lower his head, he will jump with a flat back and neck, slithering over the fences rather than jumping up and around them. Old photographs of jumpers from the early 1900s are good examples of jumping this way. Back then, show-jump rails were heavier and cups were deeper, so horses got away with this sloppier style. But with today’s lighter rails and flatter cups, horses need to jump in rounder bascules to avoid knockdowns.
Sadly, we still see the old-fashioned jumping style in schoolhorses who have learned to jump in flatter arcs over fences in a defensive effort to protect their mouths and backs from inexperienced, unbalanced riders. We also see horses whose riders give incorrect releases—holding on to the reins too tightly or yanking on them in midair—develop bad habits, such as refusing, running out or rushing fences as a result.
There are three basic rein releases: long crest release, short crest release and automatic release. All three are acceptable when performed correctly. Which one you use depends on where you are in the development of your jumping position (your balance, base of support and timing), how educated and talented your horse is and how complex the questions are in the courses you’re jumping. In developing their own personal style, some advanced riders choose to use one particular release more than another, but every rider should learn how and when to use all three types.
In this article, I’ll describe each release and explain its unique purpose. I’ll also tell you how to determine when you’re ready to try each release. And I’ll point out some of the common pitfalls to avoid.
Keep in mind that no matter which release you’re using, the goal is always to protect your horse’s mouth without shifting your weight in the saddle and throwing him off balance. This means that your arms—your hands, elbows and shoulders—must move independently of your body while your hips stay balanced over your heels. Also, in all three release types, your rein length should stay the same before, during and after the jump.
The Long Crest Release
This is the first release I teach my students. Starting in a two-point position (lifting your seat out of the saddle by balancing over the two points of your knees and lower legs)—which is how you should do all of your jumping in the beginning—you perform a long crest release by reaching your hands one-third to one-hand of the way up your horse’s neck and pressing down onto the mane or just on either side of the top of the neck (the crest). This creates loops in the reins, which allow his head and neck to stretch forward. Initially, you’ll hold the mane or a stirrup strap around his neck, which I’ll explain how to use later on. You can then progress to simply pushing your knuckles into the crest rather than depending o the mane or the strap.
Why do you use it? For beginners, the long crest release provides maximum position support (because you can balance your upper body on your horse’s neck) while guaranteeing him complete freedom of his head and neck. Holding the strap or mane also ensures that you stay with his motion, which enables you to learn the feel of your horse jumping up to you (rather than getting into a bad habit of jumping ahead of the motion).
Grabbing the mane or strap each time you jump will train your muscle memory so the following motion of your hands becomes second nature. By allowing your shoulder and elbow joints to open up, while at the same time concentrating on keeping the rest of your body balanced on your stirrups with your weight in your heels, you’ll begin to develop independent hands (the ability to hold and use the reins independently of whatever the rest of your body is doing), which are crucial.
Advanced riders use the long crest release for different reasons. With a very green horse who may make an awkward jump, this release prevents the rider from inadvertently interfering with his mouth. In the hunter ring, if you know your horse will canter straight down to a jump in self-carriage and not do anything unpredictable on takeoff (for example, drift sideways), this release can help to show off his technique. So long as it’s subtle enough not to distract the judge’s eye from the overall picture, using this crest release is like saying, “Watch this horse do this on his own!”
How do you do it? To teach a long crest release, I put a stirrup leather around the horse’s neck for the rider to hold on to. For beginners, this is much more effective than holding mane, which easily can slip out your hands if you lose your balance. Depending on the size of your horse and the length of your arms, adjust the strap about a third of the way up his neck. (If you have very short arms or your horse has a very long neck, you might want to adjust it slightly closer to the saddle). Buckle the strap around his neck just tight enough that it won’t slip backward.
Three to four strides before your horse takes off, grasp the stirrup strap with a finger or two from each hand, with one hand on either side of the crest of his neck. Hold it until several strides after landing. Over time, as you begin to develop a sense of timing (recognition of when your horse will take off and land), you can gradually reduce the number of strides before and after the jump. You can also advance to grabbing the strap with just a finger or two of one hand while the other hand presses into the crest of the neck.
If you are not using a strap, you can either grab mane with one or both hands or simply press your hands into the neck. As you progress, work to perfect the timing of your releases so your hands follow fluidly forward exactly as your horse takes off and smoothly returns as he lands.
How do you know you’re ready to use it? When you feel secure in the saddle at walk, trot and canter, you can begin to work on your jumping position. Practice standing up out of the saddle in a two-point position and moving your hands forward a third of the way up the neck. Hold that position for several strides before moving your hands back to their normal position. When you can do this without losing your balance at all three gaits, move on to doing it over poles and then crossrails.
Avoid these mistakes: Although more advanced riders sometimes slip their hands down the sides of their horse’s neck below the crest, never do this if you are a beginner. Without the support from the crest, your upper body will collapse on landing. Also avoid lifting your hands above the crest, which can make you pull on your horse’s mouth unintentionally.
For every action, there is an equal and opposite reaction. Quick releases make quick horses. If you “throw” your hands abruptly up your horse’s neck, its will cause your body to duck. In turn, your horse will sometimes scoot his body forward, producing a quicker (and often sloppier) jump. So work to make your release motion as fluid as possible, imagining that all the joints in your arms are well-oiled hinges.
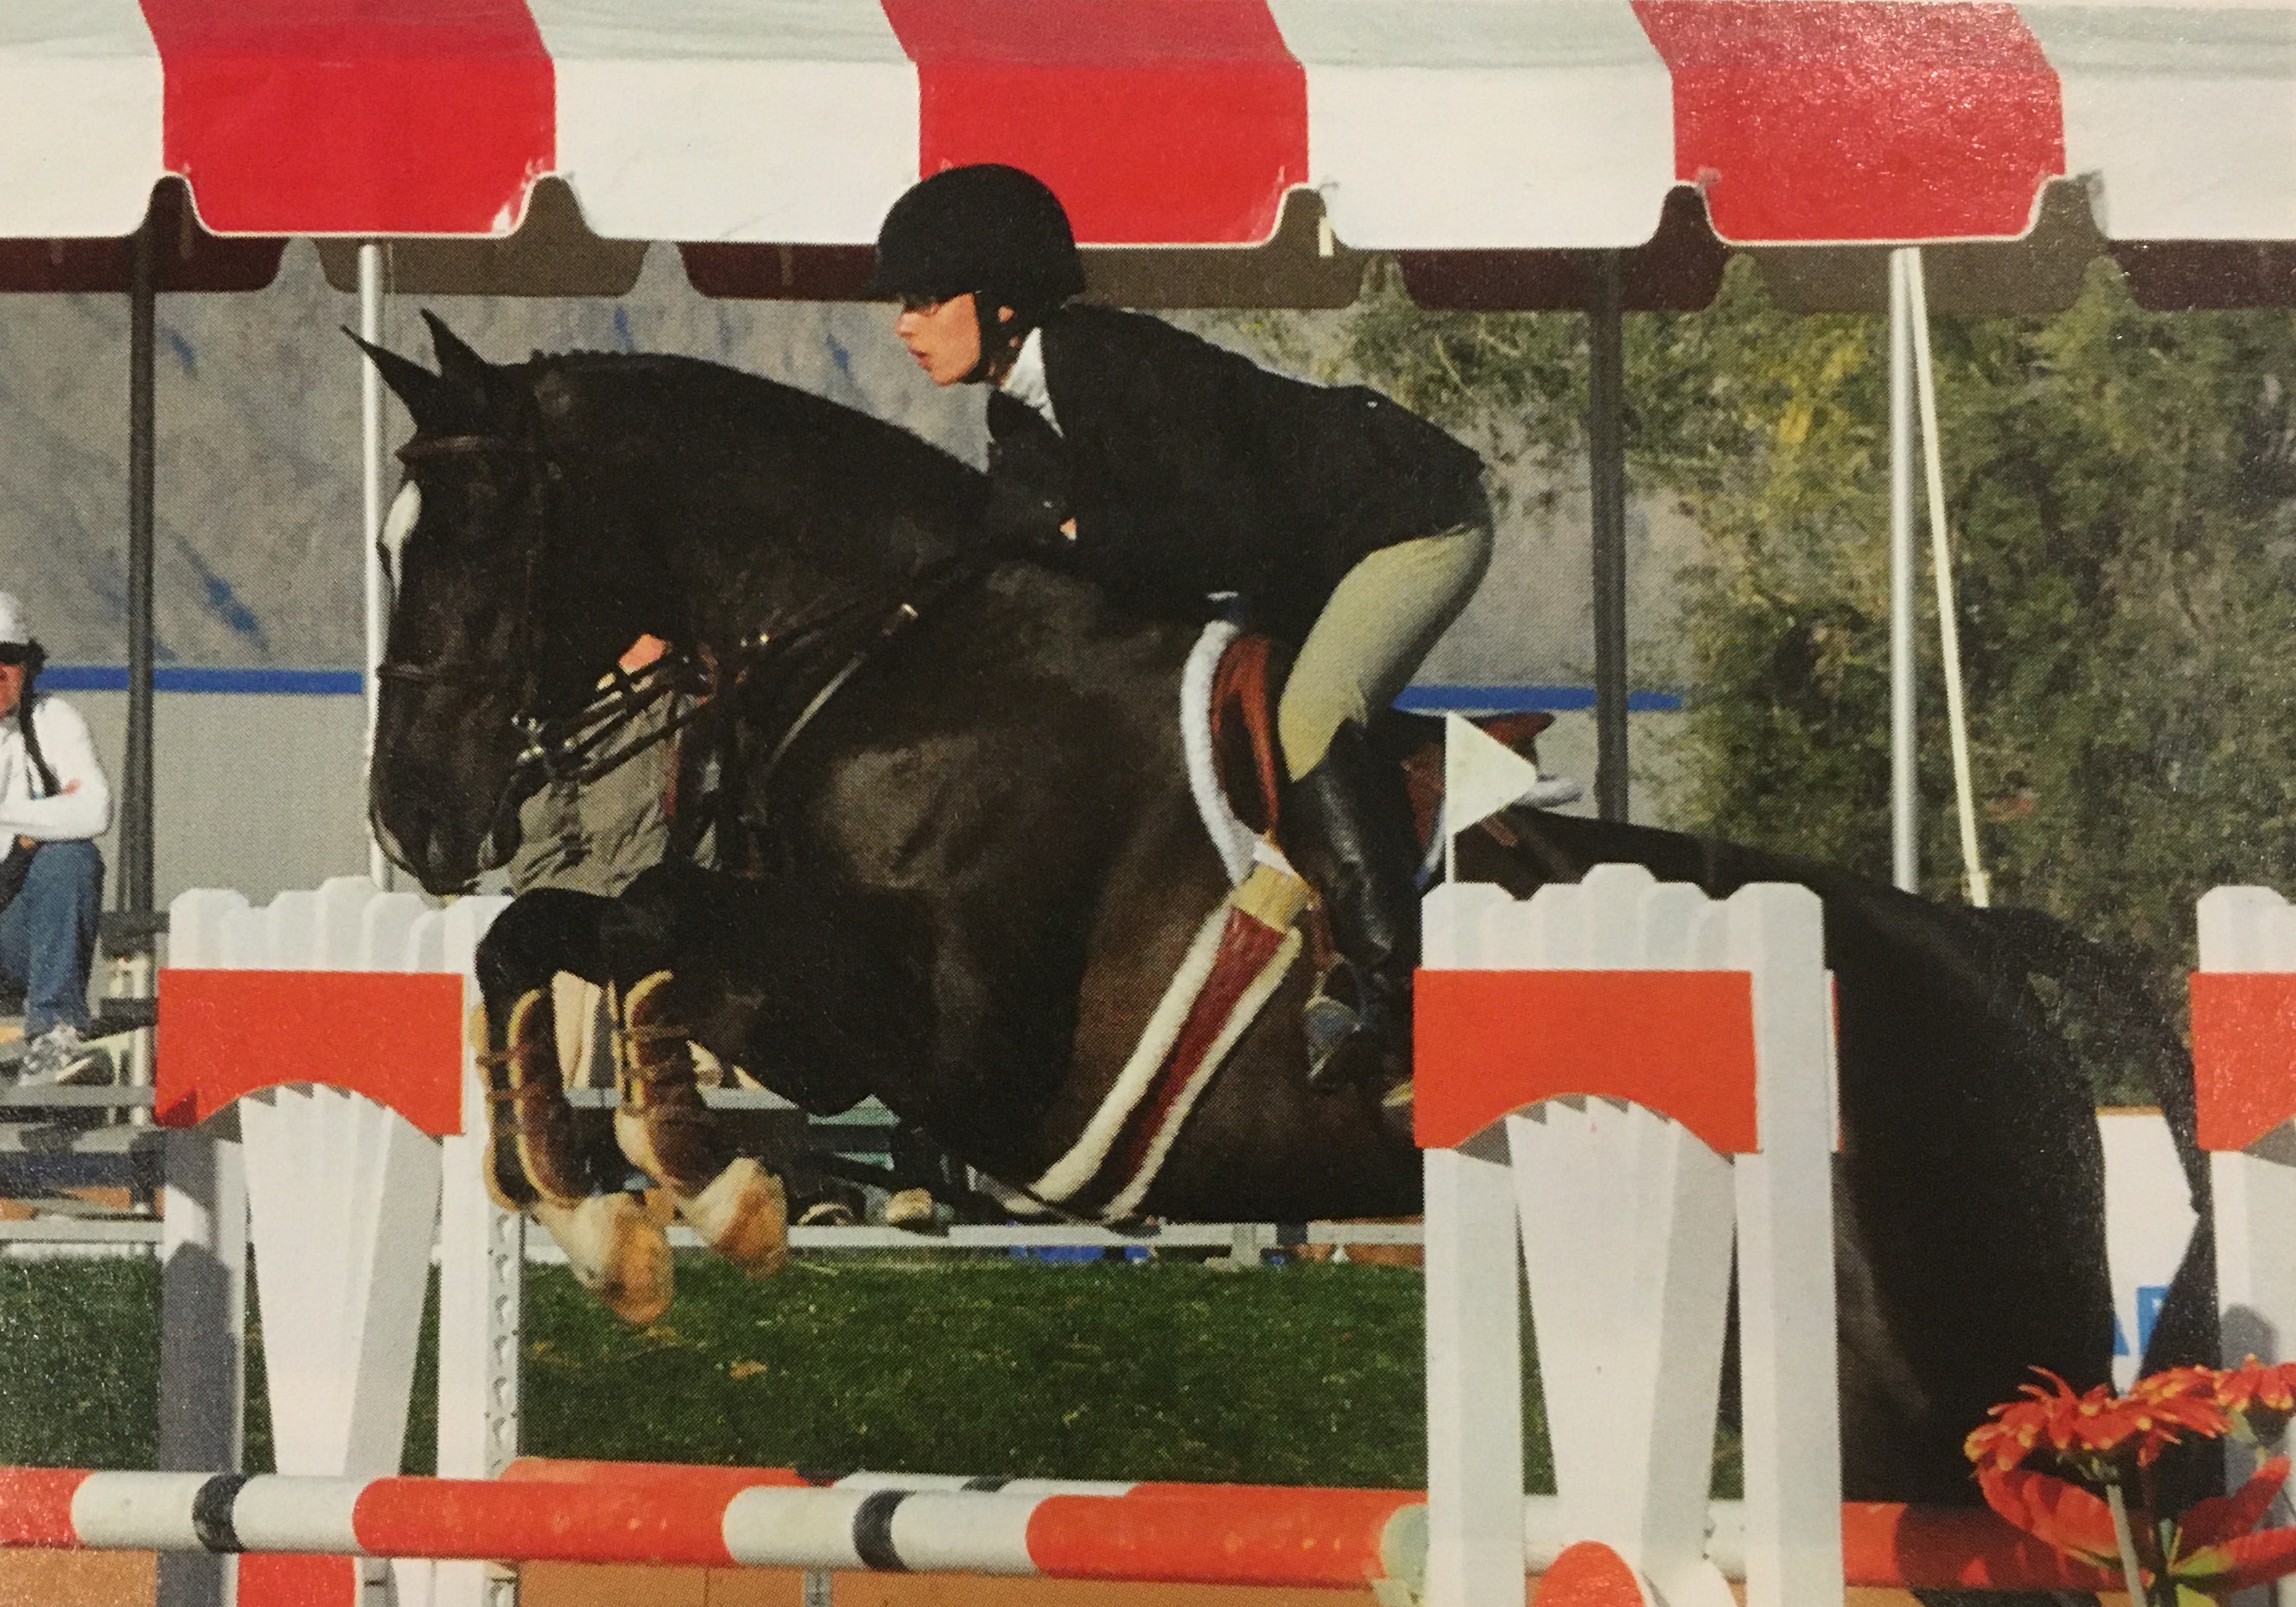
The Short Crest Release
The next release to aim for is the short crest release, which gives you more control than the long crest release. As the name implies, your hands are still resting on the crest, but this time they maintain a light contact with your horse’s mouth. They press into his neck, just not as far forward (no more than about one-third of the way up). When viewed from the side, this release doesn’t produce the big loops in the reins that you see in the long release. Your hands still follow the motion of your horse’s head and neck over the jump, so there’s no danger of catching him in the mouth. But because you create less slack in the reins, it doesn’t take as long to recover the contact after the jump.
Why do you use it? Being able to reestablish the connection to your horse’s mouth more quickly after a jump is especially helpful in technical courses that have many turning and change-of-pace questions, such as today’s high-level equitation and jumper classes. The short release allows you to land and turn immediately, without wasting extra time gathering up your reins. Giving less rein freedom can also be advantageous, for example, on green horses, who might need more control before and after the jumps.
Because you still press your hands into the crest of your horse’s neck, this release provides some support for your upper body, which intermediate riders may need from time to time.
Short crest releases are more common in the hunter ring, but you’ll see top riders in both the hunter and jumper rings, such a Louise Serio and McLain Ward, using variation of a short crest release. Some expert riders use this release when they need to give a horse a little more support (maintain more contact over the jumps to control the takeoff or landing, for instance).
How do you do it? As with the long crest release, press your hands into your horse’s crest or the sides of his neck just below the crest. This will ensure that they naturally follow its forward motion. Again, as with the other two releases, allow your arm to move independently of your body.
By now, you should be aiming to give the release as your horse takes off and return smoothly to your original position as he lands. More advanced riders time their release and return exactly to the moments when their horses take off and land.
How do you know if you’re ready to use it? Throughout your jumping career, you should be constantly working to align your hip over your heel and sink your weight into the back of your heel. By the time you begin using a short crest release, this alignment and balance need to be fairly consistent and your lower legs should stay in place against your horse’s sides over the jumps. You should now by able to maintain your balance in a two-point position at the walk, trot, canter and gallop without letting your hip get ahead of or behind your heel. Practice shortening and lengthening your horse’s stride at the trot and canter while staying in your two-point position. When you can make these transitions smoothly without losing your balance, you’re ready to use a short crest release.
Avoid this mistake: The biggest fault I see riders making in their attempts to use a short crest release is fixing their hands on the neck and essentially giving no release at all. Instead, they poke their elbows away from their sides while breaking their upper bodies over their hands. They hold on to their horses’ mouths over the tops of the jumps, restricting their ability to reach into good bascules. You can tell this is happening when you see horses jumping with their necks shortened and their noses tucked in toward their chests or their backs and necks stiffened. This can cause them to shorten the arc on the back of the jump, potentially hitting the back rail. Your hands must always follow the motion of your horse’s head and neck over the jump, and your shoulders should never get ahead of your hands.
The Automatic Release
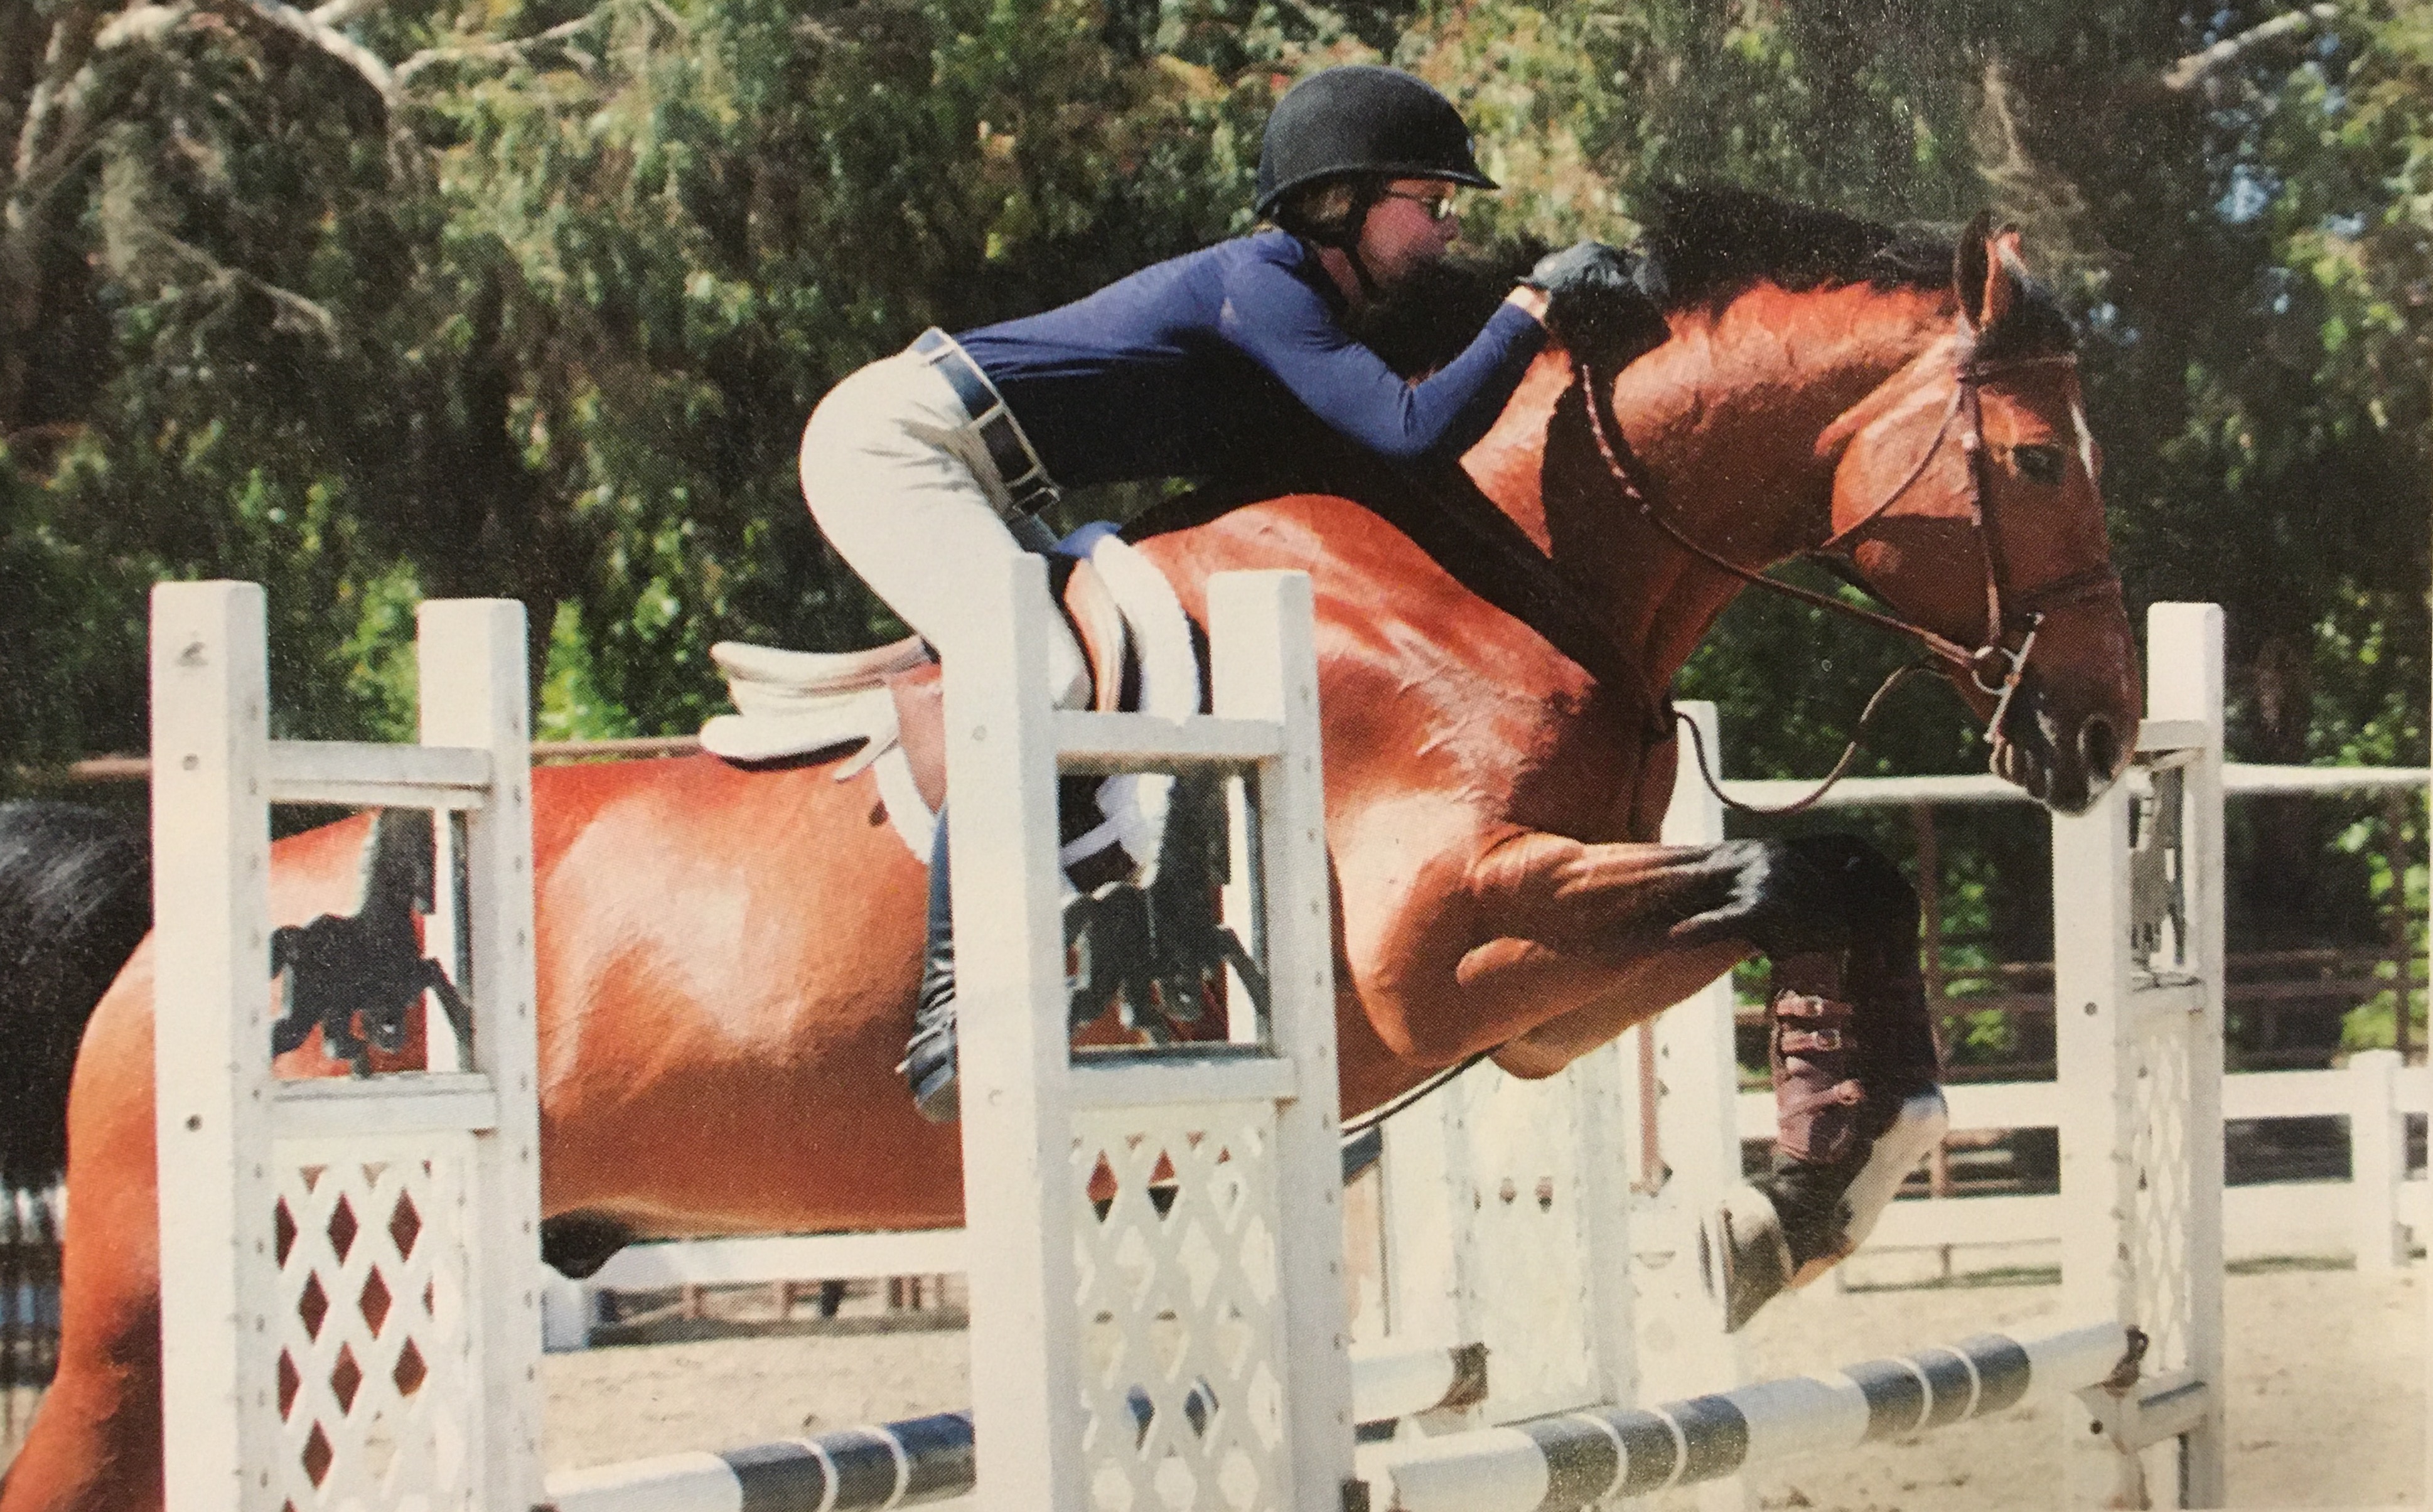
The most advanced of the rein releases is the automatic release, also known as “jumping out of hand.” Rather than press into the crest, your hands move alongside your horse’s neck, maintaining the straight (or nearly straight) line from your elbow to your hands to his mouth. To do this, you’ll need to lower your hands about 3 to 6 inches below the crest (depending, of course, on how far your horse lowers his head and neck). It’s OK for your hands to be slightly above this straight line, but it is never OK for them to drop below it, as this puts pressure on the bars of his mouth.
As with the other releases, your hands follow the motion of his head and neck over the jump. In the automatic release, though, you maintain the same contact with his mouth before, during and after each jump. Because your hands provide no support for your position during this release, only riders whose jumping positions are absolutely secure—and won’t, therefore, risk using the mouth for balance and thus interfere with the horse’s jump—should perform it.
Why do you use it? Advanced riders use an automatic release to stay in perfect contact with their horses before, during and after each jump. This allows them to initiate turns midair or adjust their pace or line immediately upon landing. These releases are extremely effective in jumper classes, for example, where every second counts.
Extremely skilled riders may use the automatic release to correct some horses’ bad habits over fences. For example, they may use it to discourage a horse from quickening over fences or jumping “past the arc” (not positioning his jumping effort symmetrically over the fence).
How do you do it? To teach riders the feel of the automatic release, I have them hold the reins as they would if they were driving a carriage by turning their hands over on the reins. The reins go between your thumb and index finger before running through your closed palm. This position encourages you to follow your horse’s mouth forward and keep your hands from becoming stiff. You practice first on the flat, then over small fences, smoothly moving your hands forward along the sides of your horse’s neck in a direct line toward his mouth. Giving this release exactly at the moment of takeoff and following your horse’s motion perfectly, you maintain a light, elastic contact with his mouth throughout the jump.
How far you reach your hands forward depends on how athletic your horse is and ow big a jump you’re tackling. Most horses make smaller efforts over crossrails, so they don’t require a big release. You’ll need to release more as the jumps get higher and wider and your horse reaches farther out with his head and neck.
How do you know you’re ready to use it? Before attempting an automatic release, you must have total independence of your fingers, wrists and shoulders. This means that your legs are so steady on your horse’s sides and your weight is balanced so well over your heels that the rest of your body never interferes with the position or function of your arms.
A good exercise to do before you start using an automatic release is to perform lateral movements in your two-point position. (At this point in your training, you should be familiar with lateral movements. If you are not, ask your trainer if she thinks you’re ready to learn them.) This is a great way to test your balance. Here’s how:
Trot across the short side of the arena in your two-point position with your hands in front of the withers, maintaining a light connection with your horse’s mouth. A few strides before you reach the corner, make a half turn toward the inside of the ring. As you come out of the half turn, straighten your horse for a stride or two before applying your inside leg to ask him to leg-yield sideways toward the rail. At the same time, close your hands just enough to limit his forward movement. All the while, concentrate on keeping your balance over your legs and heels. If he moves laterally with both his shoulders and haunches, without resisting in any way and without you losing your balance in your two-point position, you’re ready to learn the automatic release.
Note: Don’t expect to produce the same degree of quality in your lateral movements done in two-point position as those done in full seat. This is more of a balance test for the rider than a training exercise.
Avoid this mistake: In my recent judging, I’ve seen far too many riders dropping their hands below the straight line between the elbow and the bit, causing great discomfort on the bars of their horses’ mouths. As a result, their horses raise their heads in the air, destroying the bascules of their jumping efforts.

Some people try to “lift” horses (especially those lacking balance and self-carriage) by pulling the reins upward on takeoff. This is never a good idea. It’s distracting to the judge and the horse—and it doesn’t work. In fact, it often causes a horse to drop his back and hit a rail with his hind legs. Until they develop true self-carriage, green horses sometimes need a “balancing rein” or “support” (i.e., steady rein contact) up to moment of takeoff to prevent them from swapping leads or doing something else unpredictable at the last moment. This does not involve any lifting motion in the hands.
Never use the reins to balance or support yourself in the air over a fence, as this interferes with your horse’s mouth and can produce an awkward jump. In any situation that might challenge your balance, go back to a crest release—and grab mane, if necessary—to be sure you don’t interfere with your horse’s mouth. There’s never shame in grabbing mane. Even the best riders in the world do it now and then.
Whatever release you choose over any given jump, always make your horse’s mouth your top priority. If you give him the freedom he needs, he’ll give you the beautiful jump you want.
About Karen Healey
In the last three decades, Karen Healey’s students have won more than 100 equitation finals and hunter/jumper championships. Many have gone on to be successful grand prix riders. She developed such top riders as Mia Wood, Lauren Kay, Meredith Michaels-Beerbaum, Kristen Posehn, Jill Prieto, Kasey Ament and Hannah Selleck. Karen is based at Whitethorne Ranch in Somis, California. She serves on multiple U.S. Hunter Jumper Association committees, including the Equitation Task Force, which she has chaired for seven years. As a U.S. Equestrian Federation “R” judge, Karen has officiated at many major shows, including the Devon Horse Show, the Hampton Classic Horse Show, USEF Pony Finals and the USEF Show Jumping Talent Search East Coast Finals.
This article was originally published in the August 2012 issue of Practical Horseman.