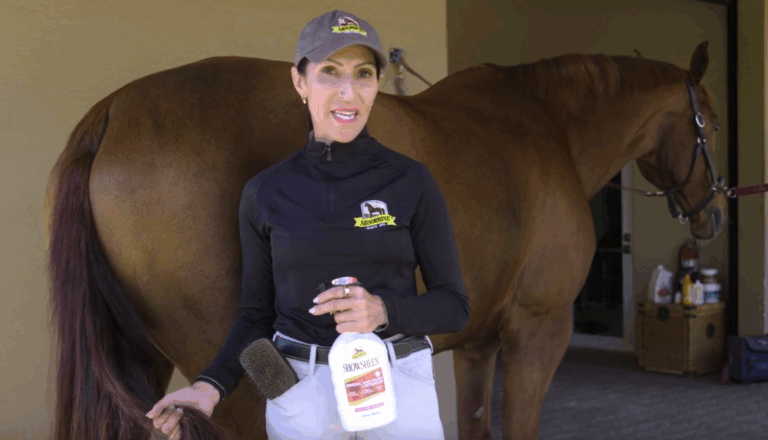
A grooming vacuum is definitely a luxury (many are priced at $250 to $500 or so), and it’s only one part of a total grooming package, not a one-step solution. But it can be a time-saver.
Basically, there are two situations in which I reach for a vacuum: If a horse is caked with mud, I’ll vacuum him before currying. And if he’s really grungy but not muddy, I’ll vacuum after I’ve curried but before I use my stiff brush. (In either case, though, I use vacuuming to supplement my regular grooming routine–not to substitute for it!)
- Working with a horse who’s used to the vacuum, I start behind the ears and go from there down the neck and shoulder and leg, then farther back, on one side and then the other. I finish each section by doing a big, long stroke in the direction the hair is lying.
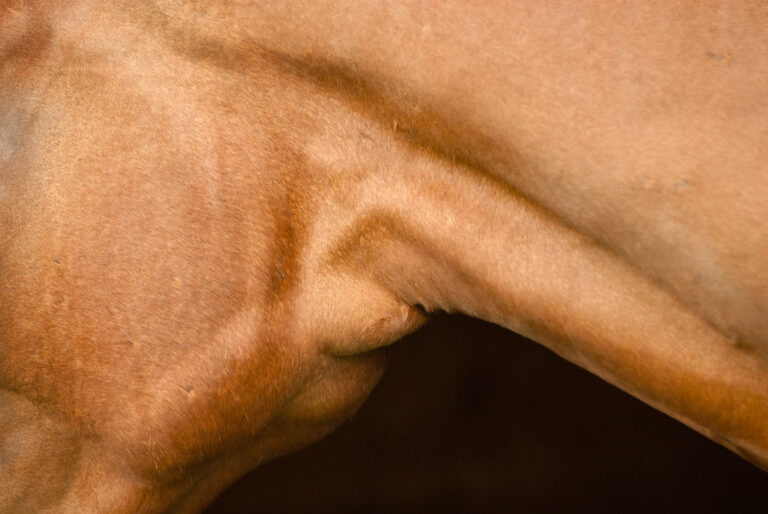
- In the flank, where the hair grows upward, I’m vacuuming downward, against the hair, to get out deep-down dirt. I don’t usually go up with the hair in this area because the vacuum tends to pull on the skin, irritating the horse.
- Over the top of the rump, I really scrub back and forth because this is an area that’s difficult to get clean–including the dip of the spine, where the dirt really collects. I stop at the top of the tail. On the legs, I go down the forearm and gaskin but stop just above the knee and hock, much as I did with the curry, and for much the same reason: comfort. As the horse becomes more used to being vacuumed, I may be able to use the nozzle farther down.
Follow these tips to add vacuuming to your grooming routine:
- Position the vacuum so it’s to the side of your horse and behind him, where he can’t see it. (I’ve found that apparently what upsets a lot of horses is not the noise or even the sight of the vacuum itself, but the way the top lowers a little as the suction starts.) And if you can, plug it into an outlet to his right when you’re working on his off side and into one on his left when you’re working on his near side, so you won’t be dragging the cord around his legs.
- Gradually accustom your horse to the sound and feel of the vacuum. Start with the power turned off, putting the nozzle against his skin and and moving it all over him. Then turn it on at low speed and begin vacuuming at his shoulder or the base of his neck: over a large muscle area away from his head. Most horses like the feel once they get used to it; still, be careful when first using it at the top of the head, behind the ears. If you’re calm and gentle, in time he’ll probably accept it even on the flat part of the cheek.
- Wherever you’re working over solid muscling, move your nozzle back and forth to dislodge and gather dirt and hair, finishing by stroking in the direction the hair lies. Where bone is closer to the surface, such as on the legs, just vacuum in the direction of the hair. And any time you hear the machine straining (suggesting it’s starting to pull), move the nozzle off that area and let it clear; then come back again.
- Empty the vacuum regularly–it won’t work if it’s stuffed full!
Jo Long developed her caregiving skills during her years as a groom for the U.S. Equestrian Team and for six-time Olympian J. Michael Plumb.
This story appeared as part of “Special Occasions–and Muddy Messes!” in the July 2002 issue of Practical Horseman magazine. It was the last article in Jo Long’s four-part series “A Spic ‘n’ Span Horse in 20 Minutes–Honest!”