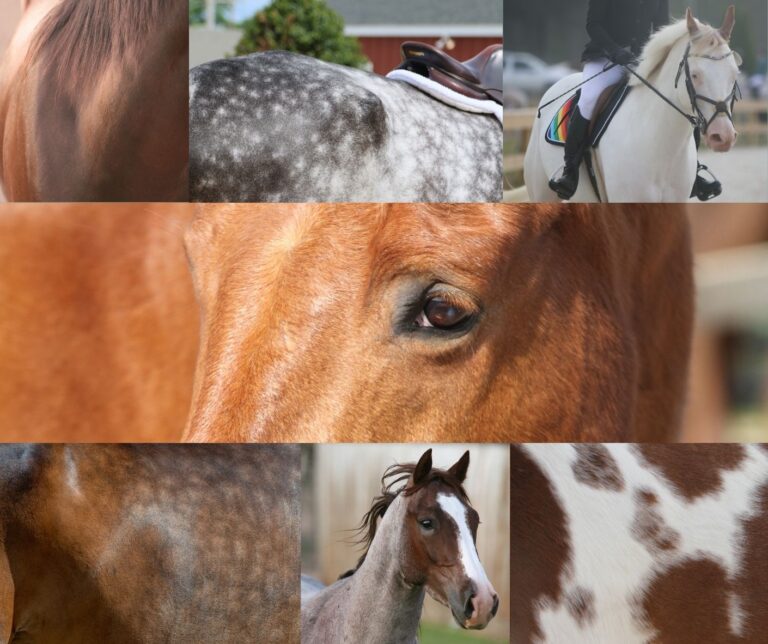
As a certified applied animal behaviorist, I’ve worked with a variety of species?from Komodo dragons, orangutans, camels and horses to humans. Working with species like these and more, I’ve learned the importance of having a variety of tools to train a desired behavior. Whether challenged to train a Komodo dragon to enter a crate on cue or my horse to willingly accept dewormer or ear clipping, I open my toolbox and choose the training tools that work best for the task.

In this article, I’ll introduce and define some of those tools you’re probably already using but may not be fully taking advantage of, particularly positive and negative reinforcement. A simple breakdown will help you distinguish the training method you’re using and give you alternatives if a particular method doesn’t seem effective for a certain horse or behavior.
Though many people use negative reinforcement when training animals, I’ve found the experience is usually the most fun for both species (me and the nonhuman animal I’m training) if I rely heavily on positive reinforcement. So we’ll also apply a couple positive reinforcement tools on some common behavior issues that folks ask me about in my column, “Ask Dr. Weiss,” at www.aspca.org.
Training Tools Defined
To get to the fun stuff, we first need to dig through a few learning-theory terms that can be a bit confusing?and are often used incorrectly.
- Positive in the field of learning theory simply means “give.” That is it?just give. Not good or great or yummy or anything like that ? just give.
- Negative means “take away.” That’s it?not bad or painful.
- Reinforcement means increase the likelihood that a given behavior occurs again. Think of it as making something stronger?more likely.
Now let’s put those together.
Positive reinforcement occurs if, when I give something right after a behavior occurs, it makes that behavior more likely to occur again.
For example, I want to teach a dog to sit. I have a tasty treat the dog would like me to give to him. I hold the treat a bit above his head and say “sit.” He then puts his nose up, resulting in his rear rocking back toward the floor. I give him the treat. The next time the treat appears, he’s likely to try the behavior again because it caused treat delivery previously.
Negative reinforcement occurs if, when I take something away right after the behavior occurs, it makes that ?behavior more likely to occur again.
In this case, I need to take something away to reinforce a behavior. Let’s use the same behavior “sit” and the same species, dog, as our example. This time I’ll apply moderate pressure to Fido’s rear when I give the “sit” cue. I’ll keep the pressure on his rear until he yields to it by placing his behind on the floor. The moment he does, I’ll release the pressure. Next time I give the cue and apply the pressure, he’ll likely sit more quickly to “turn off” the pressure.
Here are a few more terms you’ll need for your training toolbox:
- Cue: A cue is often an auditory (a word, for example), ?visual (a hand signal) or tactile (the touch of your leg) stimulus to initiate a particular behavior.
- Primary reinforcer: This is something the animal finds inherently reinforcing, or said more simply, something the animal naturally likes. Most commonly used primary reinforcers are food, water and social interaction.
- Secondary reinforcer: When training, timing is everything. Secondary reinforcers are used to help with timing?they signal “primary reinforcer is coming!” They are sometimes called a “bridge,” as they connect the desired behavior and the reward. To develop a secondary reinforcer, it is paired with the delivery of a primary reinforcer several times until the secondary reinforcer produces a seeking of the primary reinforcer. You may have heard of clicker training. Clickers are secondary reinforcers. I’m notorious for losing clickers, so I use the word “yes” or make a whistle sound instead?I call it “tweet and treat.”
- Shaping: Shaping a behavior is something you’re already doing ? now it has a name. When we shape a behavior, we reinforce approximations of the behavior we want. When we train something like lifting a hoof, the initial behavior we reinforce may be shifting the weight off the leg we’ll be lifting. For more complex behaviors, the behavior we initially reward may look quite different from the final behavior.
Now I’ll teach you how to create a secondary reinforcer, then we’ll do three exercises to show you how to put applied learning theory into practice.
Teach the Secondary Reinforcer
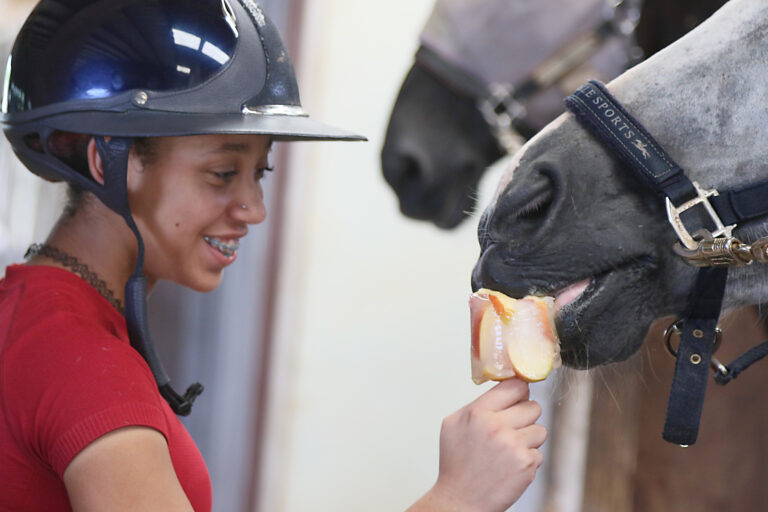
We’ll use food treats for our primary reinforcer, but it is often difficult to deliver the treat into the horse’s mouth at the exact moment he does the behavior we want, so we’ll train a secondary reinforcer, too. You can use a distinct word like “yes,” a clicker, or?my favorite?a short, sharp whistle I make with my lips (a tweet).
To teach the association between the primary and secondary reinforcers:
Step 1. Start training while your horse is either in his stall or tied in a quiet area. Be sure distractions are minimal. Put at least eight small treats in your pocket or a training pouch you attach to your pants (carrot medallions, or my favorite?Stud Muffins?). Be sure they’re hidden so he’ll be sure to associate them with the tweet. Stand in front of him.
Step 2: Tweet (or say “yes” or use a clicker).
Step 3: Present the treat.
Step 4: Repeat several times. Be sure the treat is hidden until you make the sound. Then immediately present it. After several pairings, your horse most likely will look toward the food delivery hand as soon as you tweet. If he starts to push you with his muzzle or reach toward your hand or arm, be sure to wait before tweet and treating?otherwise you’ll inadvertently teach him to “mug” you for a treat (see “The Truth About Treats,” above). You now have a powerful tool?a way to say to your horse, “Yes, that is the behavior I want.”
You are now ready to train.
Accept Touch Around the Face
Many horses are uncomfortable being touched around their ears, eyes and face. If yours is one of them, you have a great opportunity to open your toolbox and try shaping with positive reinforcement. This technique will increase your horse’s trust by allowing him to anticipate when touch is coming, giving him the opportunity to choose to participate as well as teaching him that touch is not bad. Once he is trained to accept touch, you can quickly train him to accept clippers and the like.
Step 1. Choose a spot as close to your horse’s face and ears as possible where touch does not cause a reaction such as pinning ears, tossing his head or the like. Use the verbal cue “touch” and place your hand on that spot.
Step 2: If your horse stands still for half a second (it is longer than you think?try counting “one Miss” as opposed to “one Mississippi”), tweet, treat and repeat this step about three to five times.
Step 3. Next, place your hand a bit closer to the area where your horse is uncomfortable with touch. Again, start with the verbal cue “touch,” then place your hand on that spot. Once again, if your horse stands still for half a second, tweet, treat and repeat.
Step 4. This step is the same as Step 3, but you’ll move your hand into the “uncomfort zone,” as I like to call it. If your horse reacts, don’t tweet and treat, just try again. Be ready to capture that half second of calm with your tweet and treat. And once you do, of course, repeat.
Step 5. Now you’ll increase the amount of time you hold your hand on the “uncomfort zone.” Be sure to start each touch with the verbal cue “touch.” You’ll also slowly start to move your hand around the area. By this point your horse has likely learned to anticipate the touch when you give the verbal cue and will likely leapfrog through this step so you’ll be able to successfully touch him on and about his face.
Step 6 and beyond. Now that your horse has learned this basic step, increase the length of the touch and the intensity of the touch so that you are able to handle and medicate ears, eyes and other areas of the face. I like for my horses to be comfortable with all types of touch, just in case. If your horse regresses and reacts to a touch that you trained him to stand still for, don’t fret. Simply back up a step or two for a few repetitions and you should be back on track.
Give Me Your Foot
I also recommend the shaping with positive reinforcement technique to train a horse who is anxious about having a leg or hoof held.
Step 1. Start with a front foot. Place your hand low on his cannon bone. If your horse pulls his leg away, simply keep your hand on his leg and wait him out. If this proves potentially dangerous, start with your hand a bit higher up on his leg. The goal for this step is to reward him for calmly shifting his weight off of the leg you are touching. Be patient! Some horses may try other behaviors before shifting their weight?however, most will give at least a hint of a shift.
Step 2. When your horse shifts his weight, even just a bit, tweet and treat. Repeat.
Step 3. After the fourth or fifth repetition, add a verbal cue as you reach for the leg. This cue will be handy in the ?future if you’d like him to lift his hoof without any touch from you. “Hoof” works for me. Don’t forget to tweet and treat after he shifts his weight!
Step 4. Once he is reliably shifting his weight off the leg you cue and touch, wait for a complete shift of weight off of the leg you are cueing so that you can see his heel leaving the ground. When he does this, tweet and treat. For some horses this will happen quickly. For others, it will take a bit of time. Remember we are shaping the behavior, so we want to gradually ?reinforce closer approximations of the ?final goal behavior. It is possible your horse will “forget” the behavior in between sessions. Don’t worry or get frustrated; simply back up a step for a repetition or two.
Step 5. When your horse has figured out that moving his leg means he gets a treat, you are ready to hold it. Start by holding just for one-quarter of a second; tweet and treat. Then put it back on the ground. Slowly increase the time. You’ll be surprised by how quickly you can train him to lift his legs on cue?and with no anxiety for either you or your horse.
Continue to reinforce the behavior with a tweet and treat, but build longer and longer holds before ending the behavior with a tweet and treat. You can even chain on the lifting of two, three or four legs in succession before reinforcement.
If you want to wean your horse off of the physical touch as a cue and just use the verbal “hoof,” make your touch lighter and lighter. Over time, he will learn to ?focus on the verbal cue.
Come In From the Pasture
Once you’re comfortable with these tools, you’ll find numerous uses. I’m often asked how to reliably call a horse in from his pasture, especially one who walks away. It’s easy to make happen with positive ?reinforcement.
Step 1: Fill a feed bucket with a few treats and begin by simply going into the pasture and walking toward your horse, turning your whole body to the side in relation to him. Standing facing a horse is a natural cue for him to move away from you?turning to the side will assure that equine communication will not interfere with your training.
Step 2: If your horse approaches, simply tweet, feed him a treat and leave. If he doesn’t come, approach a few feet closer while keeping your body turned to the side. A shake or two of the bucket may help, too. If he continues to move away from you, place the bucket with just one treat still in it on the ground and back up. When he eats that treat, approach the bucket sideways and drop another treat or two into it. When he is done, take the bucket and leave.
Step 3: Add a “come” cue as you tweet and give him the treat. Repeat Step 2 until he starts coming up to you as you approach and cue. If he starts to “mug” you for a treat, simply wait until he ceases and then give it to him.
Step 4: Now hide the bucket behind your back and walk out to the paddock (sideways) toward your horse, saying “come.” If your horse approaches, tweet and feed him the treat, then leave.
Step 5: When your horse is coming reliably, remove the bucket, move the treats to your pocket and repeat the process.
Step 6: Next, put a halter and lead rope around your shoulder when you come out, and repeat the process.
Step 7: As we have up to this point, slowly increase what your horse needs to “do” to obtain a treat. First, stroke him with the lead rope. When he accepts that by standing still and calm, tweet and give him the treat. Repeat this a few times. Next wrap the lead rope around his neck and remove, then open and close the halter in front of him. Finally, place the halter on him. Once you actually bring him in, pair it with good things?a treat, a good grooming, etc. Soon he will be running to you instead of away.
Remember to take small steps?some horses will be standing for the halter after just a couple of sessions, while others, especially those who’ve been punished in the past for not ?approaching, will likely require more time and patience.
By adding opportunities for learning through positive reinforcement, you can increase trust, increase fun and increase the potential of your equine companion.
The article first appeared in the November 2009 issue of Practical Horseman magazine.