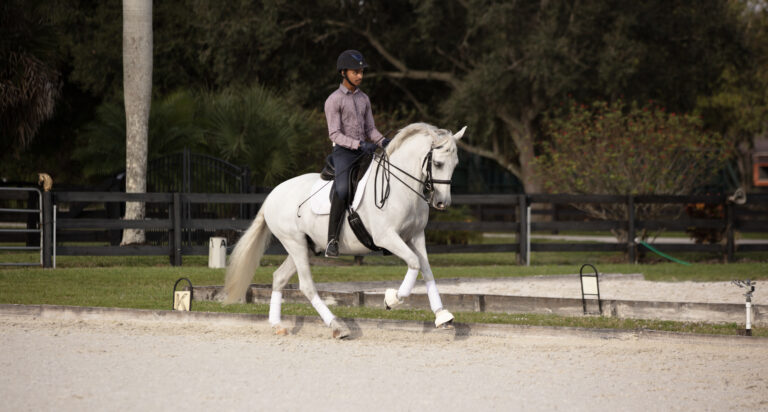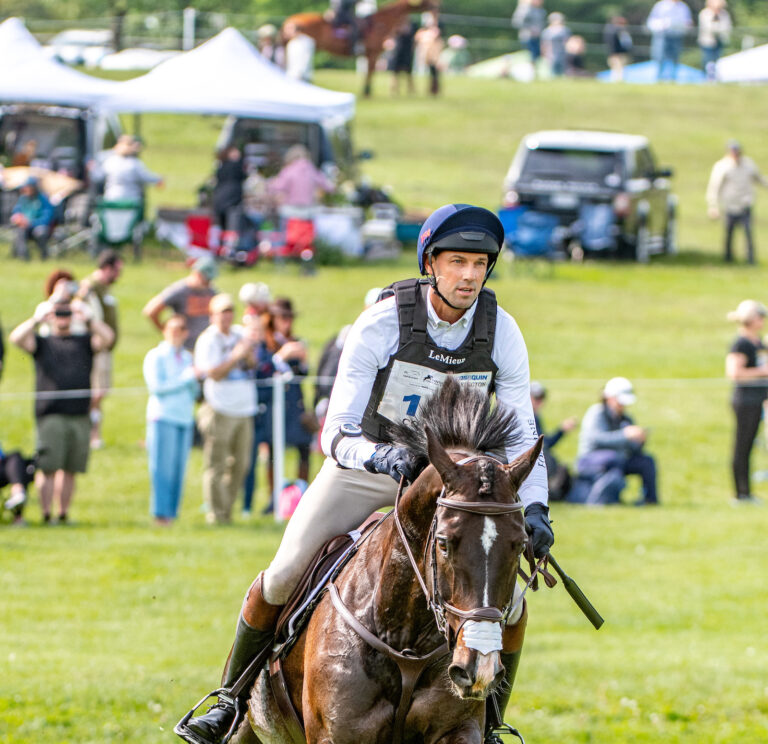
Last month we studied the basics of our dressage position. This month we will focus on the essentials for successful riding over fences–your jumping position. I plan to go into quite a bit of detail about this because an insecure jumping position can be dangerous. Space constraints won’t allow me to include specific exercises to improve your position as part of this detailed description. This is a departure from my usual habit where, if I tell you something is wrong, I suggest ways to improve it.
In my last column, I quoted Bill Steinkraus, a great theoretician as well as a great rider, and here he is, back again: “The rider’s position must provide a stable platform from which the skilled rider can apply the aids with the precision of a surgeon.”
All good riders I have ever seen had one thing in common: an excellent lower-leg position. It makes sense when you think about it. Our stability is based on our positions in the saddle, and our positions in the saddle are based on our lower legs. However, before talking about your stability and the basics of your jumping position, we must make sure your stirrups are correctly adjusted for jumping.
Stirrup-Leather Length
Incorrectly adjusted stirrup leathers cause many of the jumping errors I see in my lessons and clinics. We can prevent many of these by a simple procedure: Halt your horse after warming him up with some suppling dressage work. If he is restive at the halt, have someone hold him. Take both feet out of your stirrups and let your legs hang straight down. Adjust the length of your leathers so the tread of the stirrup touches you at, or just above, your anklebone. Next place your foot in the stirrup. At this point, if you were to have a friend take a photo of your position, you would observe an approximate 90-degree angle behind your knee when seated. (At the top of your posting motion or at the top of your horse’s jumping effort, this angle will become about 110 degrees.)
Now that your stirrup leather is adjusted to the correct length, take your foot out of the stirrup again. I want to review how you place your foot in the stirrup because this is important and deserves careful attention.
Feet: The Foundation
Still at the halt, place your foot in the stirrup with the ball of your foot on the tread. I prefer that you have your little toe against the outside branch. From a lifetime of working with expert coaches, however, I have learned that even the best in our sport disagree about details of our lower-leg position. For example, some experts tell us to place the ball of the foot against the inside branch. Although I have a strong preference for placing the little toe of the foot against the outside branch, because it produces a more supple position, I agree that regardless of instruction or intention, some riders find that their feet will invariably migrate to the inside branch. I think this has to do with the individual’s ankle conformation, and you should make a virtue of necessity and ride where your joints align correctly.
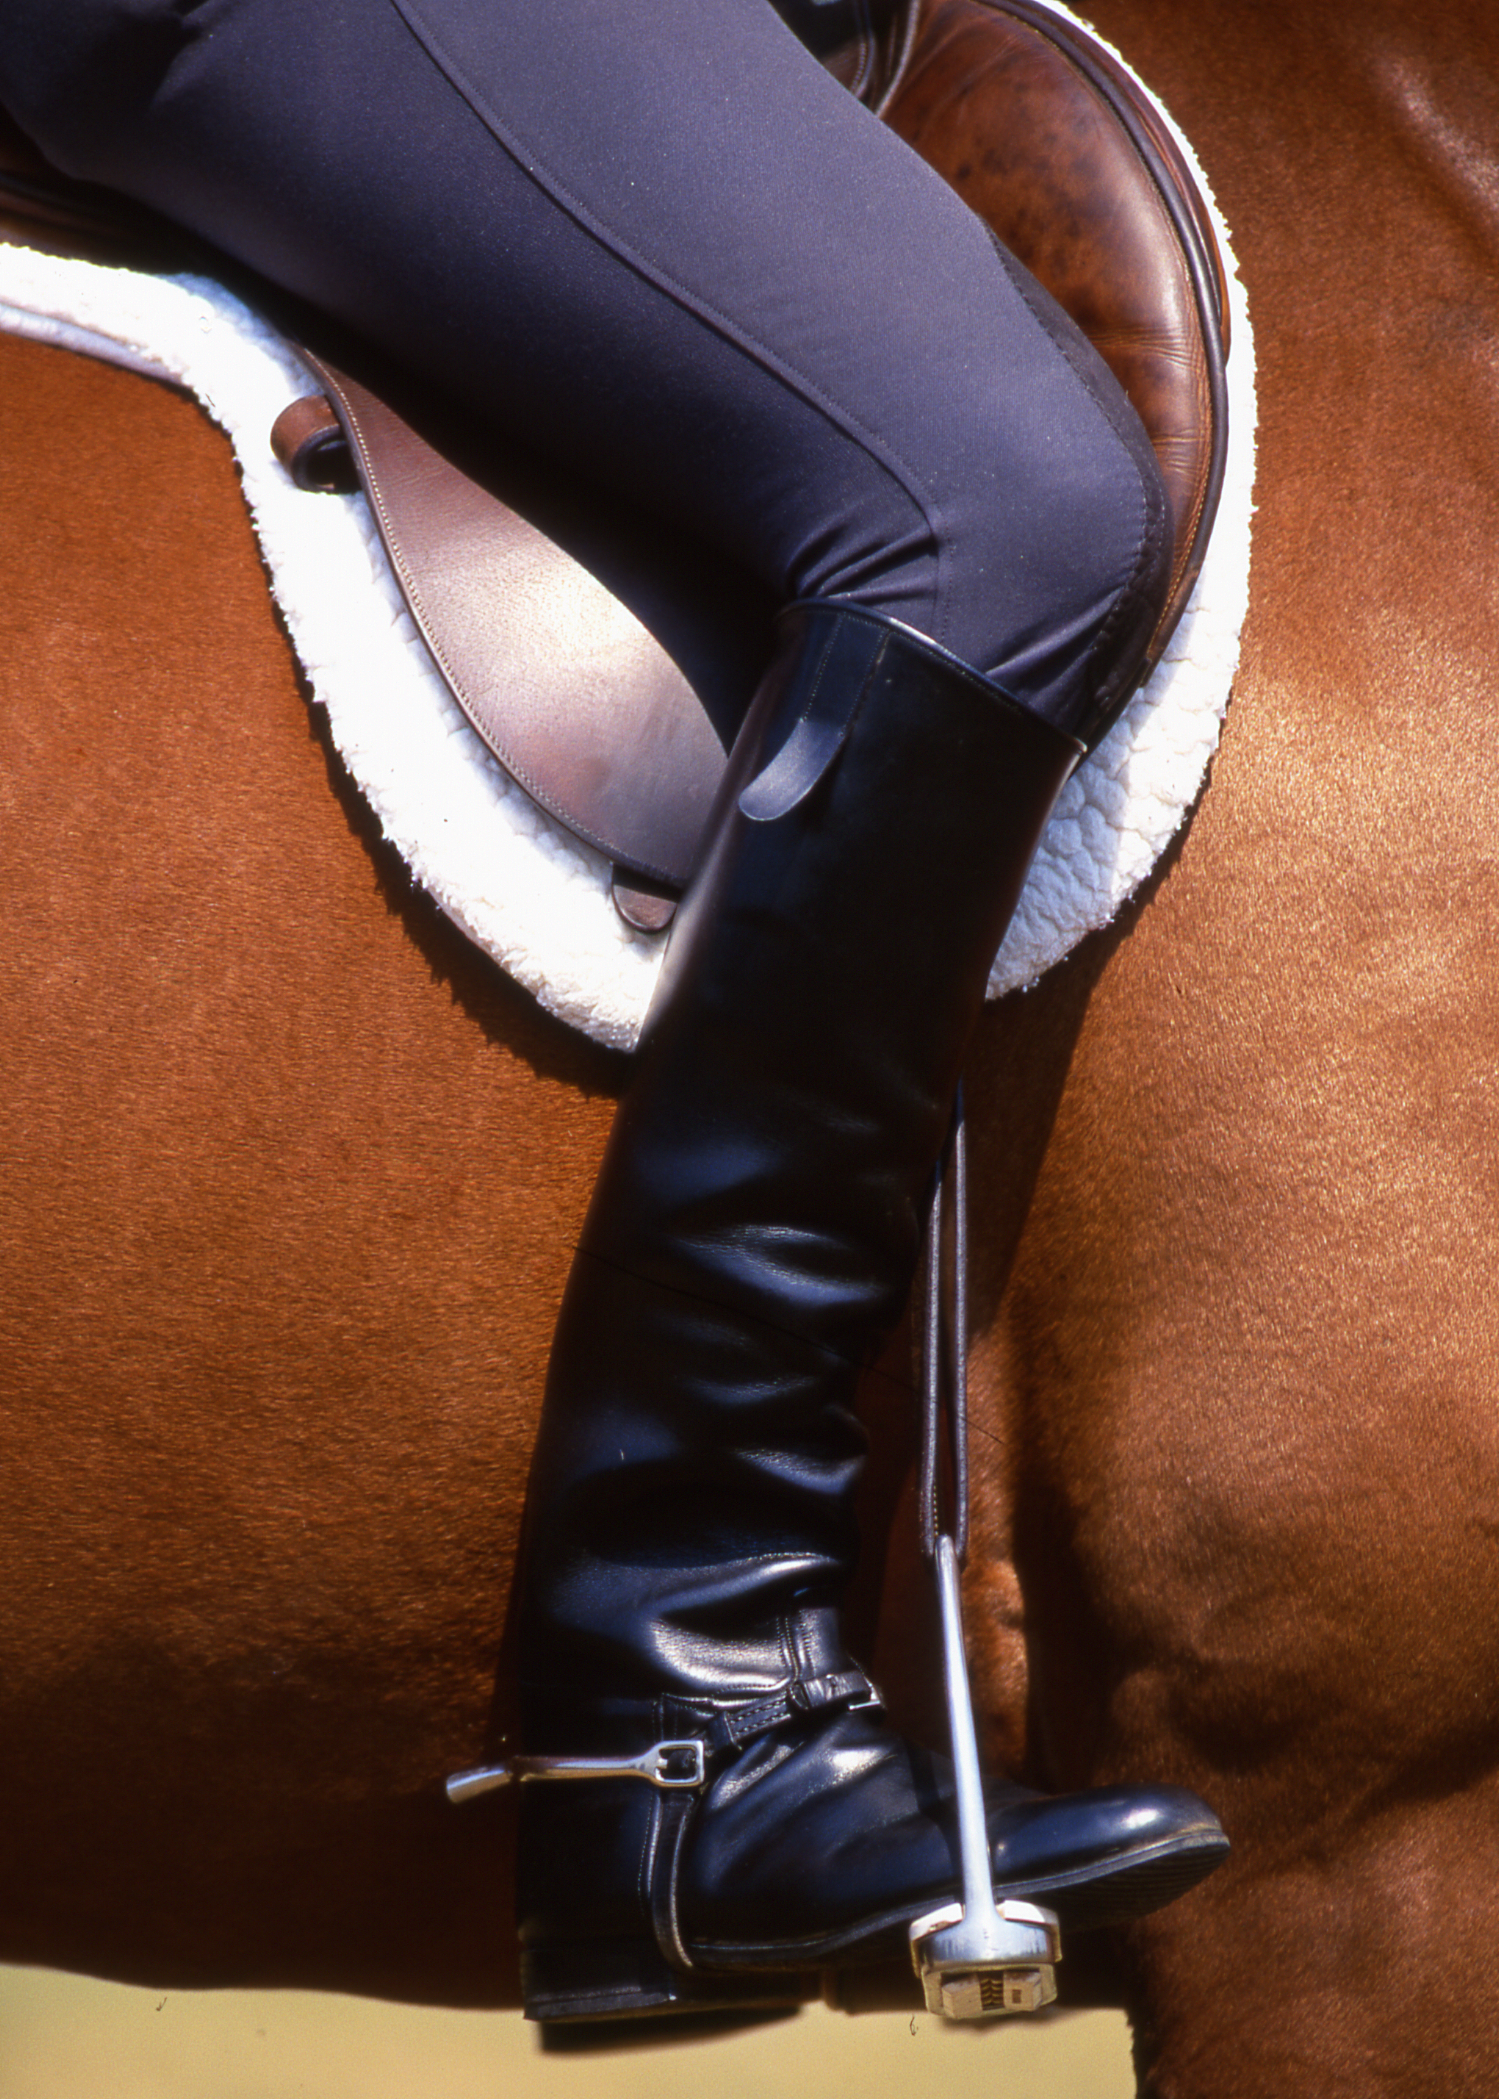
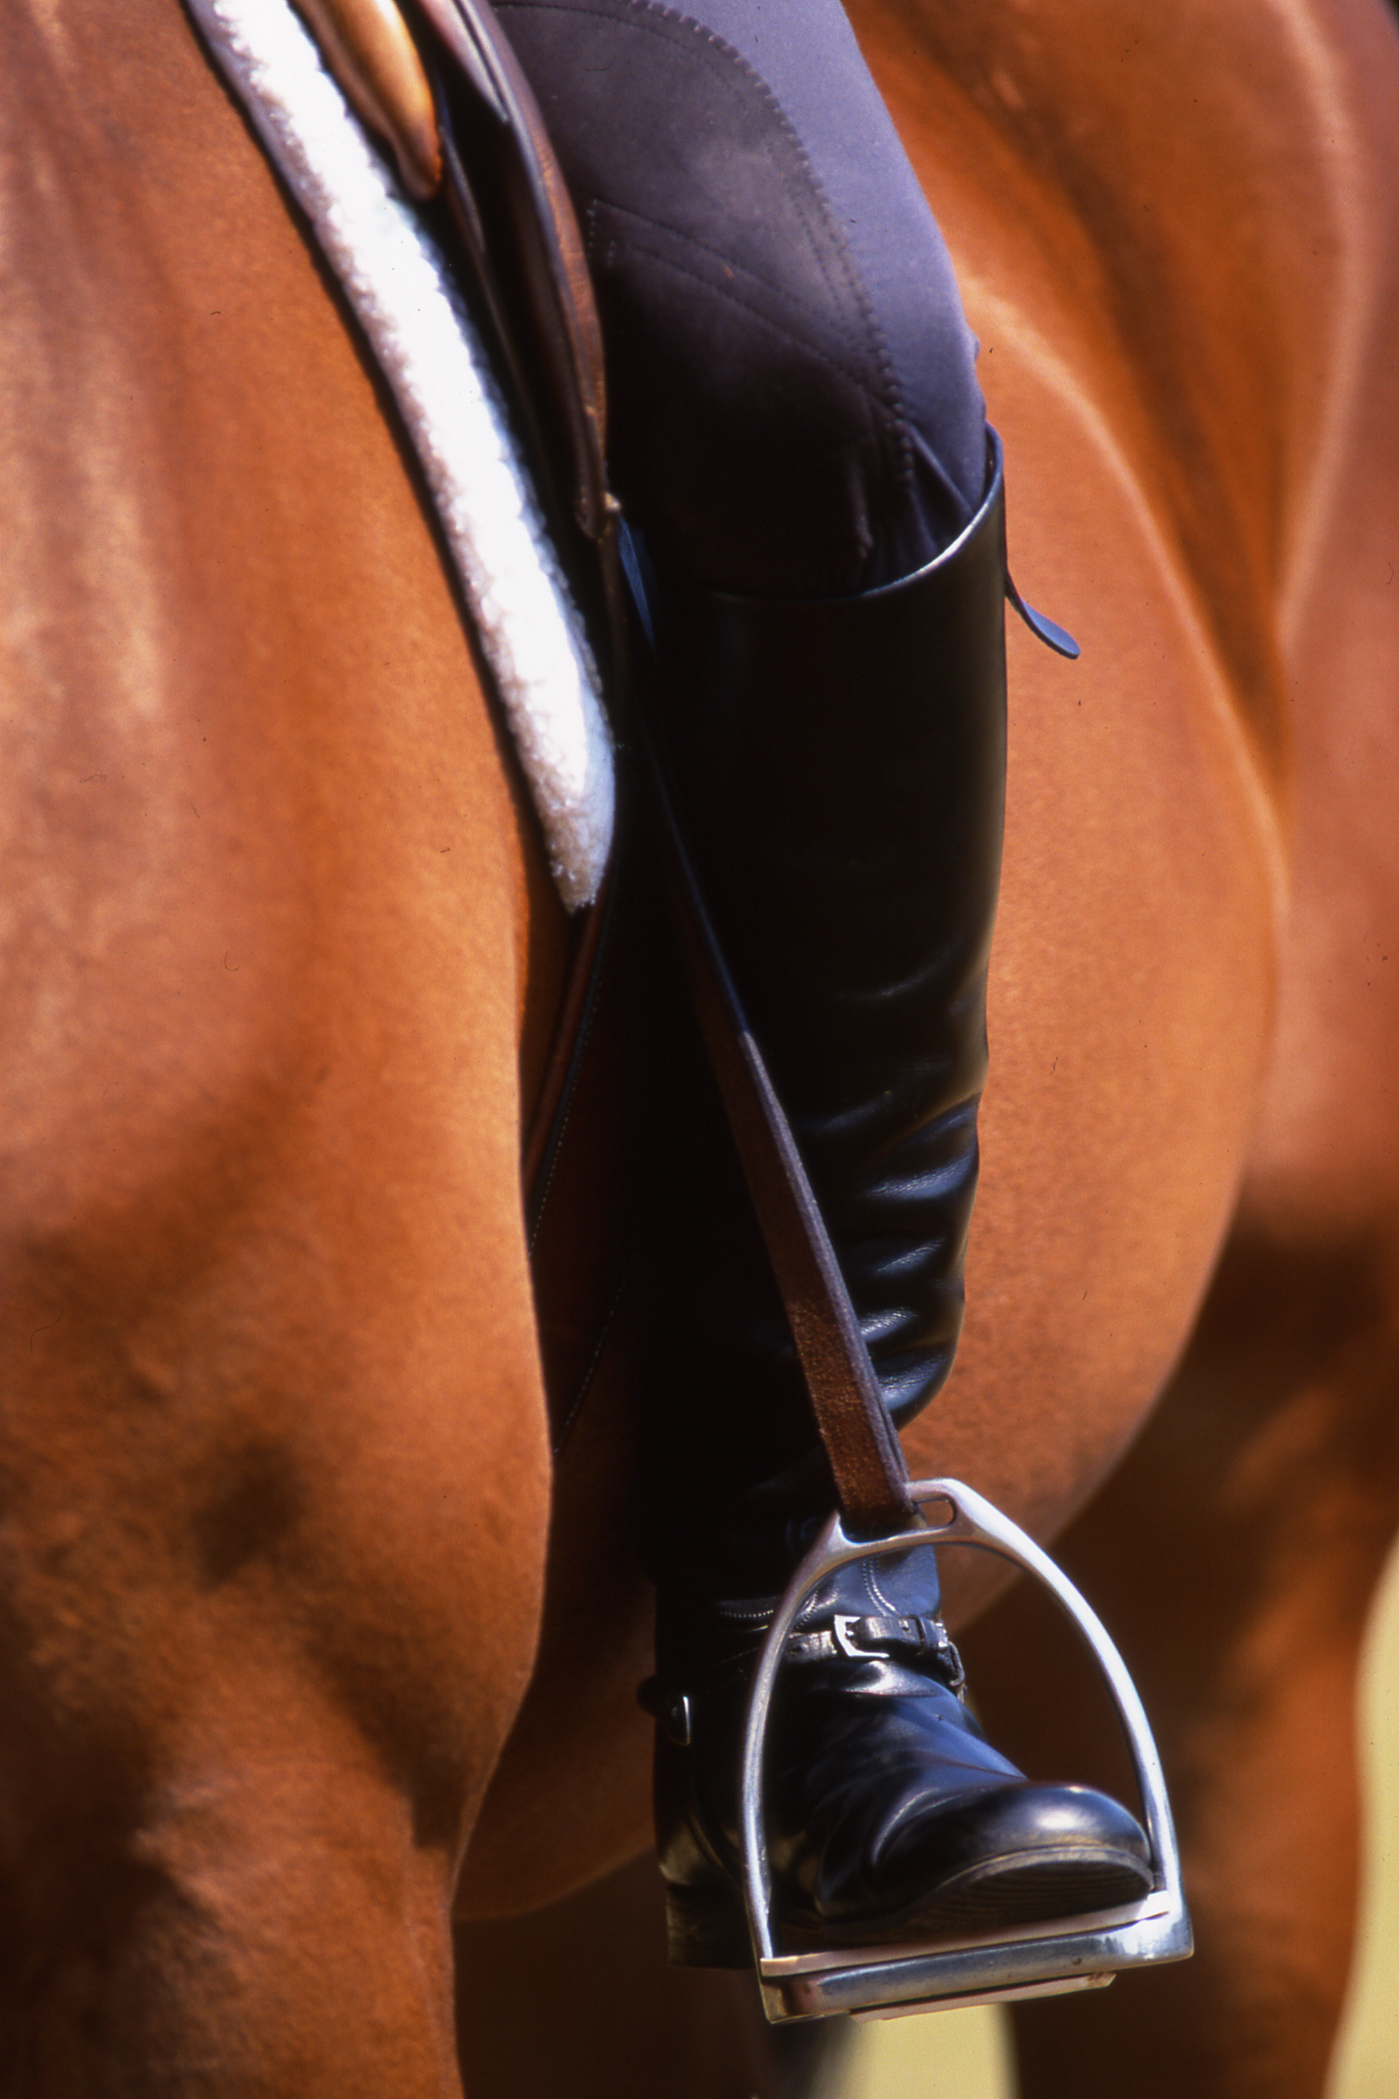
Photo Caption: I keep these photos on my computer desktop, in a folder named “THE Lower Leg.” I send them to my students with instructions to print them out and sleep with them under their pillows. This is absolutely the shape I want you to take with your lower leg. Starting at the bottom and working up, notice that the stirrups are safe for this particular rider in that there is sufficient height and width for the size of his foot, and they appear to be a heavy type of stirrup, which is safer. You will recognize the significance of these details the next time you suffer an involuntary dismount and your foot is not trapped in a stirrup that is too small or light. The buckle of the spur strap is in the safest possible position, exactly centered on the top of the ankle, and the shaft of the spur is adjusted correctly, parallel to the seam of the boot.
In both photos, the sole of the boot lies flat on the tread of the stirrup and the rider’s weight is spread equally across the toes. The little toe is against the outside branch of the stirrup, and the ankle is deeper than the toes. The foot, ankle, shin, knee and thigh are all in the same line (plane). The angle of the foot to the horse is the same angle with which this rider walks, ensuring that the position is comfortable, natural and relaxed. The stirrup leather is correctly adjusted, causing a 90-degree angle behind the rider’s knee while seated, and the stirrup leather is vertical. The stirrup leather should stay in this relationship regardless of your actions in posting the trot, galloping or jumping.
Although I have a strong preference for placing the little toe of the foot against the outside branch, because it produces a more supple position, I agree that regardless of instruction or intention, some riders find that their feet will invariably migrate to the inside branch. I think this has to do with the individual’s ankle conformation, and you should make a virtue of necessity and ride where your joints align correctly.
When you have your foot against either branch of the stirrup, I want to see about 1 inch of space between the sole of your boot and the other branch. At the same time, I want about 4 inches of space between the top of your foot and the inside top of the stirrup. Both of these rule-of-thumb measurements allow some space for your foot to leave the stirrup in the unfortunate event of a fall. A fall is potentially dangerous at any time, but falling with your foot trapped in the stirrup almost guarantees serious injury or worse. Pay attention to these details–they may save your life someday.
I want to make one more important safety adjustment: Look at the photos of the rider’s lower-leg position (above) and notice the adjustment of the spur–the buckle of the spur strap is precisely centered on top of the ankle. This gives you the best chance to avoid getting the buckle caught against the branch of your stirrup in case of a fall. This may seem like a million-to-one shot, but it is one lottery you would rather not win. I have seen this happen several times, and each time the buckle was incorrectly adjusted and wedged firmly against the stirrup, thus preventing the rider’s foot from escaping. The riders involved escaped injury or death only by chance, not by attention to detail. (The correct adjustment of the spurs also gives you the greatest control of the application of this aid, which I will discuss in more detail in future columns.)
Returning to position adjustments, while still at the halt, rise in your stirrups as if you were posting the trot. Allow your heels to sink down and your toes to turn out slightly, though do not attempt to keep your feet at some pre-determined angle to your horse’s body. Frank Chapot, a member of the U.S. Show Jumping Hall of Fame, says it best when he tells us to ride with our feet at the same angle as that with which we walk. Again, you want to ride where your joints align correctly.
As you rise, make sure your ankles are relaxed. Try to imagine that the stirrups are lifting your toes, not that you are driving your heels down. Another technique is to think that rather than pressing your heels down, you are lifting your little toe. These techniques will produce a more relaxed and supple ankle joint. Next return to the saddle keeping equal weight on your pubic bone and your two seat bones, with the point of your shoulders just in front of your hip bones a position I call a “light three-point.”
Build Your Position
You can tell from my approach that I believe in building your position from the ground up—and in this case, your stirrups are the ground. Now we will move our attention farther up the rider’s show-jumping position.
When seated, your calves should rest quietly on your horse’s sides. Your horse’s jumping motion can be quite powerful. To retain your connection with him, there must be some grip involved. However, that grip must originate from the large bone on the inner surface of your knee and the flat of your calf. If you pinch with the front part of your knees, your lower leg will swing back and your position will become weak and unstable.
There is also a second grip involved in your lower-leg position?the closing of your heels, which is the signal you use to maintain or increase your horse’s impulsion. Riders with weak positions often confuse these two very different grips.
Now let’s move our attention higher in your jumping position. Although your thigh is connected to your horse’s back while you are seated, your thigh will not really have the ability to grip if you either jump or post at the trot. You will, however, certainly improve your jumping position by tightening the outside of your thighs, because this will produce the grip necessary to stay connected while your horse jumps.
I mentioned in an earlier column that I want you to rest on a three-point position, or the seated phase of your posting trot, in the approach to a jump. While in this connection, keep a slight forward arch in the small of your back. This alignment is the natural shape of the human spine. In addition, it allows the lifting motion of your horse’s back to be transmitted correctly and efficiently to your upper body. You have probably been told by your jumping coach to allow your horse’s motion to create your jumping position. You will have a better chance of that happening if the alignment of your upper body is correct.
Continuing upward, your body should be erect, shoulders level and chest lifted. Your chin is raised, and your eyes are focused along your horse’s path. Your forearms should form a straight line from your elbow to your horse’s mouth, whether viewed from the side or above. Hold your reins between your ring and your little fingers with your thumbs turned slightly in from the vertical. Bert de Nemethy, longtime coach of the U.S. show-jumping team, said we should carry our hands as if we were carrying a plate of soup. Just so.
Adjust your reins so you have an equal range of motion in your elbow forward and backward. You will find this adjustment places the inside point of your elbow in front of the point of your hip. Control the length of your reins by placing your thumb on top of the reins, not by making a fist.
Once you have done all we have discussed, you and your horse have the best possible chance of remaining harmonious throughout the five phases of the jump: the approach, the takeoff, the flight, the landing and the departure. Keep this framework for a correct jumping position in mind while you review my exercises for improving your jumping position.
Iron Weight and Width
I have noticed a trend over the years toward the use of very lightweight stirrups, made with a much wider tread than usual. Although I immediately made up my mind about these stirrups due to their lightweight construction (light stirrups are dangerous in the event of a fall because they do not separate from the rider’s foot), I was ambivalent about the tread width. After observing these stirrups on a daily basis for several years now, I have decided I am not in favor of wide-tread stirrups, regardless of their weight. For some reason, they invariably cause riders to place their feet too far into the stirrups, with a corresponding loss of flexibility in the ankles, blocking the riders’ shock-absorbing mechanism. Because of this, I recommend stirrups made of a heavy material and with no more than a 2-inch tread.
A Historical Perspective
I am always interested in the historical development of our theoretical practices. In this instance, our show-jumping leg position was originally developed in the early 1900s. At that time, Federico Caprilli, originator of the modern jumping position, advocated placing the foot slightly deep in the stirrup with the ball of the foot just past the inside branch. This produced a very strong lower-leg position but lacked suppleness and sensitivity. Brig. Gen. Harry D. Chamberlin, our greatest equestrian theoretician, also advocated this position. However, two genius horsemen, Bill Steinkraus and George Morris, place the rider’s foot against the outside branch of the stirrup, so I am in good company.
About Jim Wofford

Longtime Practical Horseman columnist Jim Wofford competed in three Olympic Games and two World Championships. He also won the U.S. National Championship five times. Additionally he was also a highly respected coach. For decades beginning in 1978, he had at least one student on every U.S. Olympic, World Championship and Pan American team. He passed away February 2, 2023.
This article was originally published in the March 2013 issue of Practical Horseman magazine.