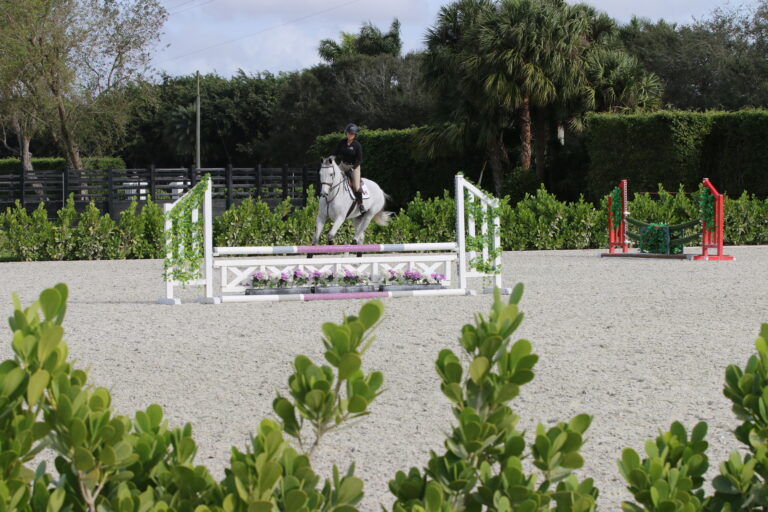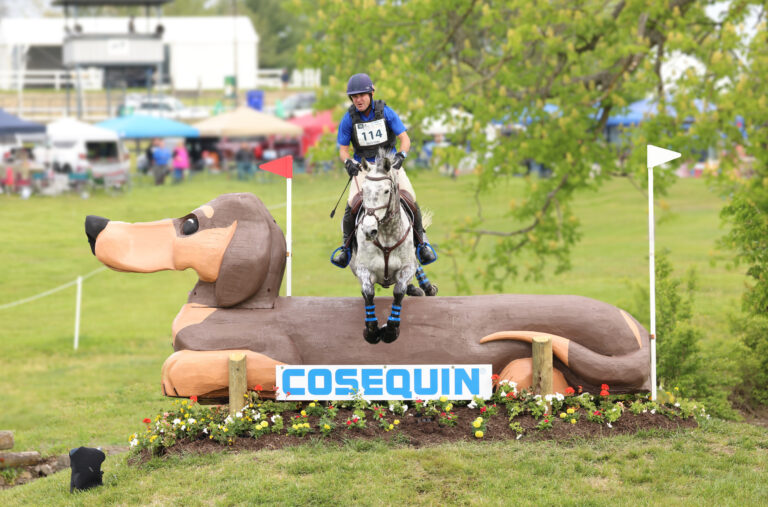
What’s the first thing a judge looks at when you ride into the ring and begin your trip at a hunter show?
It’s not your horse’s form or how beautiful he is or even what his manners are like. Believe it or not, it’s pace—your horse’s speed, or miles per hour, as determined by his stride length and a basically consistent rhythm.
For a really good trip, maybe the winning trip, the judge will want to see your pace stay pretty much the same all the way around. Of course, you’re going to make little adjustments by lengthening and shortening stride on a rhythm, but otherwise, everything should be very consistent so you maintain what the U.S. Equestrian Federation Rule Book calls “an even hunting pace.”
Interestingly enough, the Rule Book doesn’t give miles per hour for that hunting pace because …
There is No Single Pace For All Horses
The right pace for your horse isn’t about a specific number but about getting comfortably and smoothly down the lines, which are generally based on an average horse’s 12-foot stride. The right pace is also about safety—your round could look and be dangerous if your horse is galloping wildly around the ring. The right pace involves manners and style—if your horse is going too fast, your round could look frenzied; if he’s crawling along at two miles an hour, it will look dull; and if he’s fast, slow, fast, slow, it will look erratic. Above all, the right pace, when combined with a good track, is the magic ingredient that allows you to see a distance so your takeoff and landing are comfortably, stylishly equidistant from the fence. As we all know, even if you have a nice rhythmic, consistent round, you’re not going to do well if you keep having chips or flying longs.
Pace Is Part Math and Part Feel
Don’t groan! In this article, I’m going to show you exactly how to use math to develop the feel for the pace your horse needs for that all-important and consistent 12-foot stride. We’re going to do it with just three simple exercises. First, you’ll canter two ground poles set 12 feet apart, then you’ll canter two verticals on a four- or five-stride line and finally, you’ll canter a single vertical. Ride these exercises repeatedly, doing each one until it feels good and always noticing and correcting for any deviation from your ideal pace and addressing it. As you progress, you’ll find that you don’t even need a ground person to tell you if you’re on pace or not. It will be pretty black and white whether or not your distances are medium-ish and, especially in the line, if you’re getting the correct number of strides. In fact, pace is about as close as you can get to an exact science with this whole horse thing.
That said, there may be external factors at a show that affect the pace you’ve learned to feel—the height of the fences, the size of the arena, even the footing. In the section at the end of the article, I discuss those factors. By the time you get to the show, you should know not only your horse’s ideal pace but also how to slightly increase or decrease it if necessary to produce a smooth, consistent round.
First, Get Set Up
You’ll eventually ride the three exercises as a little course in both directions off both leads, so set them up so you can do that. For example, put the ground poles on one side, the line on the diagonal and the single vertical on the other side. Set the grounds poles 12 feet apart. Build the line with two verticals that are high enough for your horse to jump but low enough that you can focus on pace and not on worrying about making it over. Depending on the size of your arena, the line can be four strides (60 feet) or five strides (72 feet). The single vertical, again, should be high enough for your horse to jump but low enough for you to concentrate on pace.
Have a ground person to move poles and jumps. As I’ve said, the first two exercises themselves will tell you whether you’re on pace or not, but when it comes to the single vertical, a ground person can give you instant feedback or even take video to help you figure out whether your horse is staying close to the consistent pace you want.
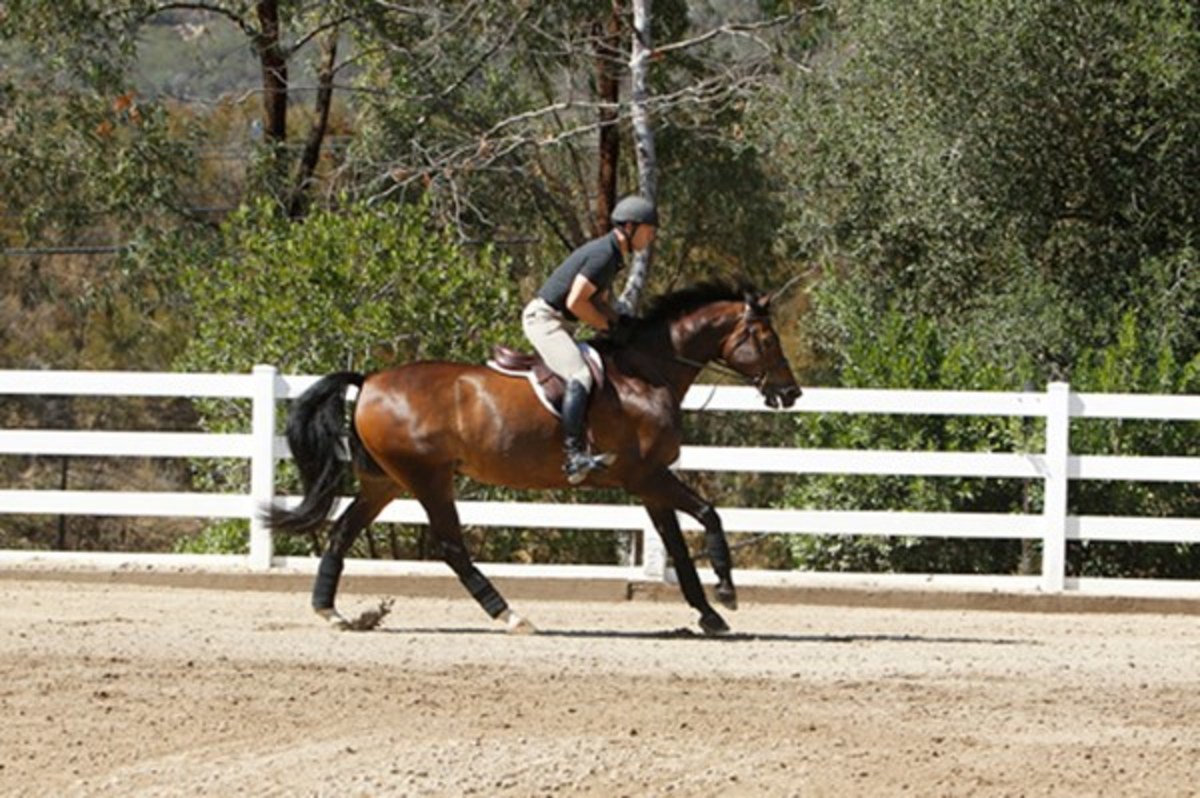
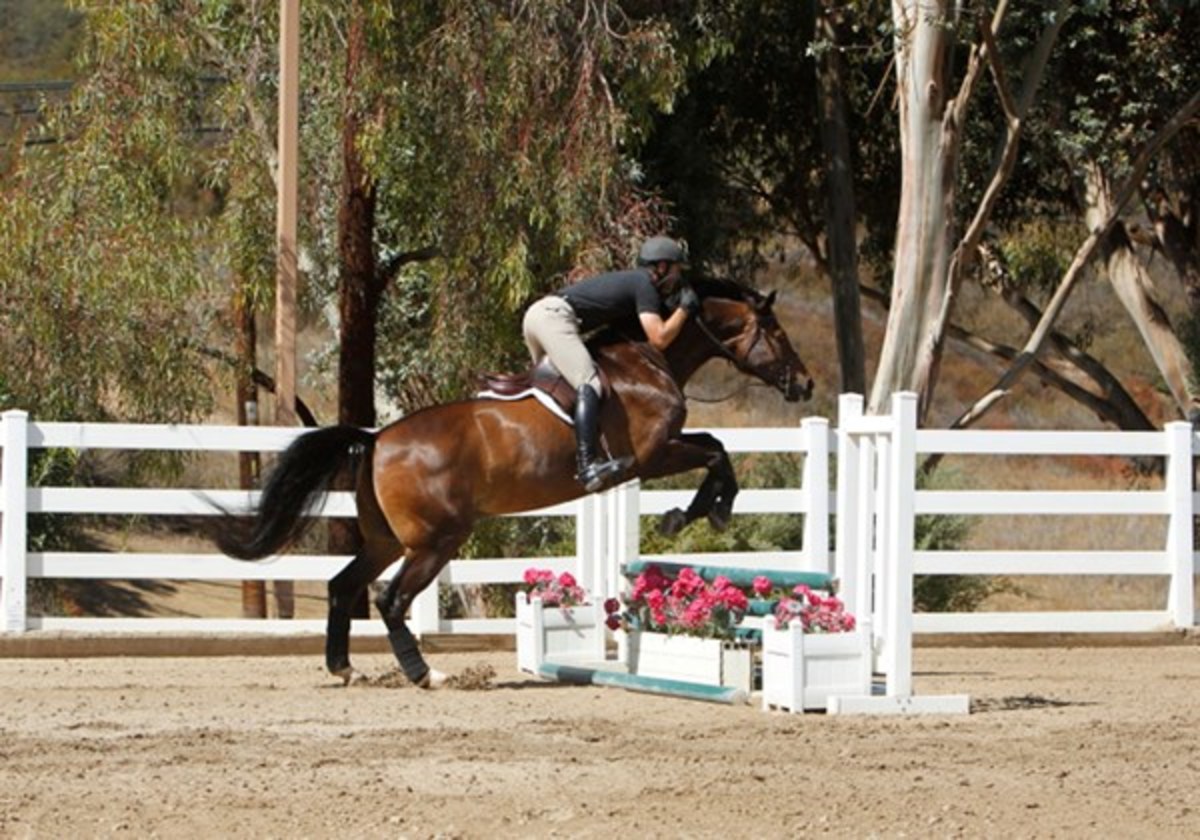
While this article is about developing and feeling the right pace and the perfect stride, you must know or learn how to count strides in order to get down the lines properly. For tips on this essential skill, see the photos for Exercise 2.
Exercise 1: Canter Two Ground Poles
Your Goal: To center each pole directly under one of your horse’s canter strides so you begin to feel the pace and rhythm he needs for a 12-foot stride
How to Do it: Pick up the canter, get up in a light half-seat and establish what you think and feel is a good, consistent pace. Turn toward the poles and try to find a decent, medium-ish distance to the first pole. If your horse easily canters in over the first pole and out over the second without scrambling or adding a stride, your pace is right on for a 12-foot stride. Repeat enough times to etch that feel into your muscle memory.
If, however, your horse steps on a pole, adds a little half-step in the middle or breaks to trot, you’re under pace. Canter back around and encourage your horse to increase a little. Ask him to lengthen his neck and frame by softening your hand, squeezing with your leg, giving a touch of your spur and adding a little cluck. You can even try a method I use by “leaning” at your horse for a stride or two. It’s a very little push with your upper body that’s basically an invisible aid. No one can see it, but because your horse can feel it and because his balance will tip a little bit forward, he’ll want to increase his speed and take a longer step to catch up and stay underneath himself. As soon as you feel him respond, open your angle and sit back up. If this time he easily steps over the poles within his canter stride, you’re on pace.
You may encounter the opposite problem. If your horse has to shuffle backward because he can’t fit his stride between the poles, decrease pace a little. Make sure that no part of your body is saying “go forward”—you’re not closing your hip angle, standing on your toe or inadvertently touching him with your spur, for example. Then use a little leg and a little direct rein to raise his head, compress his frame and essentially create less horizontal motion and more vertical motion, or bounce, to his stride.
Finding and feeling the right pace takes practice and repetition, so keep cantering the poles until your horse is stepping over each one in the center of each stride and you’re seeing and getting reasonable distances coming in and out. If your horse is a good guy, he should also relax into the exercise and start helping you adjust his stride to make that happen. Trust the poles. The poles will tell you if you’re covering ground or not. They will tell you when you have to soften and let your horse lengthen his frame and stride so he can get there.
Problem-Solving: What if your horse doesn’t relax? What if he has a ton of energy and wants to go, go, go? It can be intimidating to sit on a horse like that. He kind of makes you want to pull on him, but pulling rarely helps because his motor is still revving and you still feel as if you’re just going too fast. But here’s the thing. You’re not going as fast or covering as much ground as you think because he is mostly bouncing up and down. And when you go slow and bouncy on your approach, there’s the almost inevitable dash at the end. Instead, let him go forward a little and you’ll be able to wait at the end—it’s the only way to get him quieter.
You may have the opposite problem—a big-strided, low-energy horse. He’s lazy, lazy—so lazy that he feels as if he’s going to trot at any minute (which he actually may do) while, in fact, he’s on something like a 14-foot stride. That can be just as hard to manage because you want him to keep cantering but you don’t want more length of stride. In fact, you want somewhat less. With him, you’re going to have to experiment with quite a bit of simultaneous leg and hand to ask him to package, come more together and increase his energy and vertical motion while somewhat limiting his length of stride.



Exercise 2: Canter A Line
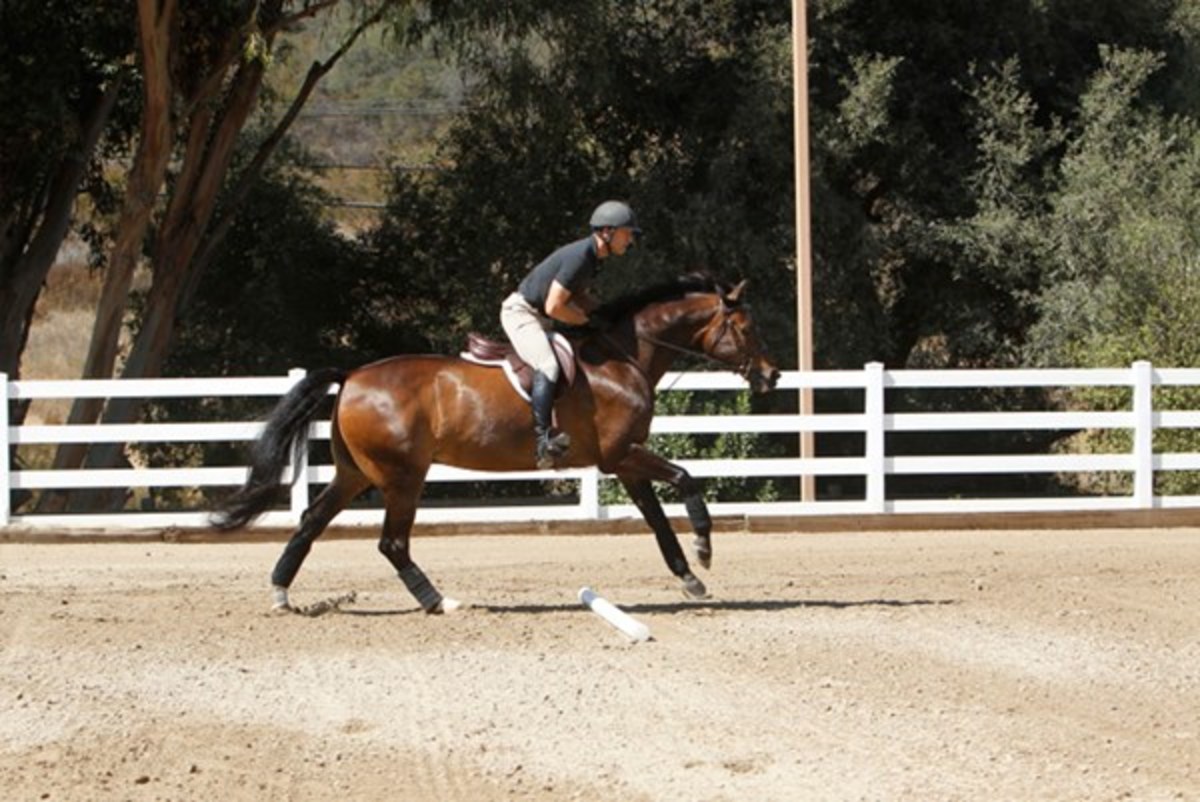
Your Goal: To maintain pace in a four- or five-stride line
How to Do it: First canter your two poles to check your horse’s pace and stride, then maintain them as you come to the line. Again, look for a reasonable distance in, land and, as you count—and you must count—canter down the line to a reasonable distance to the out fence.
Assuming your in fence was a good distance, did you get down the line easily enough in the correct four or five strides? If so, you were right on pace. Did you have to kick the last two strides to get out? You were under pace a bit. Did you have to pull to fit it all in or, even worse, leave out a stride? You were over pace.
If the adjustment you need is to go a bit more forward and your horse is on the hotter side, land and soften the reins, close your hip angle a little and he’ll take the hint easily and lengthen stride on his own. If he’s a lazy, colder type of horse, you’re going to have to kick—discreetly—to encourage him to lengthen. In terms of coming back, once again, a sensitive horse doesn’t take a lot, while you may have to give quite a strong aid to a duller horse. Whichever adjustment you’re after, remember that it’s always longer and shorter within the same rhythm.
What about the naturally shorter-strided horse who’s more comfortable adding strides in the line? He’s probably not going to do well competing in this sport. Nobody likes to see a horse really reach out of a line and catch the back rail with his front feet because he didn’t quite get there. But if you love him and want to improve and compete anyway, I suggest that for safety and performance, he’ll do better going a bit over pace, a little more forward. I’d rather see him get a little deep. It’s safer and, usually because he has a little more pace, he can handle it better, almost as if his brain is a little more awake when he’s going more forward.
Exercise 3: Canter A Vertical
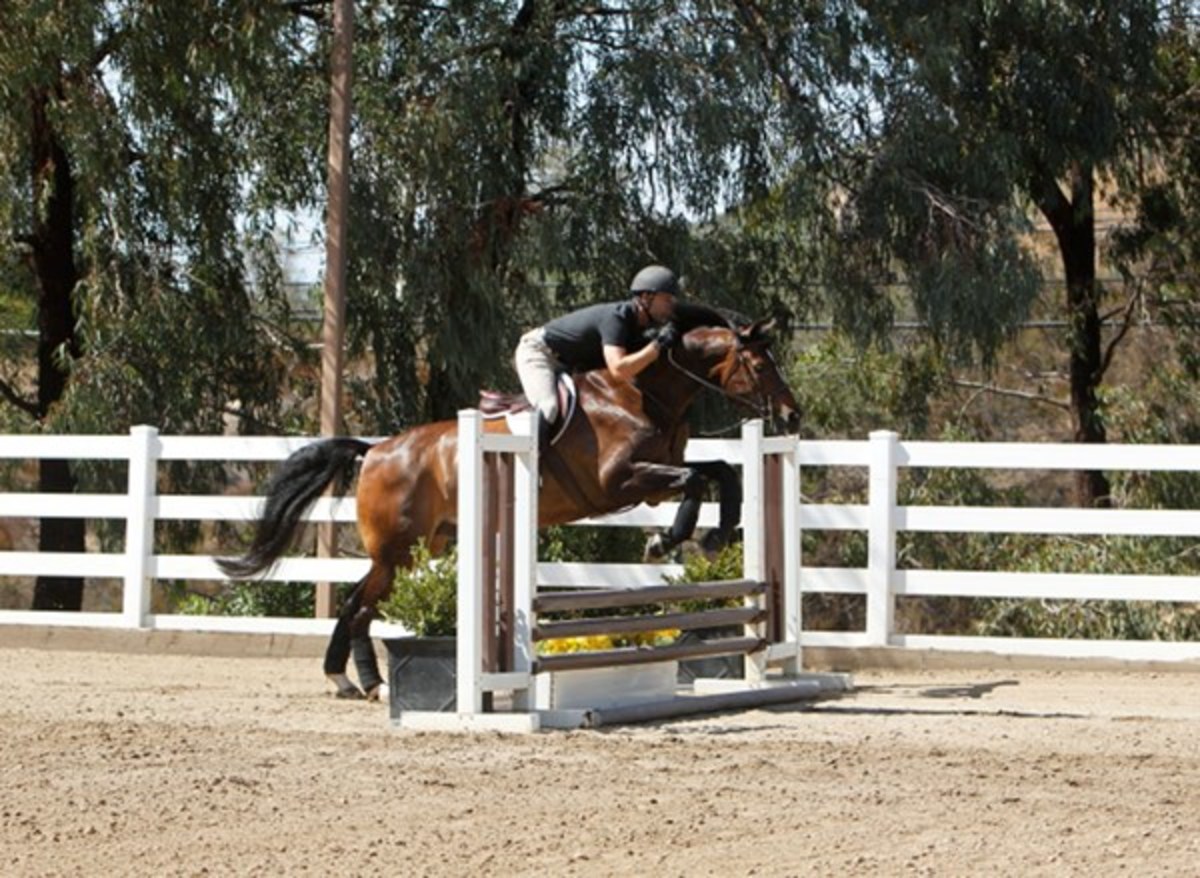
Your Goal: To maintain pace to a single fence
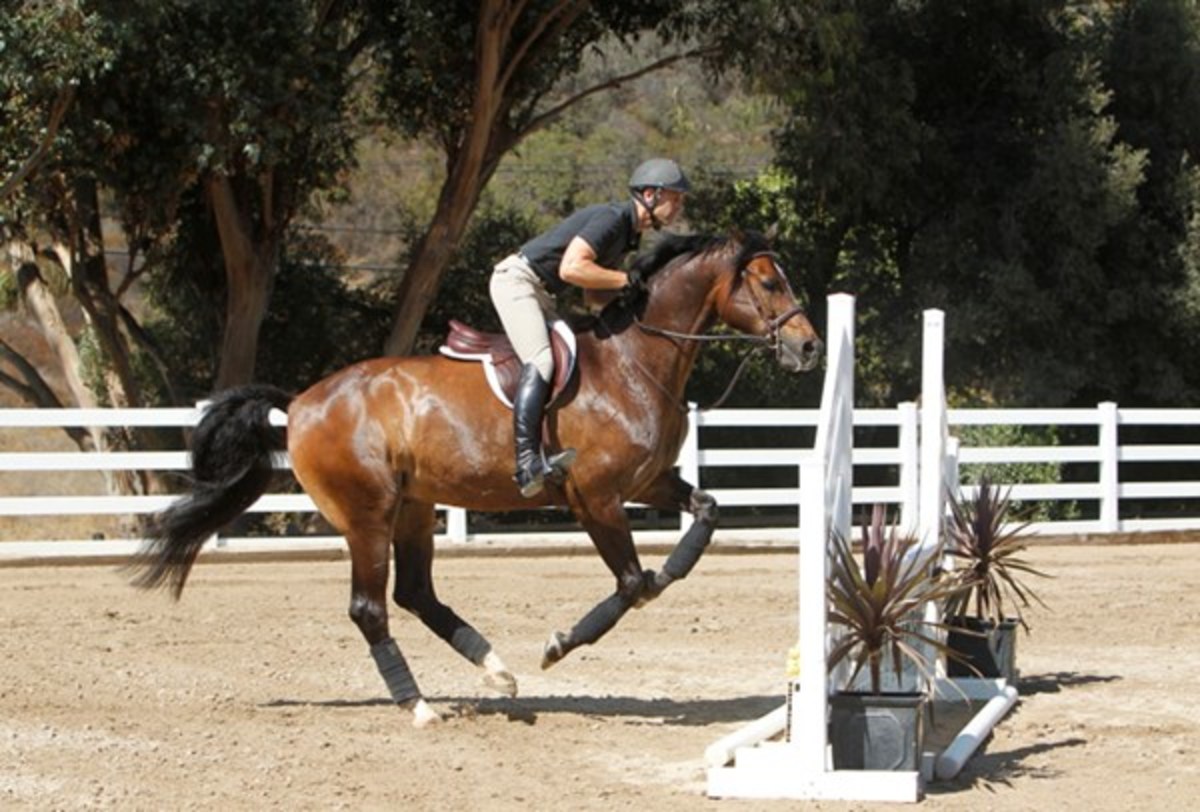
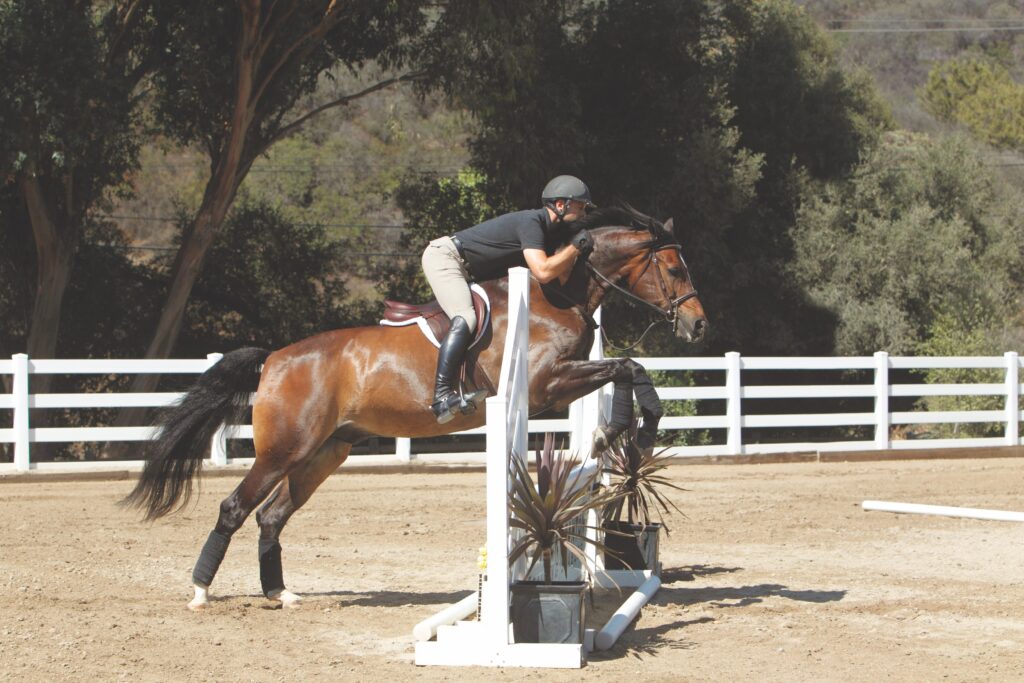
How to Do it: By the time you get to this final exercise, you’ve got your pace. You’ve got your poles and a correct, rhythmic pace through them. You’ve got your line and a correct, rhythmic four or five even strides. Again, set yourself up by cantering both those exercises, and as you come to the vertical, keep the feel in your mind. If it’s perfect, great. If it’s weak, slow or long, come again, making a slight adjustment to get back to the pace you need.
As with any adjustment, remember to make it look nice and help your horse enjoy his job as much as possible. For hunters and equitation, as a general rule, you want energy, but you don’t want a great deal of speed because you want to look smooth and unhurried. So keep your aids as soft as they can possibly be, and always work within your horse’s rhythm. When you want to bring him back, take a couple of strides to do it. Nothing has to happen in one stride. Similarly, if he’s lazy, you don’t have to take your right spur and nail him one time really hard. Take a couple of strides to push him out in front of you. When you take your time over a few strides, you don’t upset the rhythm and you don’t upset him. Remember, he’s your partner, not your enemy.

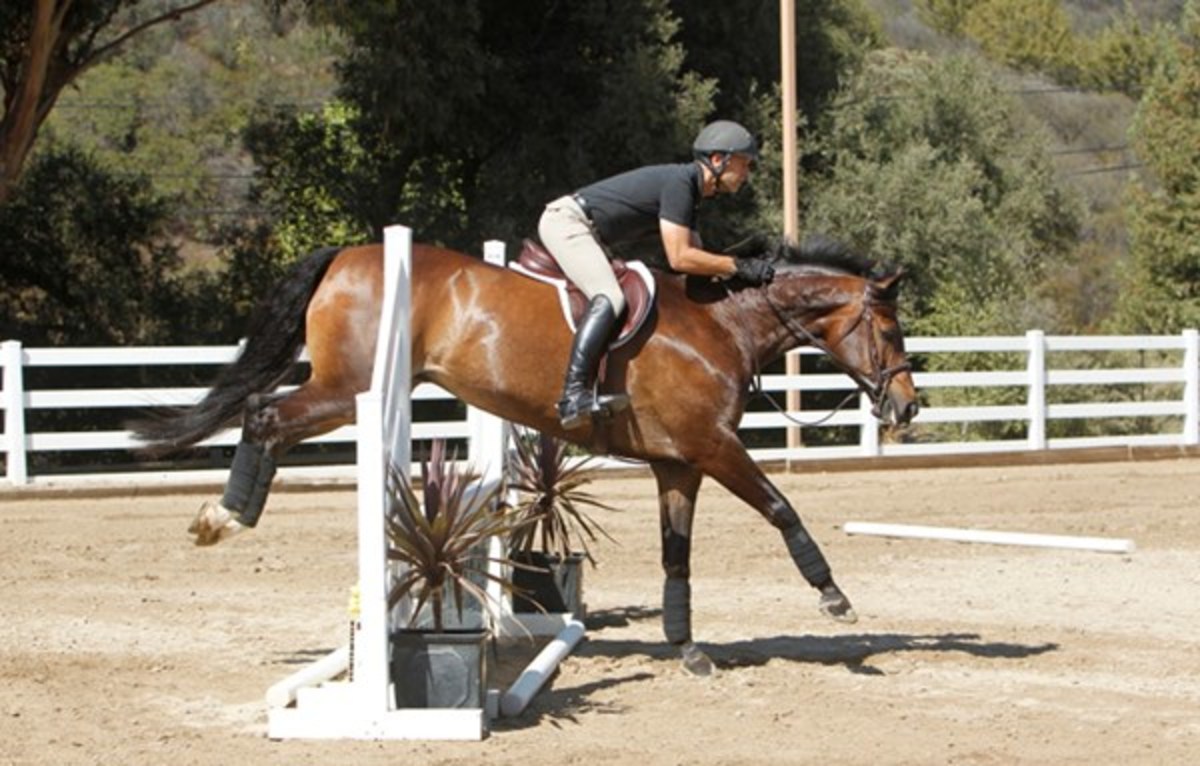
When You May Want to Alter Pace
At bigger shows, the posted hunter courses have distances written on them. If a line says 72 feet, for example, the course designer intends and the judge wants to see five strides in that line—your horse lands 6 feet away from the in-fence, takes five even 12-foot strides and takes off 6 feet from the out-fence. And that’s why you’ve been practicing the pace that puts you and your horse on a consistent 12-foot stride. However, there are some variables that could cause you to want to adjust that pace a bit. They include:
Your division. In the short-stirrup, for example, a five-stride line may be 70 feet or shorter. In the 4-foot hunters, on the other hand, the line could be as much as 76 feet. So you may have to ride with a little more or a little less pace, depending on your horse’s stride length.
The size of the ring. If you’re out in a big, open field, a good course designer will generally set the lines a bit more open, so you’re going to have to gallop a little. In a small ring, he will tend to set the lines a little shorter to make things a bit safer.
Footing. If it’s been raining and the footing is slick, the course designer could well shorten the lines for safety. If the footing is deep, especially if your horse tends to be lazy, you’re going to have to kick even harder than usual to get up to pace. And if the footing is perfect, your horse may cover a bit more ground than usual because he loves it.
“That’s the way I like it”

After 25 years as trainer and rider at Mary Gatti’s Rainbow Canyon Ranch, Patrick Spanton opened his own Patrick Spanton Training Stables, headquartered at Dragonfly Creek Farm in Malibu, California, in early 2013. “It’s a boutique-style barn,” says Patrick. “All amateurs and Juniors and some young horses, which I’ve always done. I have 25 horses only, so I do most of the riding and all of the teaching myself, and that’s the way I like it.”
Patrick is a three-time winner of the Don Tipton Award as Leading Pacific Coast Horse Shows Association Hunter Rider of the Year and has won U.S. Equestrian Federation and PCHA Horse of the Year titles, the International Hunter Futurity West Coast Finals and the Mark Mullen Perpetual Sportsmanship Award.
As for Patrick’s advice to experiment with simultaneous leg and hand to package a horse, “That’s what real riding is. When we’re beginners, we learn to kick to go forward and pull to come back or stop. But as we progress, we find out that blending both at the same time is the key to creating that magic combination of balance, rhythm, impulsion and stride length.”
This article originally appeared in the March 2015 issue of Practical Horseman.


