Keep those cards and letters coming, folks! There is nothing a columnist of my persuasion likes more than responding to readers’ questions and comments.
My audience gets in touch with me regularly. I am always happy to respond, although sometimes I need asbestos gloves to handle the feedback. This month a deceptively simple question caught my eye: “How do I measure my horse’s stride?”
When I need time to think, I can always fall back on that old debater’s technique of answering a question with a question. “Why do you even need to know the length of your horse’s stride?”
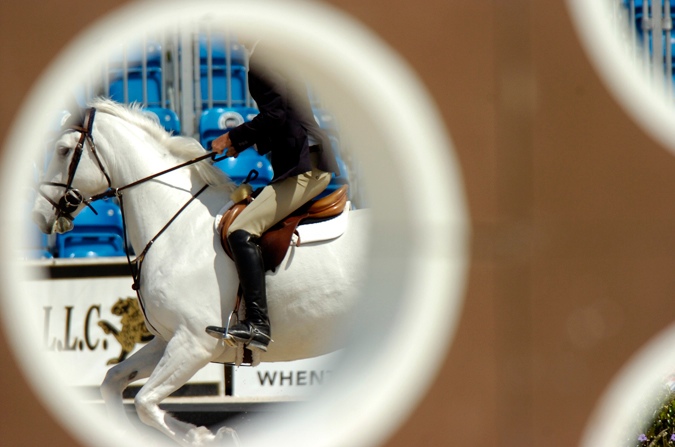
My first answer comes easily: Course designers around the world plan their questions based on a 12-foot stride. (Actually, I have been told that some show-jumping designers for the World Cup Final build on an 11-foot-6 stride because horses shorten their strides slightly when jumping indoors in small arenas. That kind of thinking takes place in a rarified atmosphere that is above my pay grade. You and I need to focus on a 12-foot stride.)
My next answer is that knowing the length of your horse’s stride is essential because we must train your horse to the average stride. Horses are not like Lake Wobegon, where all of the children are above average. We have to adapt to course designers, as they are not going to adapt to us.
Let Intuition Work For You
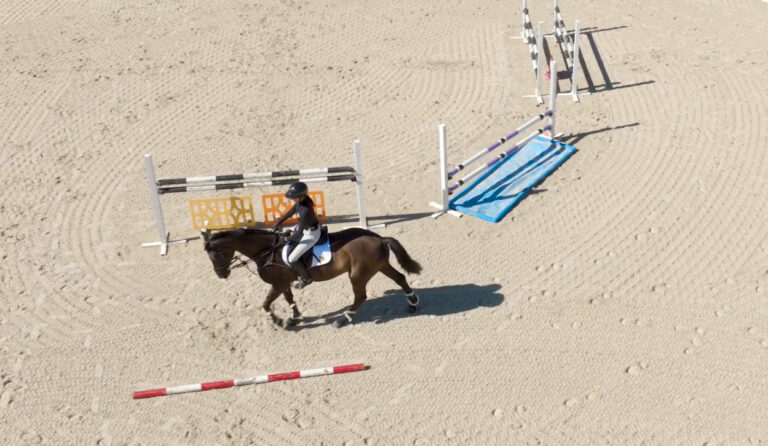
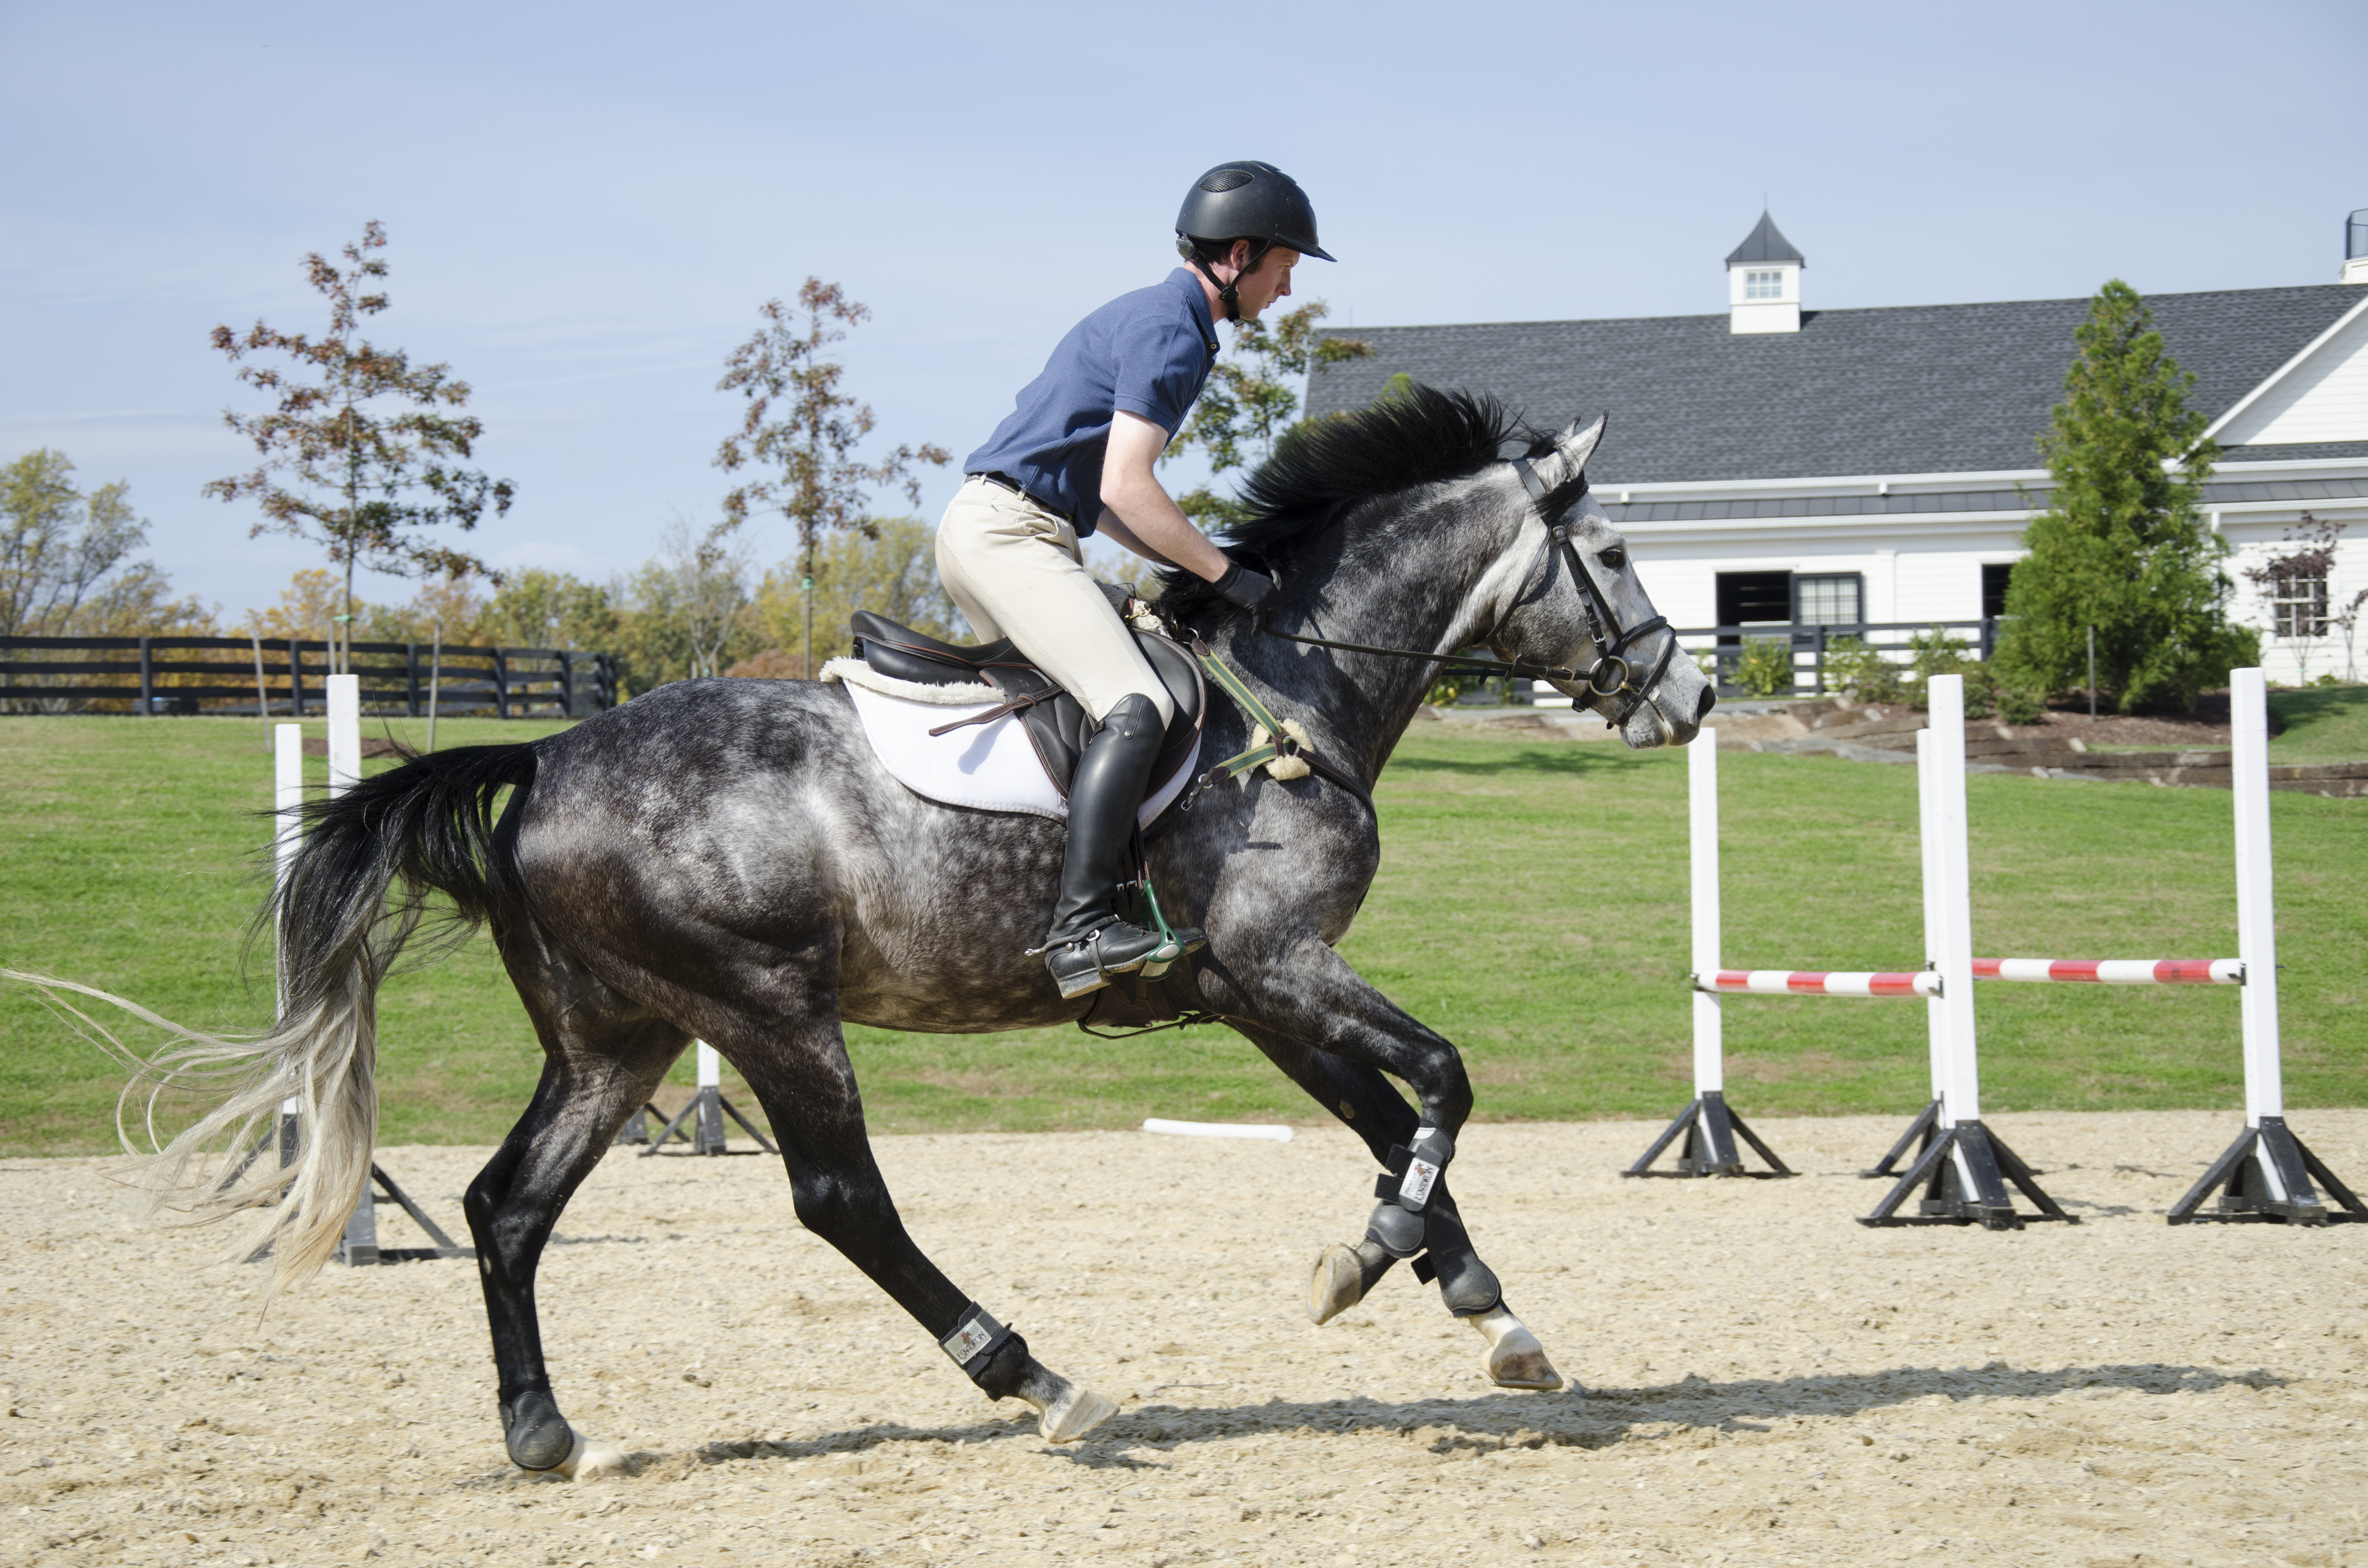
I suggest two basic ways to measure your horse’s stride. The first is a bit intuitive, while the second is somewhat mechanistic. Let’s take the intuition first, as our sport is getting too mechanical to suit me (serious rant to follow in a future column). I assume your horse is experienced enough to canter quietly over courses in an arena. Build one of my favorite exercises—a vertical followed by an oxer. If you are jumping up to 3 feet, measure 57 feet between the two obstacles; if you are jumping 3-foot-3 or more, measure 60 feet between them. The larger jumps will cause you to land farther into the distance and need more room for your takeoff on the way out, thus the slight addition of more space. (Always use a tape measure to set distances between obstacles rather than rely on your ability to pace distances accurately. I’ll return to this in a minute.)
After you warm up, jump the line with the vertical first, followed by the oxer. At a normal show-jumping canter, the average horse will take four strides between the two obstacles. If you are unused to counting strides between fences, say out loud “land” when your horse lands behind the vertical and then—still out loud—count his strides until he jumps the oxer. This will help you keep your rhythm between the obstacles and tell you how many strides your horse took between them.
Try to count in a regular rhythm while you jump this exercise several times in succession. The 57- or 60-foot distance is designed to produce four “automatic” strides. By automatic, I mean that if your is horse traveling on a 12-foot stride and jumps the vertical normally, he will take four strides between the vertical and the oxer without further direction from you. After jumping the vertical, most horses will produce the sensation of arriving at the oxer either a little “long” or a little “short.” By long or short, I mean that if your horse is standing off the oxer (long), his stride is a little shorter than the average 12 feet. Alternatively, if you feel that on takeoff the oxer is a little close (short), your horse travels on a stride longer than the 12-foot average.
I mentioned that you should jump this exercise several times. I also mentioned your intuition, your ability to understand something without the need for conscious reasoning. Each time you jump it, your horse will behave a little differently; you should notice the differences and think about them so that later you come to understand your horse instinctively.
The most common experience in this exercise is for your horse to be taken aback at first, which will cause the last stride to the oxer to feel long because his surprise has caused him to shorten his stride slightly. As you repeat the exercise and he gets used to it, the distance will feel automatic—but then eventually the distance will feel short. Remember, the distance hasn’t changed; your horse has changed. This is the usual response of young Thoroughbreds. Horses with a more phlegmatic temperament will often lose interest in the exercise and start to add a fifth stride. Either response is understandable, but you have to think about your horse and his reaction to the exercise in order to understand him better. Your horse has just given you valuable information about how to train him if you will listen.
A common example of this occurs when your horse is a bit green the first time down the line, then quite good, but then starts to rush to the oxer. I do not view that mistake as a misbehavior, but rather intelligence and willingness. Good horses are interested in learning, and once they learn something, they want to show off their knowledge during the next repetition. When confronted by this sort of response, rather than reprimand my horse for his perceived “misbehavior,” I solve it by simply coming the other direction through the exercise. This simple change will maintain your horse’s interest without encouraging him to show off this time what he learned last time.
On the other hand, if you continually get either three or five strides between the vertical and the oxer, your newly developed intuition should tell you that your horse does not have an average stride. In addition, you are a little way toward evaluating his prospects for moving up to the next level of difficulty. I can deal with horses who take too big a stride, as that is a case of training. However, a horse who continually takes five strides in an “automatic four-stride line” may be limited by his conformation, and it is hard to train Mother Nature.
Now Get Out the Measuring Tape
The second way to measure your horse’s stride is more technically accurate, but actually less informative for training him. It consists of simply—literally—measuring the stride. Although we are talking about a standard 12-foot stride, it is interesting to note that horses have an ability to travel on strides that you and I might consider extraordinary. According to Equix, a company in Lexington, Kentucky, that conducts biometrical analyses of Thoroughbreds, Secretariat had a 24-foot-8 stride, while Bernardini had an incredible 27-foot-6 stride. That gives the rest of us perspective on what we are asking our horse to do when we look for a 12-foot stride.
Find a nice arena with good footing on a level surface and warm your horse up at all three paces. Once he is settled in and working quietly, walk him on a long rein until your friend shows up with a rake and a measuring tape. Have her rake a path the length of one long side of the arena, and then canter your horse down that path. Do this several times, and have your friend measure the result each time. (I mentioned a tape measure earlier, remember? Be sure to always use a tape measure whenever you are setting courses, building exercises, creating related distances and so on.)
If you are working in your home arena, while you are at it find an obvious starting point and measure first 24 feet and later 60 feet, both from that same point. Mark the beginning and end of these distances so that you can find them again. Practice pacing the 24-foot distance first, taking eight level paces between the two points. If you finish your eighth step you have stopped short, or finished beyond the 24-foot mark, do not adjust your last couple of paces next time to make it come out even—instead, pace it again with an adjusted step from the beginning. Learn to consistently walk with a 3-foot step. Later on, pace the 60-foot distance again and again until you can pace 60 feet within 6 inches every time. This is an important skill, especially if you are teaching as well as riding. Your students are literally betting their necks that you know exactly how many strides belong between obstacles.
Trainers have studied stride length for years, and many of them have written books about strides in relation to jumping. One of those books is by Bert de Némethy’s mentor, Agoston d’Endrödy, titled Give Your Horse a Chance. It is not an easy read. English is the author’s second language, and it can sometimes take the reader a while to capture the intent of the text. However, it is a very complete work, essentially correct. I recommend it to my serious students in part because of the exhaustive tables and sketches of various stride permutations at great length and detail from vertical to oxer, oxer to vertical, vertical to triple bar and so on.
Knowing of his relationship with the author, I once asked Bert about the sketches and distances in the back of the book. Bert laughed and held his head as if it were exploding. “Oh, Jimmy, what an experience,” he said. “I was living on Long Island at the time [early 1950s], training jumpers for Eleonora Sears, and Agoston sent me a list of questions about the correct distances between various obstacles. I set them up, jumped them in a sand arena, measured them and sent the answers off by mail. But then, Jimmy, next week came a new list of different obstacles and distances. I spent that entire summer in the hot sun, measuring Agoston’s distances until I was very tired of them. I was glad when he finally finished his book.” I was amused at the time; later, when I thought about Bert’s development into a Hall of Fame show-jumping trainer and coach, I realized what an education he had gotten about the relationship of stride length to obstacle shapes and distances.
The world of horses jumping over obstacles has gotten more and more complex and precise, and it is more important than ever that you know your horse’s stride. These two ways to measure it will help you perform better the next time you go to a competition and will enhance your partnership with your horse.
This article was originally published in the August 2018 issue of Practical Horseman.