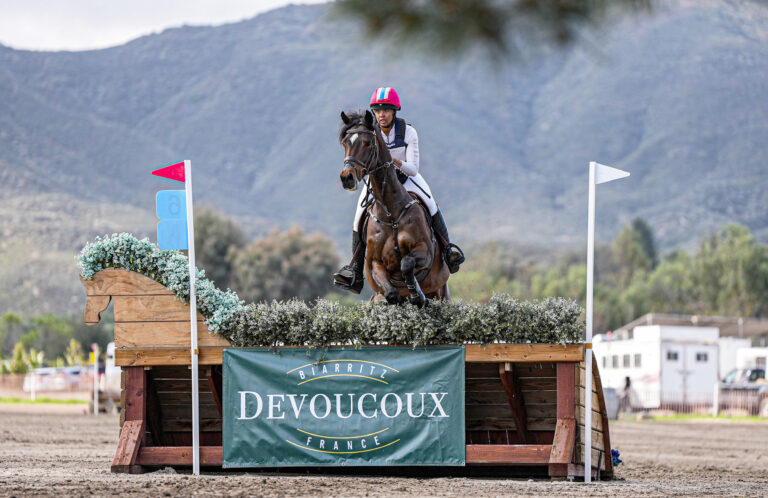
A Handy Hunter class tests skills you and your horse might use during an enjoyable day of foxhunting: short turns, a brisk pace, trot jumps, galloping, dismounting and leading over an obstacle, even opening and shutting a gate from the saddle. In Handy Hunter classes the judge rewards promptness, efficiency, a comfortable, easy manner and risks successfully taken, such as inside turns and “tidy” tracks. Sound like fun? It is!
Unfortunately, Handy Hunter classes are often confined to “A” shows where they are offered in Junior and Working Hunters. I think it would be great for the rated hunters to require such classes and for Amateur-Owners to have the opportunity to ride them in their division as well. I even think that slightly easier versions would be wonderful stepping-stones for the Children’s and Adult Amateur hunters. Why? Because a Handy Hunter class is a chance to
- show off your horse’s rideability, adjustability and overall training.
- do something more interesting than the tried-and-true “outside line, diagonal, outside line.”
- experience rustic, natural-type fences and obstacles that simulate those found in trappy hunt country.
- think creatively about unusual or difficult options of track.
- add a bit of fun, excitement and variety to your riding.
And here’s the thing—even if you never have the desire or the opportunity to compete in a Handy Hunter class, the risk-taking, adjustability and rideability that such a class rewards are “handy” horsemanship skills that any horse or rider should possess. This month, I’ll help you zero in on some of the most important and useful of these skills and show you how to make them your own.
What You’ll Do
- Improve adjustability and clear, soft communication by developing, recognizing and getting comfortable with a hand gallop (between 14 and 16 mph). Control of pace is the first necessity of riding. You’ll also figure out what it takes to smoothly move from working canter (about 12 mph) to hand gallop and back again, creating the consistent impression we like in a regular hunter round.
- Improve consistency and bravery, as well as your ability to jump any fence out of stride by hand-galloping an oxer.
- Improve balance and responsiveness with canter/trot transitions.
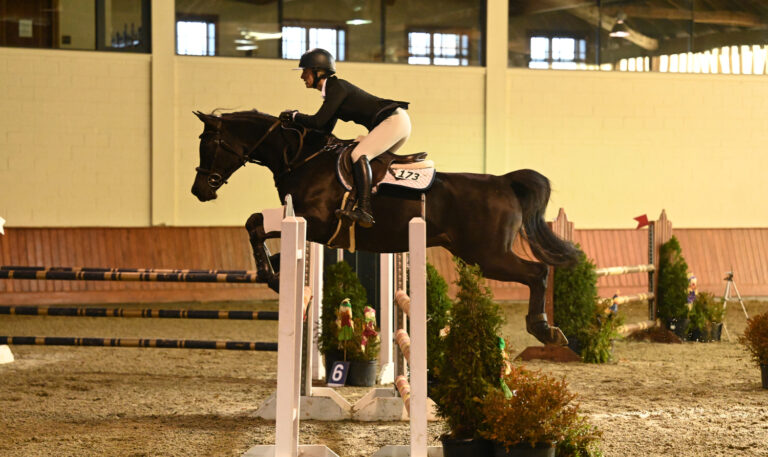
- Master the aids, timing and position you need to ride a perfect trot fence. Boooring? Maybe. But let’s face it. This skill is the most basic tool we use when warming up to jump, but it’s not necessarily the easiest skill to do well if you don’t practice, practice, practice.
Get your work space set up by building a little course as shown in the diagram. Place two ground poles on the long side of your arena about 80 to 84 feet apart and at least 40 feet from the corners. For an average-strided horse’s 12 mph working canter, this distance works out to a comfortable six-stride line, but in a 14 to 16 mph hand gallop, you’ll do it in five strides. Have your trainer or a knowledgeable friend watch you canter the line. If you can’t get there in an easy six strides in a working canter, adjust the distance appropriately.
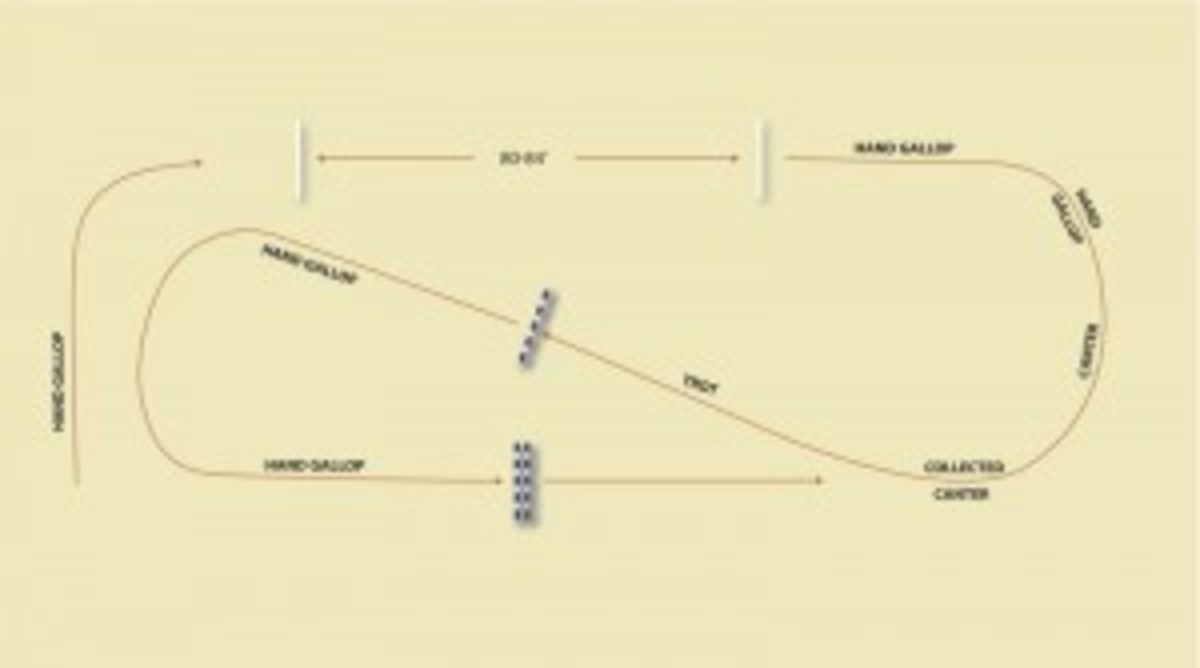
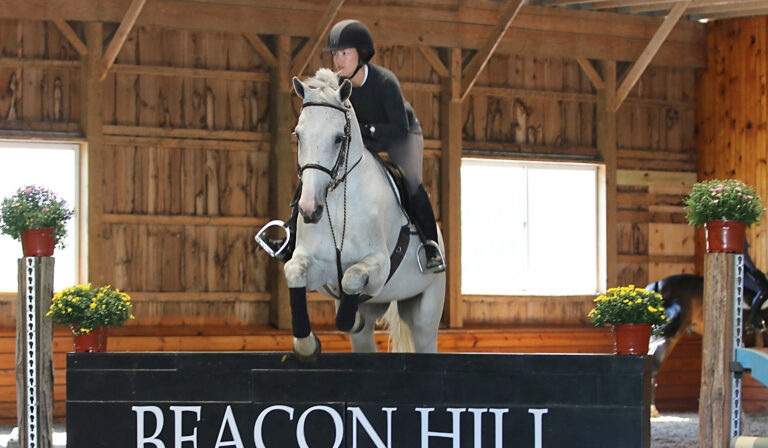
In the middle of the diagonal line, set a trot fence: a low 2-foot to 2-foot-9 vertical with something solid like a flower box under it, and a ground pole rolled out to the base of the standards. Finally, on about the quarterline opposite the ground poles, set a low 2-foot-9 ramped oxer, again with a ground pole rolled out to the base of the standards. This course is set to be started on the right lead. You can start it off the left lead by putting the trot fence on the other diagonal and reversing the ramped oxer.
You’ll begin by focusing on individual elements, then start to tack them together. First, you’ll develop a feel for a hand gallop by doing the ground poles in five strides. When your hand gallop feels solid, you’ll gallop the poles, continue galloping through the corner, do a downward trot transition and trot the vertical. After you land cantering from the vertical you’ll work your pace back up to a hand gallop, gallop through the next corner and jump the oxer.
This is a very supportive little course that will work to increase your horse’s rideability whatever his type. If he tends to get a little wound up by galloping the ground poles, for example, the trot fence will be a chance for him to “deflate.” If he’s a bit of a slug, you’ll have enough time after the trot fence to wake him back up for the gallop to the oxer.
Ride the Course
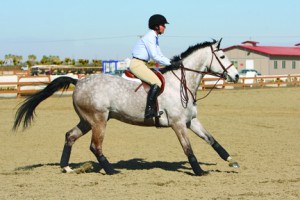
Develop a hand gallop. Pick up a right lead working canter on the far side of the arena opposite the ground poles. Before the corner, ask your horse to smoothly build speed and lengthen his stride to a hand gallop over three to five strides: Get up in two-point with weight in your heels and contact through your lower leg. Slightly close your hip angle to about 20 degrees, and as you rhythmically squeeze with both legs, move your hands slightly forward to relax the contact. If your horse doesn’t go forward with longer strides and a faster pace, motivate him with a tap of the stick behind your leg until you feel a difference.

Look at the montage above to see how to ride the poles out of the corner. When you can smoothly build from a working canter to a hand gallop and consistently get five strides in the line, it’s time to …
Come back for the trot fence. Again, the goal in a Handy Hunter class (and, really, in all riding) is to make smooth, efficient transitions. You’ll do that here by gradually coming back from your hand gallop to a few strides of working canter to a few strides of collected canter and then to the trot.
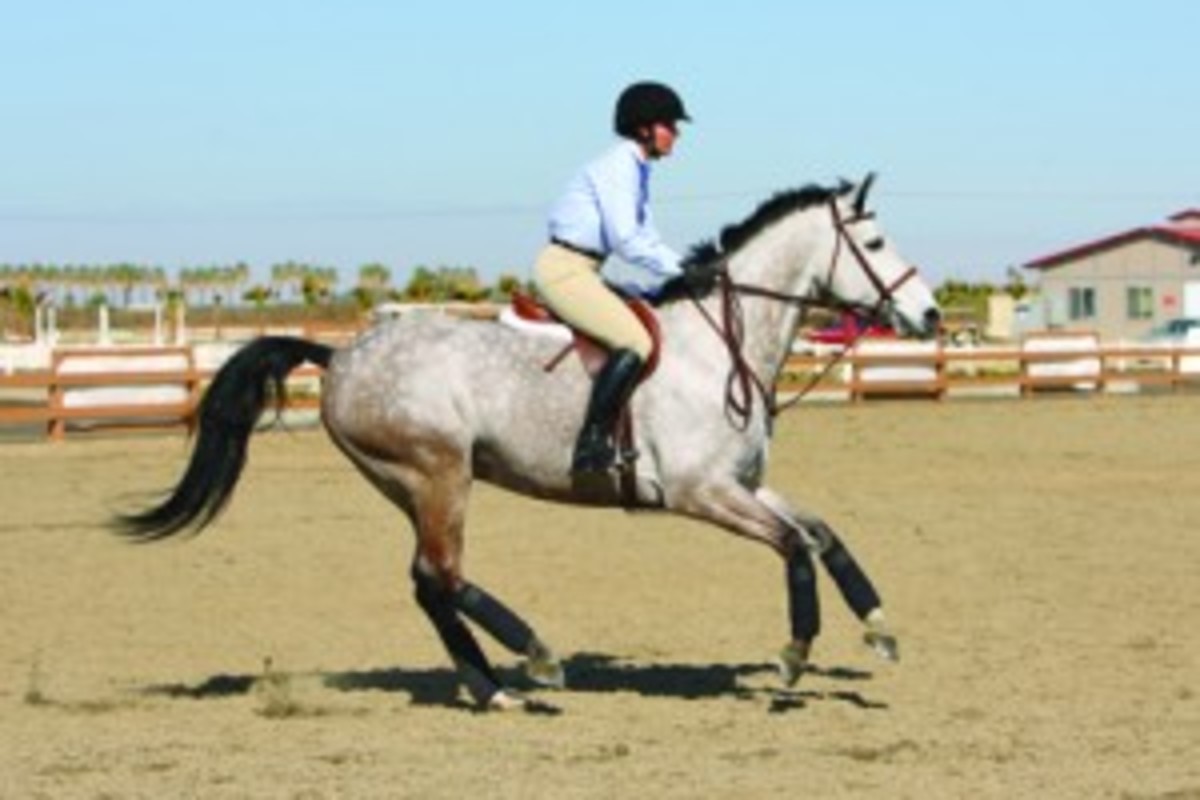
What’s your strategy? In general, I tell my students to land and come all the way through the turn before asking for the transition. There are few things more boring than watching somebody gallop down a line, land, trot immediately and trot halfway around the ring! Besides, the closer to the trot fence you make the transition, the harder it will be to establish and show several steps of clear, rhythmic trot before you leave the ground. This is better in terms of demonstrating rideability and riskiness. If your horse responds well to “whoa,” wait until you’re as close to the fence as you can get without getting so close that his trot steps are unclear or it looks as if you couldn’t get the trot back. If he doesn’t have such a great “whoa,” stay safe and ask farther back.
As soon as you feel that first trot step, start posting. Which diagonal? Here, where the trot fence comes after a right-hand turn, it’s the right; after a left-hand turn, it would be the left. Post to within three to five steps of the vertical and then, depending on your seat and your horse’s tendency, settle in and sit the trot or continue posting—whichever allows you to maintain a consistent trot tempo the best. And here’s the trick to an almost foolproof trot fence: Keep your leg on and try to put in as many trot steps as you can before your horse jumps.
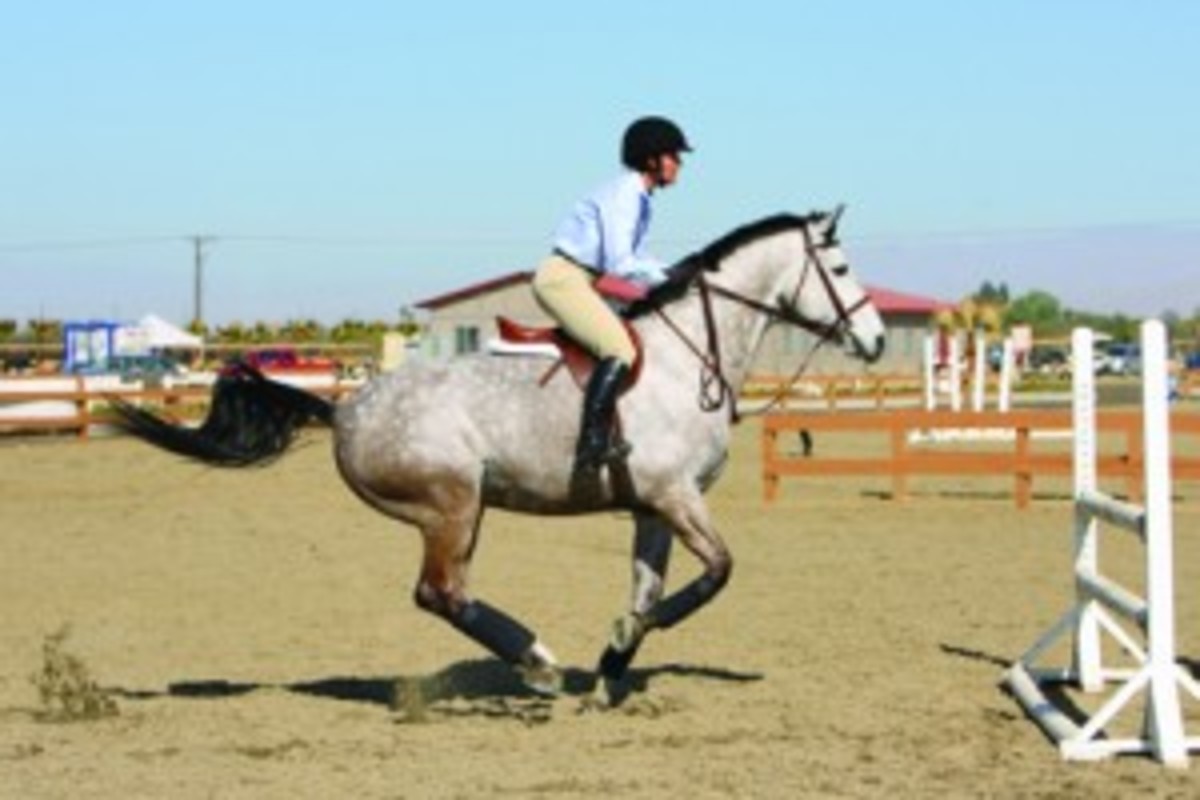
Once you’ve jumped the trot fence, land cantering, smoothly move up into a hand gallop, and get your eye on the oxer as you gallop through the corner and onto the quarterline.
Hand gallop the oxer. What’s the difference between cantering a fence and bumping things up a couple of notches to gallop one? Very little, as long as you establish and maintain a consistent galloping pace. Trouble arises and the distance becomes an issue when you do a working canter through the turn, then make a run at the jump, or gallop through the turn, then take back and slow down all the way to the jump. You’re always safest and best off when you hit that galloping lick—and now you can recognize and feel it—gallop through the turn, and stay on that lick all the way to the jump.

Let’s try it! Come galloping through the turn just as you did to the ground poles. Once you’re straight and square to the oxer, do what I tell my students to do: “Invite your horse to continue to the jump in that gallop.” And by that, I mean maintain the pace without allowing it to build or fade. Something will come up, and you will find it just riding off the stronger rhythm of the definitive, consistent galloping stride. It may be short, medium or long, but any one of those options is great when it comes out of a rhythm.
Of course, if you’re lucky enough to be able to see a distance and you feel that you can help your horse by slowing down or moving up a hair, go ahead and do it, but make sure that any adjustment is smooth and comes within the galloping rhythm. A good rule of thumb: It should never exceed about 1 mph one way or the other. More than that creates too obvious a change and disrupts your smoothness and consistency.
Jump the oxer, land and use invisible aids to bring him back to workingcanter as quickly and as smoothly as possible. If he doesn’t like to come back, take a few more strides or go to a pulley rein.
Trot, walk, take a little break, then do the little course again. Just remember, the whole point of Handy Hunters—and most of your training—is to be prompt but smooth, efficient but calm. You’re showing off your horse’s versatility and rideability, and a big piece of that is his ability to build to a hand gallop and slow back down again without resisting or throwing his head around. You’re showing that he’s not a lumbering motor home where it’s “WHA-WHA, I can’t get going. WHA-WHA, I’m rolling along and I can’t stop.” He’s a finely tuned sports car—enjoy him!
This article originally appeared in the August 2007 issue of Practical Horseman. To read more from Stephanie, see “The Powerful Pulley Rein”