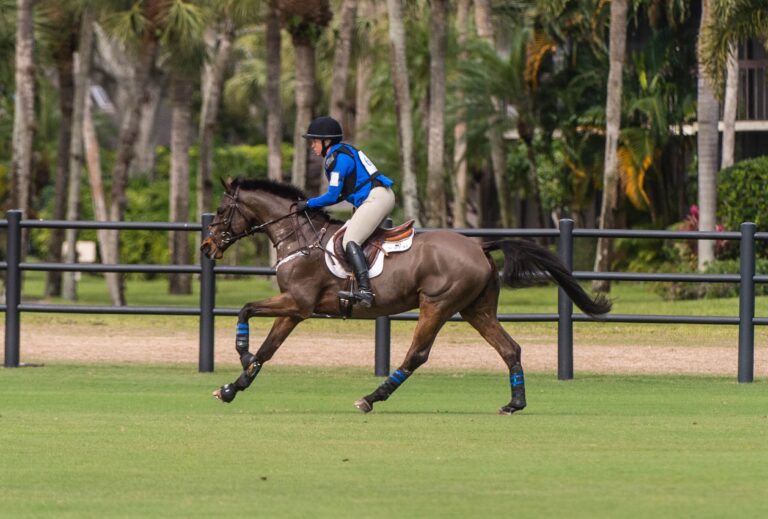
It’s tremendous if your horse already successfully clears courses at events or horse shows, excels at jumper competitions, or willingly leaps over fallen logs on a hack. But would you like to know the secret to improving his performance even more? The secret is dressage. If the word “dressage” has you screaming, “No, no, no!” take heart. Dressage doesn’t have to be mysterious or complicated. I’m going to keep it very simple for you. It may also help you overcome any resistance you have toward the word “dressage” if you simply think of the exercises I’m going to teach you as “flatwork.”
This article was adapted from “Dressage Between the Jumps” by Jane Savoie and is available at HorseandRiderBooks.com.
All horses, including those that jump, need to be supple so they’re easier to connect and collect. So if your hunter, jumper, or event horse is stiff or on his forehand, you need to supple him so he jumps more athletically and is easier to ride. In this section, I’ll show you how to make your horse more supple through the shoulders.
Leg-Yielding to Supple the Shoulders
Leg-yielding is an exercise that can supple your horse’s shoulders, as well as his back, hips, and hindquarters. When we’re talking about the shoulders, the maximum benefit from leg-yields can be attained by doing them in a head-to-the-wall pattern, rather than on the diagonal, which is better used for suppling the neck and body. Why? Well, when you do something like turn down the centerline and leg-yield over to the track, you can get from Point A to Point B without your horse ever crossing his legs. But in head-to-the-wall leg-yield-ing, you are suppling your horse well when you fulfill two requirements:
- The horse’s neck is straight. That’s the responsibility of your outside rein. If his neck is bent, he won’t be crossing his legs enough or at all.
- The horse’s hindquarters are at a 35-degree angle to the wall.
When you do these two things, your horse will cross his legs high up by his knees and hocks.
TROUBLESHOOT WITH THE OPENING REIN
If you can’t get enough angle, don’t squeeze harder with your leg. If you do, your body will lean in the wrong direction and make it hard-er for your horse to leg-yield. For example, if you want him to move his hindquarters to the right and you push too hard with your left leg, your body will lean to the left (see photo below). You should always sit in the direction you want the horse to step. In this case, you should feel like you’re sitting to the right rather than leaning to the left.
To fix this issue, transfer some of the responsibility of asking your horse to go sideways from your leg to the rein. Use an opening inside rein as follows: Quickly move your inside hand laterally away from your horse’s neck—so for an opening left rein, move your left hand to the left. If someone were standing behind you, she’d see your left hand to the left of your left hip for a moment. However, note that your opening rein will only be effective if you support with the other rein (the right, in this case) to keep the horse’s neck straight.
Let’s say you’re still tracking to the right and want to do a head-to-the-wall leg-yield where the forehand stays on the track and the hind-quarters move to the right, but you’re just not getting enough angle. Your instinct might be to use more left leg behind the girth to move the horse over, but if you do that, your body will lean to the left, and as a result, you end up giving your horse contradictory signals: Your leg says, “Move your hindquarters over to the right,” but your body weight says, “I’m going to make it hard for you to do that.”
Open your left rein quickly, but smoothly, as you give a light squeeze with the leg on the same side that is behind the girth. As soon as you’ve opened the rein, put it back in normal riding position. Then you can open it again. It’s the initial act of opening the rein combined with the light squeeze of the leg behind the girth that gives you the extra angle with the horse’s hind end. Once you’ve opened the rein, it loses its effectiveness, so bring your hand back to its starting position, and quickly open it again if needed (see photos below). When you correctly coordinate the aids, especially the supporting right rein, your horse’s hind-quarters will “ricochet” off your left rein and swing quite dramatically to the right.
Use Counter-Flexion to Straighten Your Horse
The goal is for your horse to be able to move his shoulders easily left and right, so you can make his body straight. When you ride your horse in a certain position every day, that position feels normal to both of you. So, the first thing you need to do is recalibrate your sense of straightness.
Straightness occurs when your horse’s shoulders are between the reins, in front of your hips, and in front of his hips. By riding in this position every day, in time you create a new normal.
To develop this feeling, ride your horse in counter-flexion and notice where his shoulders go. Do they slide in the opposite direction from the way he’s flexed at the poll? Eventually, your horse needs to be flexed and bent in the direction he’s going when you’re on a circle or curve. But until you fine-tune your sense of where his shoulders are, it’s better to ride him in counter-flexion with no bend and a straight body than to let his shoulders pop out. When that new, “straight” position of his shoulders feels normal to you, then ride him in true flexion to the inside while making sure his shoulders stay in the same place they were when he was counter-flexed (see photos below). If his shoulders do pop out, that will now feel “wrong” to you. As a result, you’ll automatically make the correction by counter-flexing for a few strides and moving his shoulders back where they be-long before resuming true flexion.
Here’s a great exercise to learn what it feels like when the horse’s shoulders are positioned correctly between the reins.
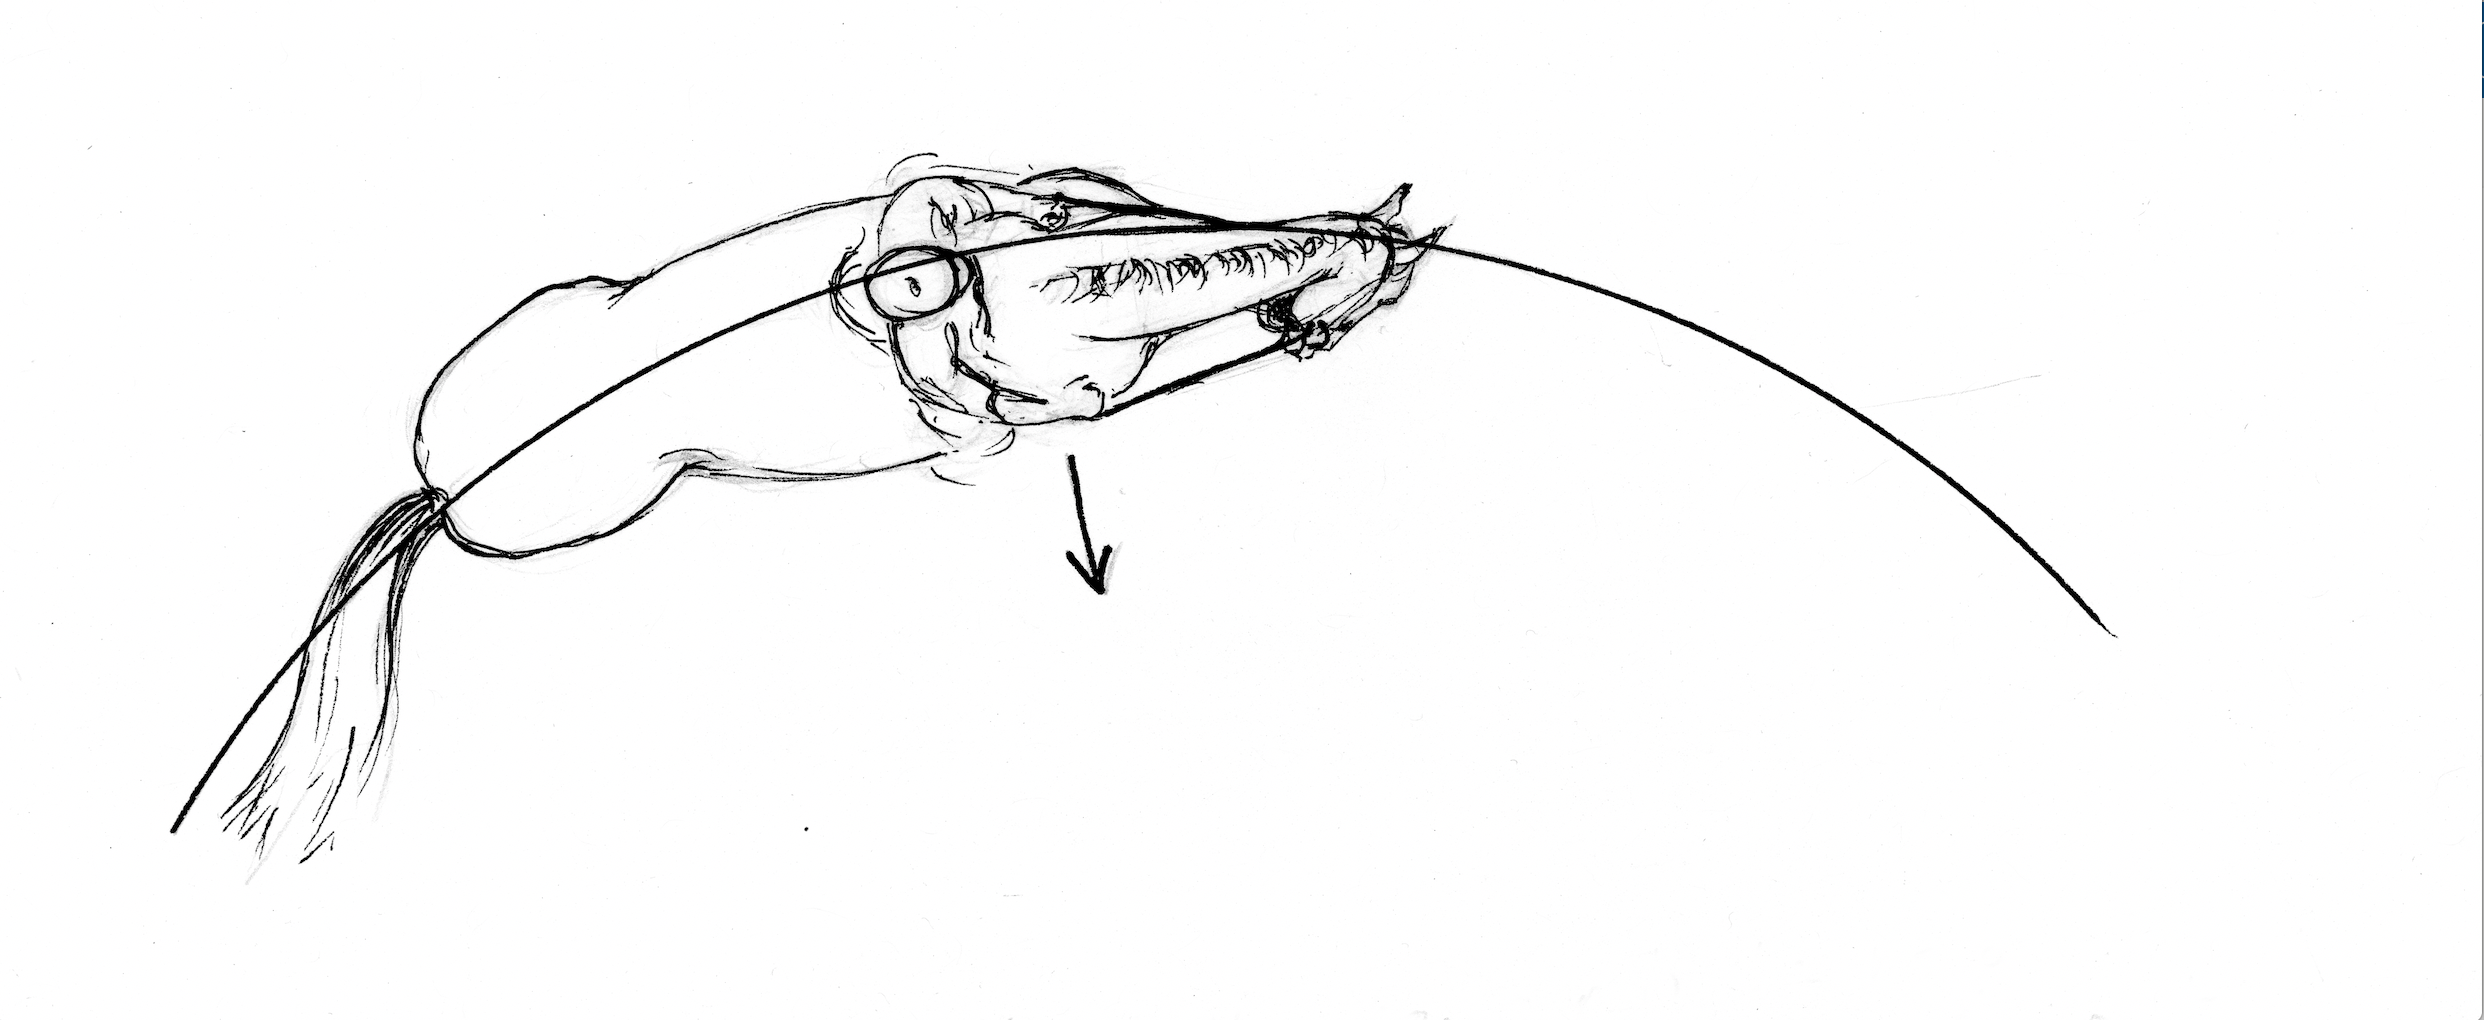
1. Start by walking on a small circle to the left. It can be 8 to 10 meters in diameter. Look down and notice where your horse’s right shoulder is. Then counter-flex your horse at the poll with an indirect right rein so you see his right eye.
2. Watch your horse’s shoulders slide to the left when you counter-flex him to the right. If you can’t see them move, make a smaller circle. If you’re still having trouble seeing his shoulders move, overbend his neck to the inside with your inside rein so you can clearly see his shoulders pop to the right (see photo below). Then counter-flex to the right, and notice how his shoulders slide to the left.

3. When you counter-flex, you might feel that the horse’s body gets “rounder,” and he seems more connected from back to front. This shape occurs when he’s straight because the energy that comes from behind can travel through his body uninterrupted and be recycled by your hand back to his hindquarters.
4. Eventually, you should be able to flex your horse correctly to the inside, but keep his shoulders in the exact same spot that they were in when you counter-flexed him. When you’re not sure if your horse’s shoulders slipped to the outside again when you flexed him to the inside, go back to counter-flexion to see if the shoulders move to the left at all.
It’s very important during counter-flexion to use your supporting rein to keep the neck straight. If your horse’s neck bends to the outside, he’ll end up popping his shoulders to the inside. This position is no better than the shoulders popping to the outside. You need to find the correct marriage of the rein aids where one rein flexes and the other supports. In this way, you prevent the horse’s neck from bending so that you can isolate the poll.
Putting It All Together on the Flat
SUPPLING THE SHOULDERS WITH “THE BOX”
If you’re circling to the left and your horse pops or ducks out to the right, your instinct is probably to pull on the left (inside) rein. The problem here is that the more you pull your horse’s face to the inside, the more his shoulders and body can drift to the outside.
Instead, you need to move the horse’s shoulders. When you move his shoulders, the rest of his body will follow. But in order to do this, your horse has to have supple shoulders. When they are, they are able to move easily in the direction you want him to turn; you can easily “slide” them left or right. (What I mean by “easily” is that there’s no resistance or increase in the weight in your hands as you move the shoulders in either direction.)
Remember, when your horse is on his own, he creates an uneven muscle memory 23 hours of the day by standing or moving crookedly. So if he’s soft to the left and strong to the right, it’ll be easy to move the shoulders to the right and harder to slide them away from his habitual position and move them to the left.
To improve your horse’s ability to slide his shoulders laterally, let’s do an exercise I call “The Box.” As you do this exercise, you’ll know that your horse’s shoulders are becoming more supple when you can move them and the weight of the reins stays the same—that is, you don’t feel like you’re trying to move Mount Everest. The Box can be done in all three gaits. When you do it tracking to the left, be sure to counter-flex (right) your horse before, during, and after moving his shoulders to the left, and vice versa.
1. Start by going to the left and ride a square figure (the “box”) that doesn’t quite touch the rail on any side. Ride the entire figure in counter-flexion, using an indirect outside rein. Then move the shoulders to the inside of the turn by bringing both of your arms in that direction (see photo below).

2. Use the hand that’s closest to the inside of the box as an opening rein while the other hand is used as an indirect rein almost against the horse’s neck. During the indirect rein aid, this hand comes as close to the withers as possible without crossing over them (see photo below).

3. If your horse’s shoulders feel really stuck, think of “knocking,” “spinning,” or “sliding” them one step around the corner at a time with a quick but smooth action. Soften but maintain the contact, and put your hands back in normal riding position. Then “knock” the shoulders around another step, and soften again. Repeat a third time to finish the corner. It should feel like “shoulder-reining,” not neck-reining.
4. You can also alternate between a turn like the one described in Step 3 and a small circle in the next corner. Both the corners and the circles are done in counter-flexion. “Knock” the shoulders in and soften several times until you work your way all the way around the circle. When you’ve finished the circle, proceed to the next corner of your box, and ride that one as you did in Step 3.
5. This exercise can be done in all three gaits.
MOVE THE SHOULDERS LEFT AND RIGHT
Now that you’ve done The Box and the circles within The Box, it’s time to add a complication. In The Box, you moved the horse’s shoulders in the same direction in each corner or circle. This action gave you and your horse some momentum to keep the shoulders sliding the same way. That is, if you’re tracking left, you counter-flex your horse to the right and move his shoulders to the left in every corner or circle.
Let’s raise the bar by asking your horse to move his shoulders alternately left and then right. You’ll be able to tell that your horse is be-coming more supple as it gets easier to switch from sliding his shoulders one way to sliding them the other way.
1. Start by riding to the left, and go straight down the long side of your ring.
2. Counter-flex your horse to the right with an indirect rein.
3. Once you have counter-flexion, move your horse’s shoulders to the left by bringing both of your arms to the left.
4. Straighten your horse for a few strides.
5. Then flex him to the left, and move his shoulders back to the right.
As your horse becomes more supple in his ability to slide his shoulders left and right, the weight in your hands will stay the same rather than increase. Move the shoulders only a couple of inches (see photo below). If you move them too far, you’ll get the hind legs involved and end up doing a leg-yield rather than just isolating and suppling the shoulders.
MOVE THE SHOULDERS TO THE LEFT EVERY FEW STRIDES ON A CIRCLE
Let’s say your horse always “pops” his shoulders to the right, which would be normal with a horse that is soft on the left side. (Note: If your horse “pops” his shoulders to the left, reverse these instructions.)
1. Go on a circle to the right in the walk.
2. Make sure you’ve flexed your horse to the right, and every fourth or fifth stride, move your two hands to the left to “knock” his shoulders an inch or two to the left of the arc of the circle. Use an opening left rein and an indirect right rein. You’ll end up making a diamond shape (see diagram below).

3. Once you can do this exercise at the walk, try it at the trot and then the canter.
4. Change direction so you’re tracking left. Counter-flex your horse with your right wrist.
5. Every few strides, “knock” the shoulders to the left an inch or two (see diagram below). Use an opening left rein and an indirect right rein. If the circle gets smaller, you know you’re not supporting enough with your passive aids. Only the shoulders should come in an inch or so, then go back to riding along the original arc of the circle.
In both cases, whether you are “knocking” the shoulders to the outside or inside, the overall size of the circle stays the same. You are just moving the shoulders a bit to the left in order to supple them so they can easily slide in that direction without resistance. Don’t let your horse make the circle itself larger or smaller.
SHOULDER-IN (OR SHOULDER-FORE) AND SHOULDER-OUT
Alternating shoulder-in and shoulder-out is another great shoulder-mobilizing exercise. If shoulder-in (with a bend equal to the arc of a 10-meter circle and the forehand brought 30 degrees to the inside of the rail so that three separate tracks are seen as the horse comes toward you (see photo below) is too difficult for your horse at his stage of training, ask for shoulder-fore, which positions the horse’s shoulders just slightly to the in-side of his hips. Shoulder-fore requires less bend and angle than shoulder-in (a bend equal to the arc of a 20-meter circle and the forehand brought in 15 degrees to the inside of the rail).
The aids for left shoulder-in (and left shoulder-fore) are as follows:
- Seat: Weight is on left seat bone.
- Left leg: On the girth for the horse to bend around, as well as to ask for engagement of the horse’s inside (left) hind leg.
- Right leg: Behind the girth to help bend the horse around your inside (left) leg by prevent-ing the horse’s hindquarters from swinging out.
- Left rein: Indirect rein for inside flexion.
- Right rein: Steady and supporting to prevent too much bend in the horse’s neck.
- Both hands: Stay low and move to the left. Keep them equidistant from your body as you move them
1. Start in the walk or trot, depending on your horse’s degree of training. Stay 3 feet (1 meter) away from the rail (second track). Ask your horse to step into shoulder-in (or shoulder-fore) for a few strides.
2. Make sure your horse’s hindquarters stay parallel to the rail so you ride real shoulder-in or shoulder-fore. If the horse’s hindquarters swing out at an angle to the rail, you’re actually doing a leg-yield with no bend. You can tell you’re only doing a leg-yield when the horse’s hindquarters are at an angle to the track. Ask a ground person to watch your horse’s hindquarters, or halt in shoulder-in or shoulder-fore, and turn your head to the outside to see if your horse’s hind end is parallel to the rail (see photo below).
3. Straighten your horse, making sure you’re still 3 feet from the rail. You need to be off the track like this so there’s room for you to do shoulder-out.
4. For shoulder-out, keep the horse’s hind legs on the same track they were on when you did shoulder-in. Change the bend and bring the horse’s forehand toward the rail (see photo below).
The aids for the right shoulder-out are as follows:
- Right leg: On the girth for the horse to bend around, as well as to ask for engagement of the right hind leg.
- Left leg: Behind the girth to help bend the horse around your right leg by preventing the hindquarters from swinging to the left.
- Right rein: Indirect rein for flexion to the right.
- Left rein: Steady and supporting to prevent too much bend in the horse’s neck.
- Both hands: Low and move to the right. Keep them equidistant from your body as you move them.
5. When you can do this exercise easily in the walk, try it in the trot.
SHOULDER-FORE AND SHOULDER-IN THROUGH TRANSITIONS
In this exercise, you will mix and match increasing and decreasing the angle of shoulder-fore and shoulder-in during transitions. For example:
1. Ride a large circle in the walk in shoulder-in. (You can also do the exercise on the long side of the arena.)
2. Decrease the angle to shoulder-fore as your horse steps into the trot.
3. Stay in shoulder-fore through a canter depart, and ride the canter in shoulder-fore.
4. Now ask for a downward transition from the canter to the trot, and increase the angle to shoulder-in as your horse steps into the trot.
5. Ask for a transition to walk. During the transition, decrease the angle to shoulder-fore without letting your horse straighten his shoulders back to the arc of the circle.
SHOULDER-IN TO AND FROM THE HALT
1. Ride shoulder-in in walk or trot on the long side of the ring.
2. Transition to the halt, keeping the shoulder-in or shoulder-fore position.
3. Go back to walk or trot, staying in shoulder-in or shoulder-fore. The upward transition is the moment when your horse is most likely to step to the inside with the inside hind leg in order to unload the inside hind leg. As a result, his shoulder “pops” to the outside. Keep both hands positioned in the direction you want to move the horse’s shoulders. Be sure to use an active inside leg at the girth to “tuck” your horse’s inside hind leg under his body during the upward transition.
4. Try this exercise in shoulder-out.
Putting It All Together Between the Jumps
Let’s now take a look at how you can incorporate some of these shoulder suppling exercises into your jump schooling. Remember, we’re still thinking that your horse is hollow to the left with a weaker left hind that pushes diagonally across his body. This action causes the right shoulder to “pop” outside the line of travel.
APPROACH AND GETAWAY
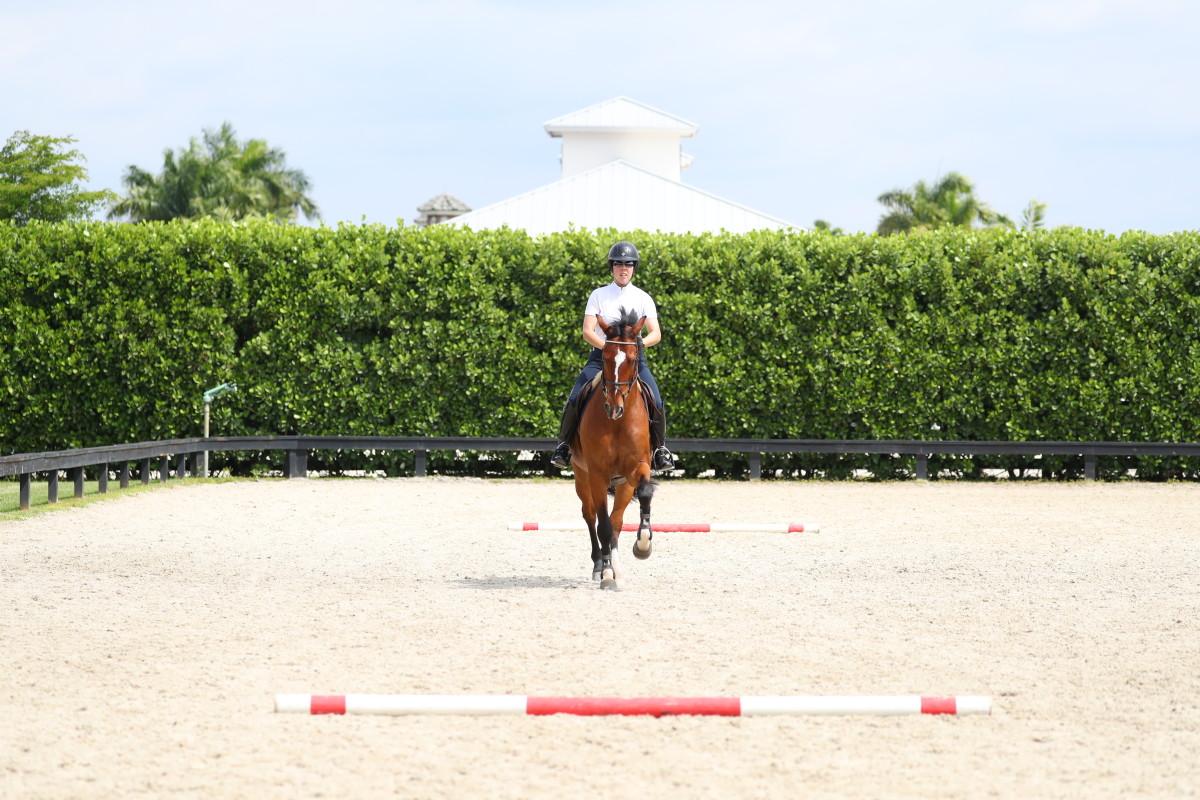
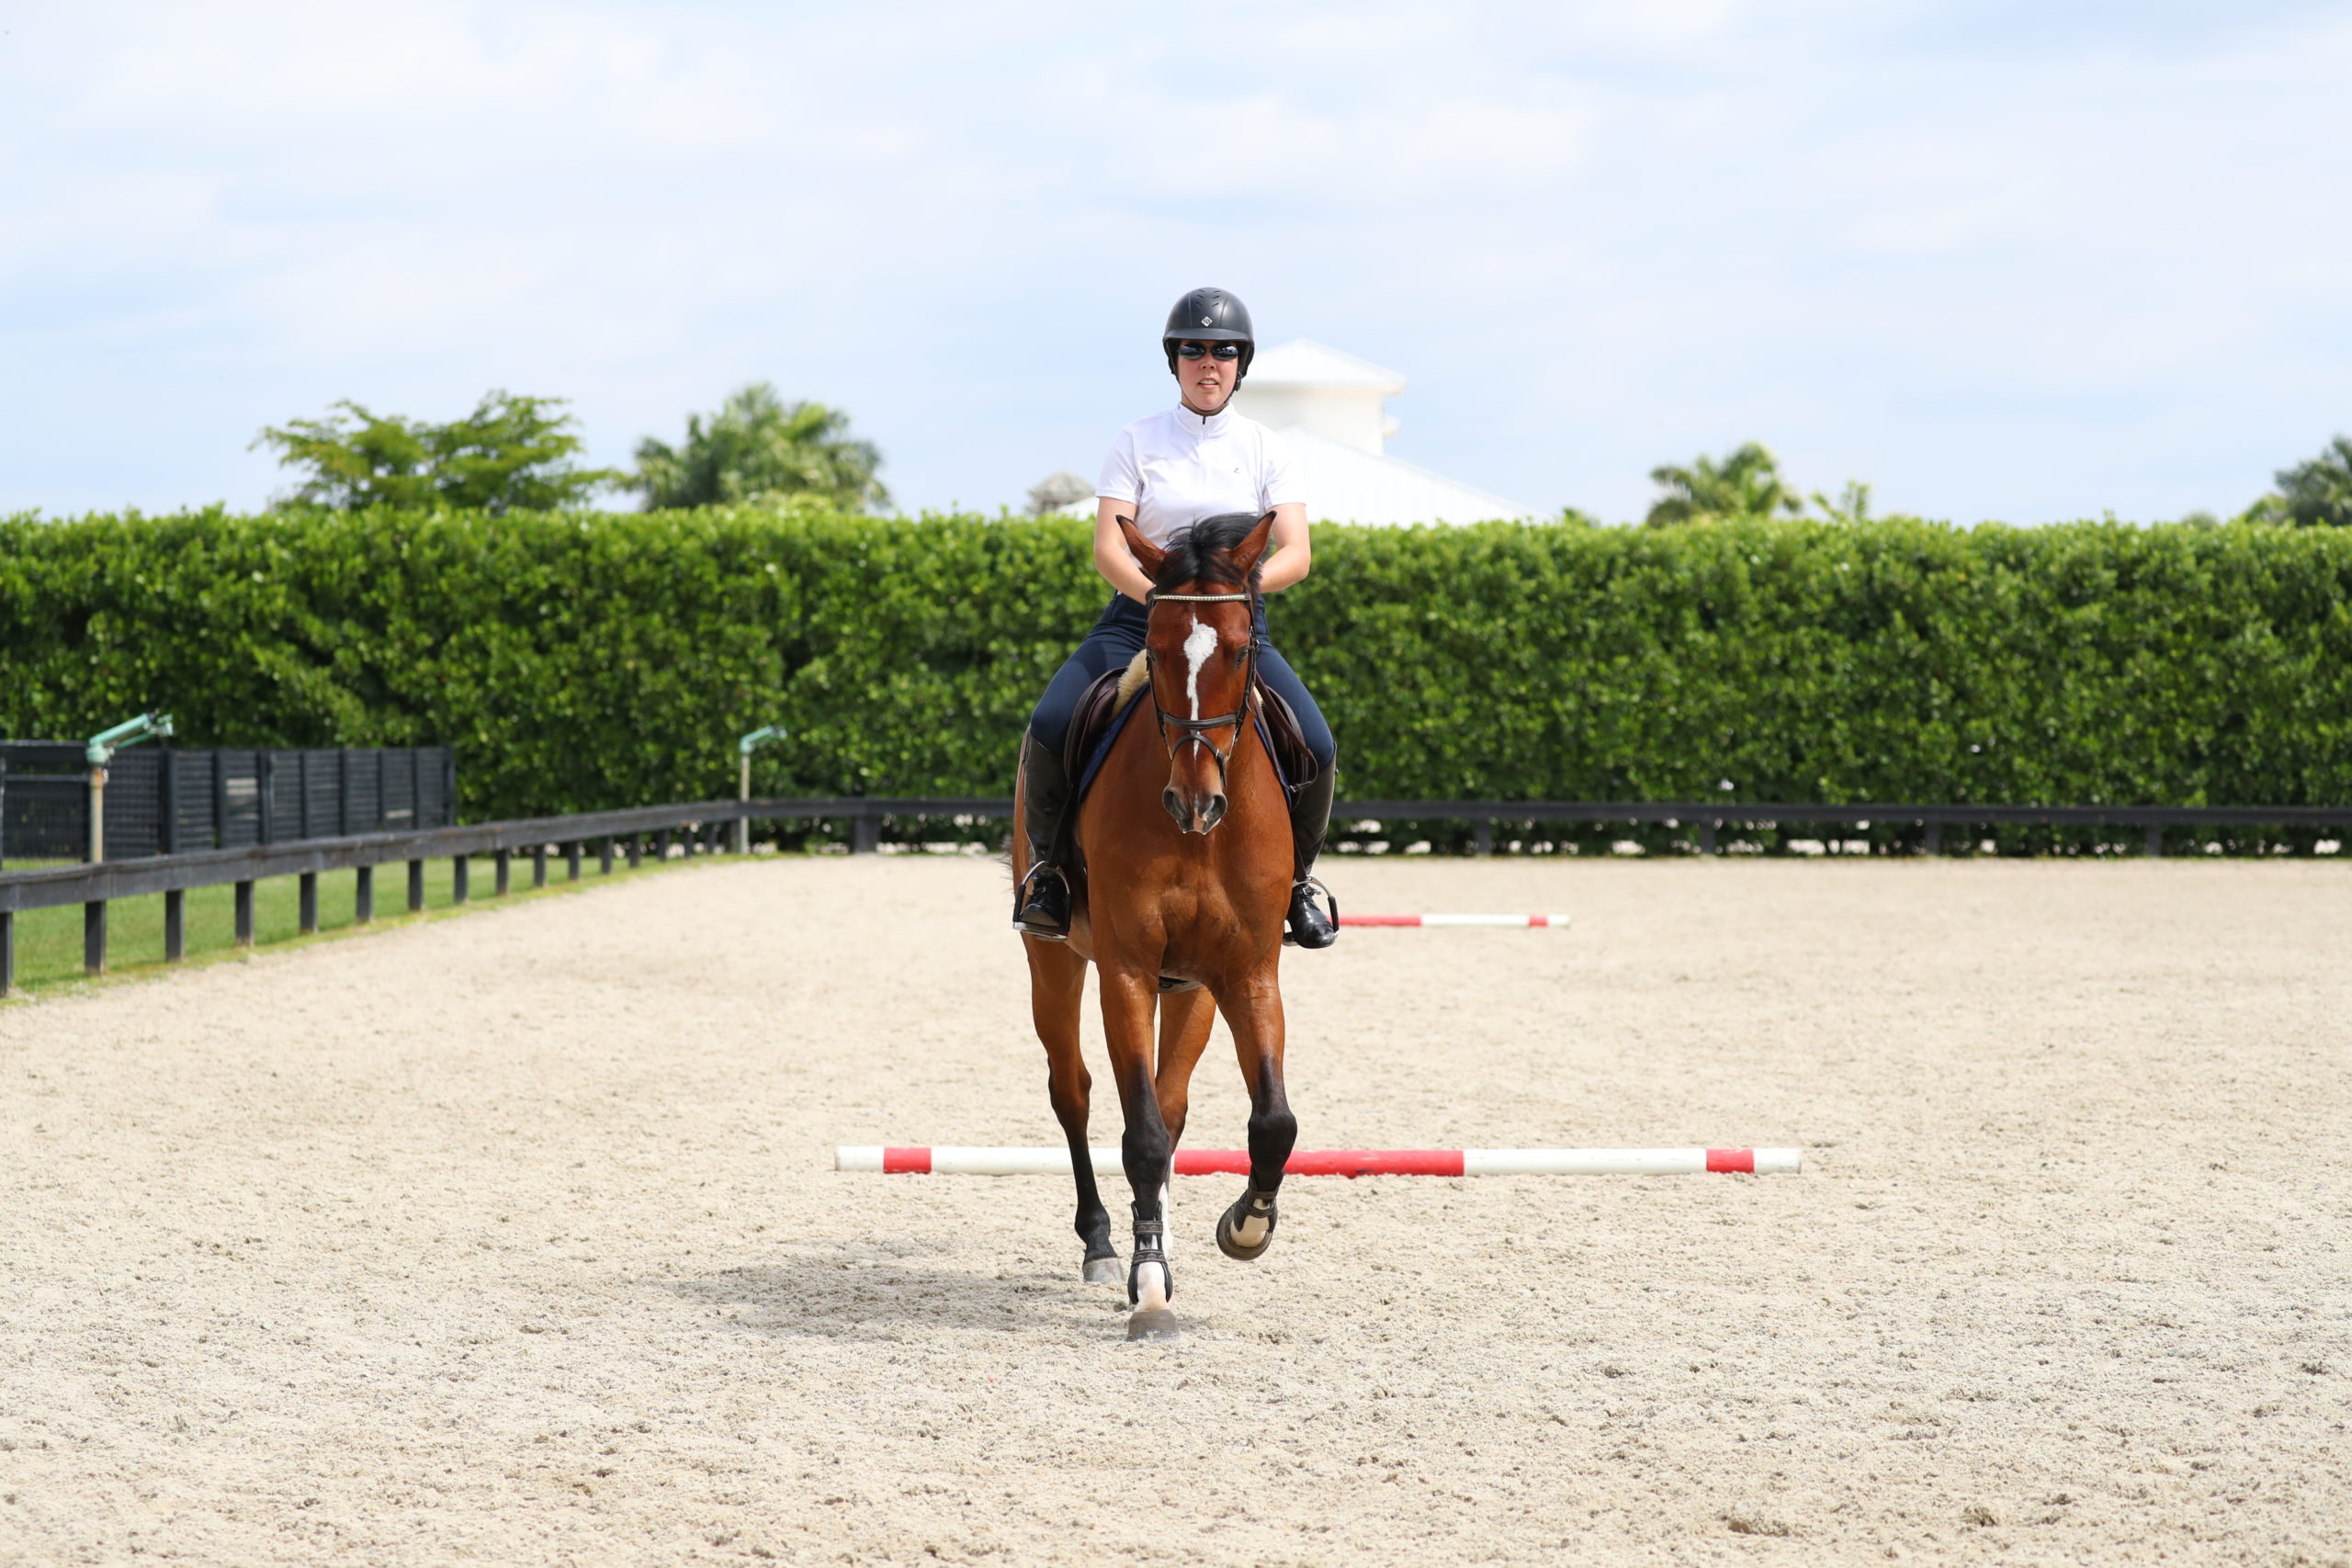
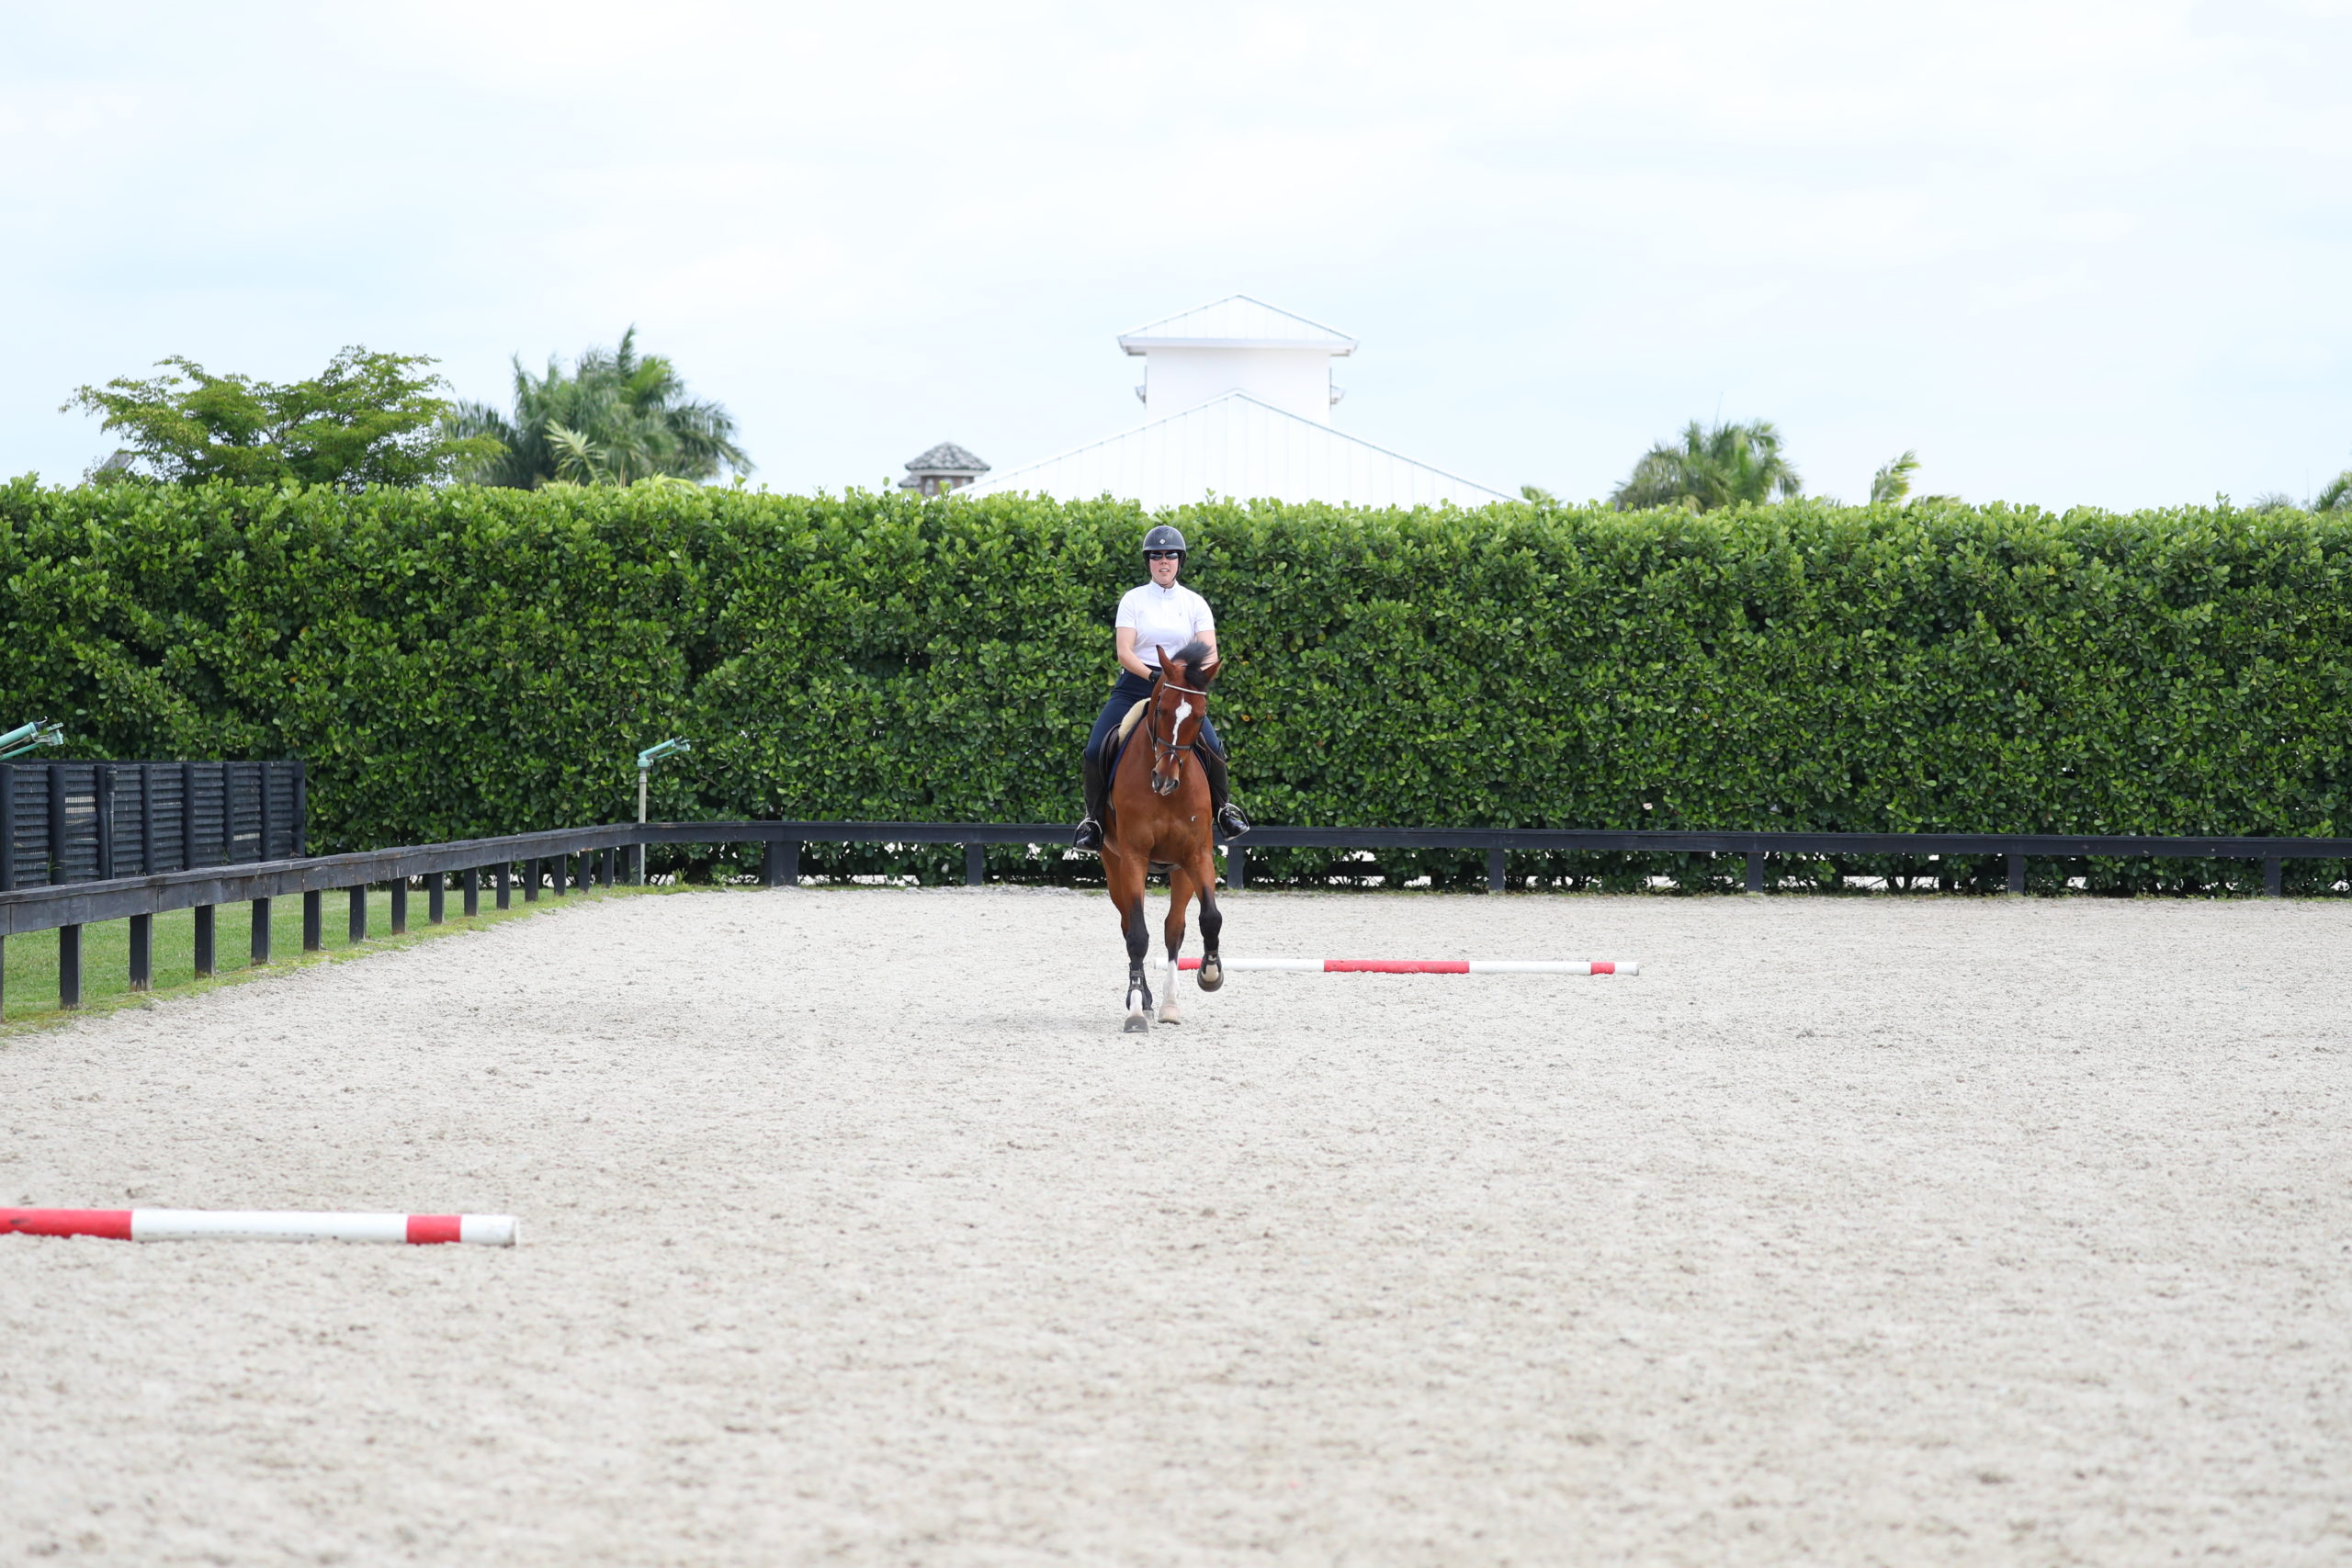
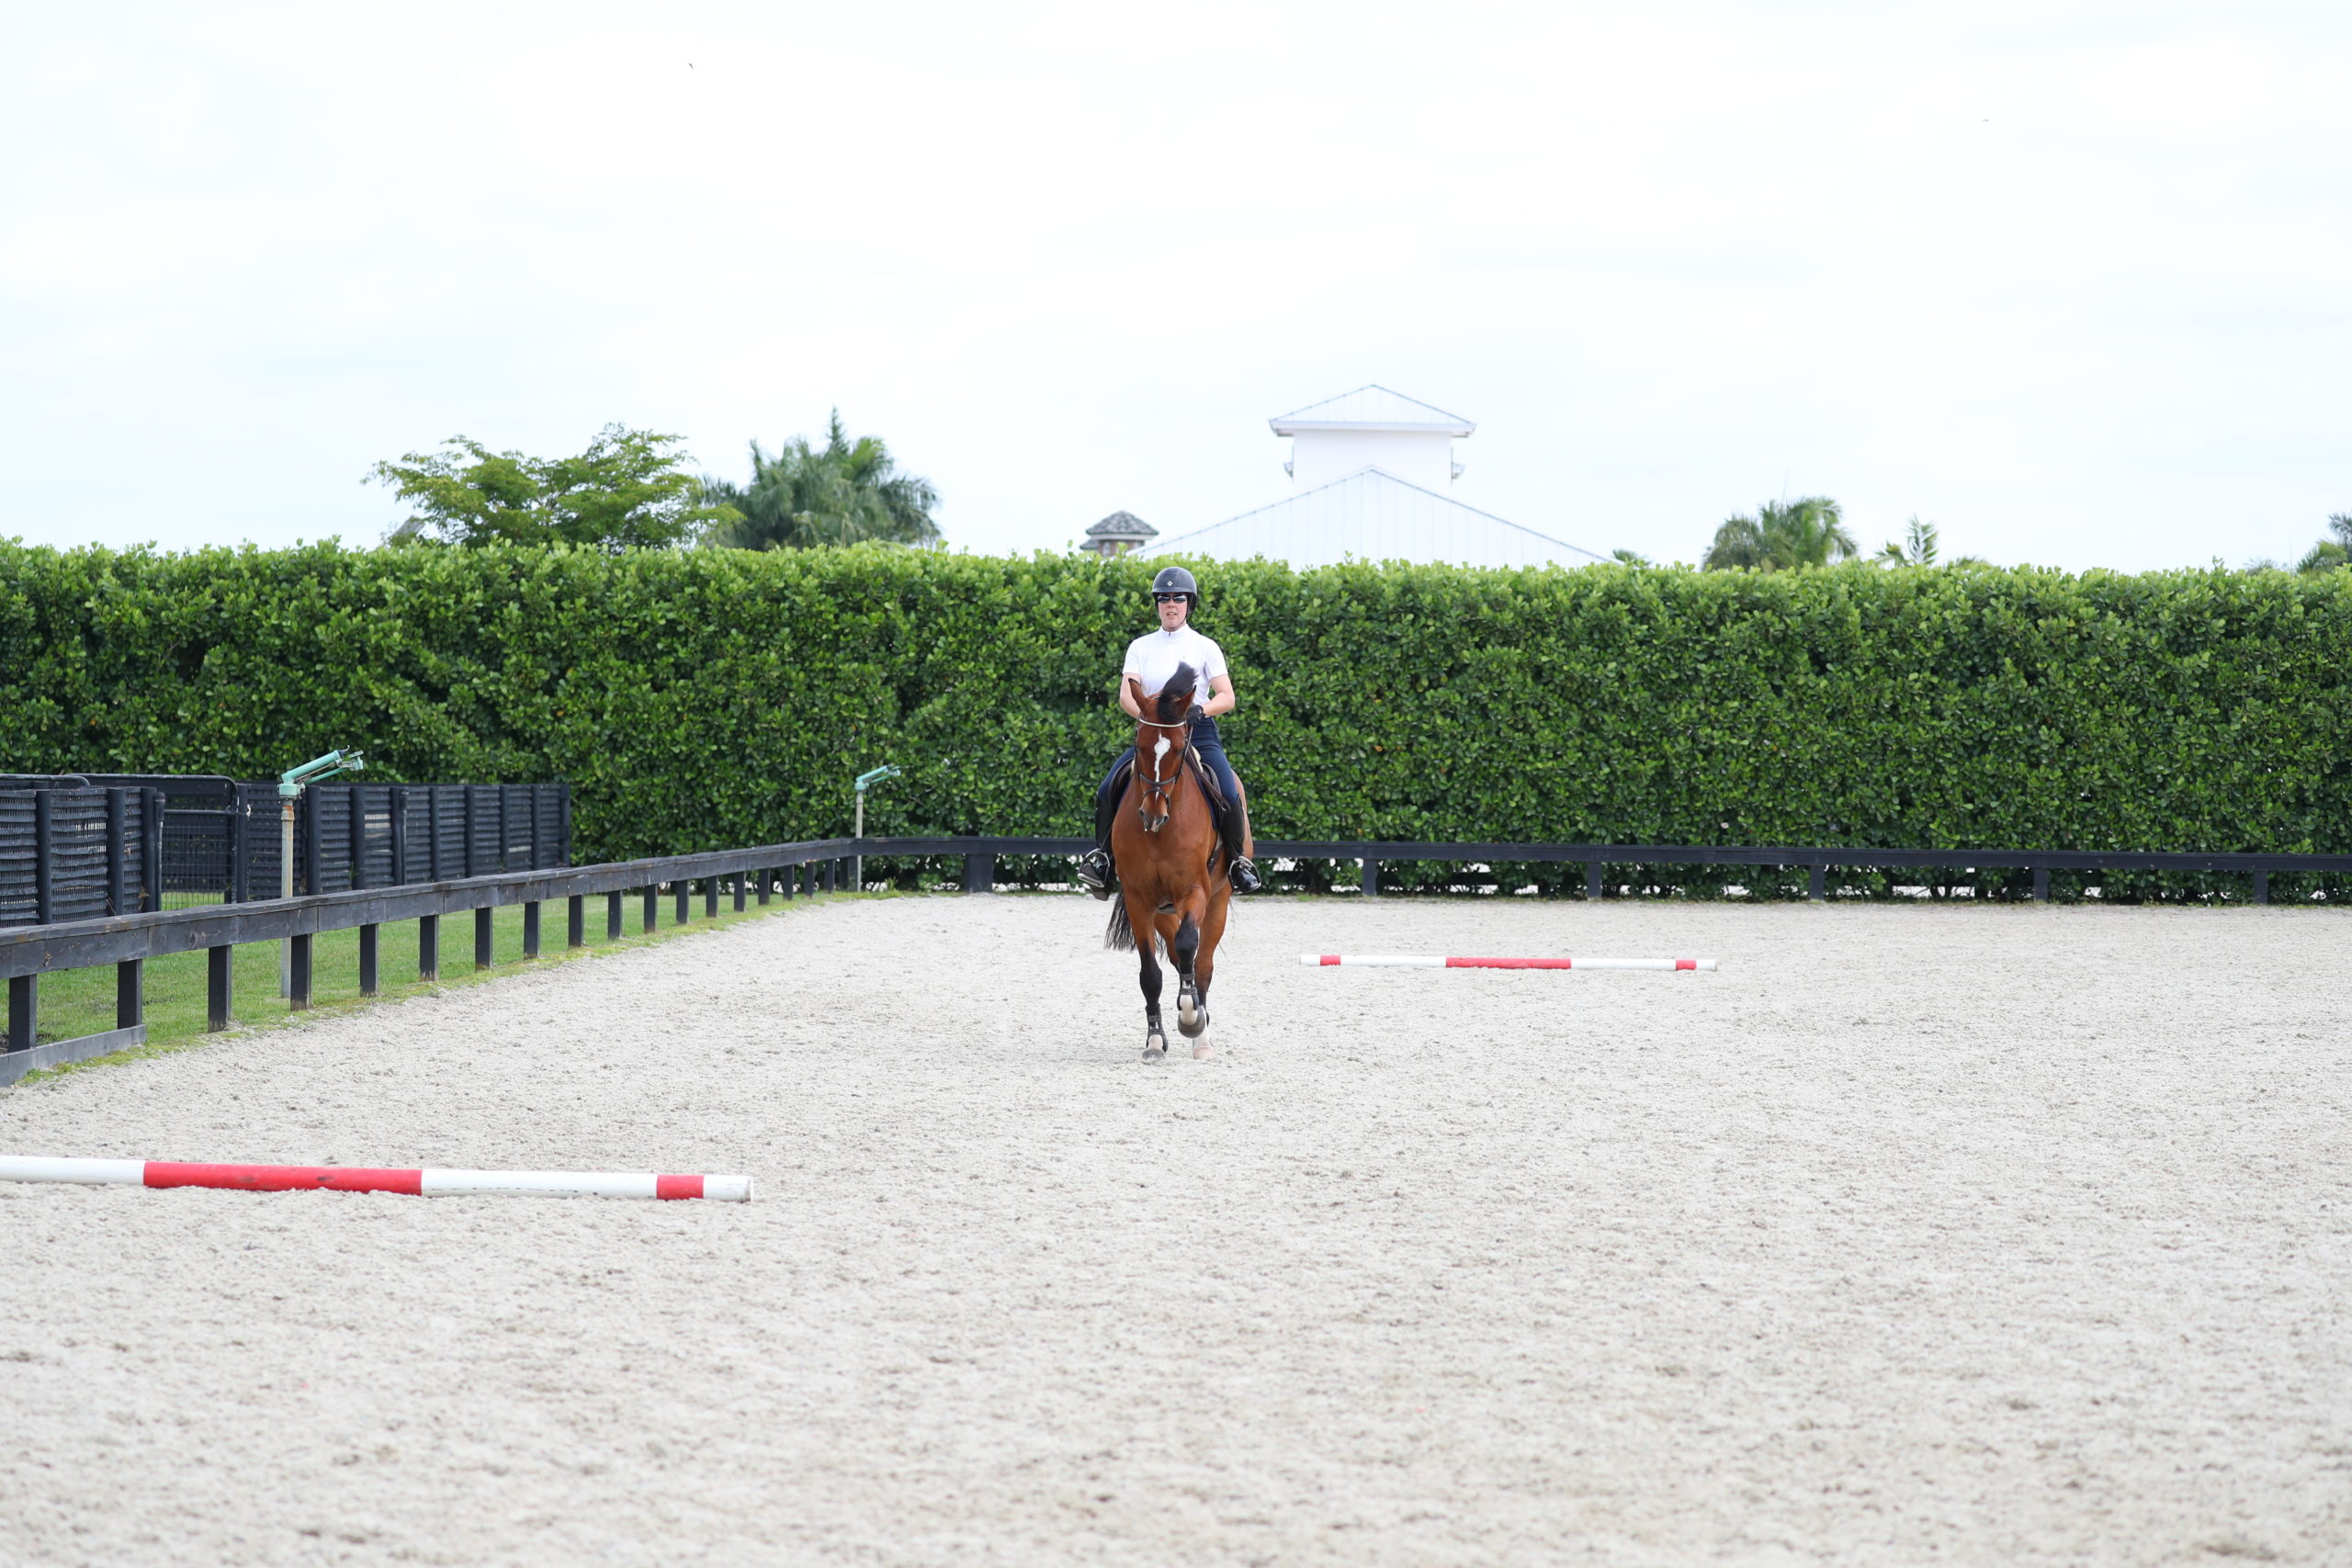
Place two poles on the ground on the quarterline several strides apart. You’re going to focus on using your dressage exercises both during the approach and the getaway (recovery) after the “fences.” Remember that the getaway from the first jump is actually the approach to the next jump.
1. Pick up the trot. If you have trouble getting control over your horse’s shoulders, ride the turn prior to the first pole in right counter-flexion so you know you have the horse’s shoulders between the reins during your approach.
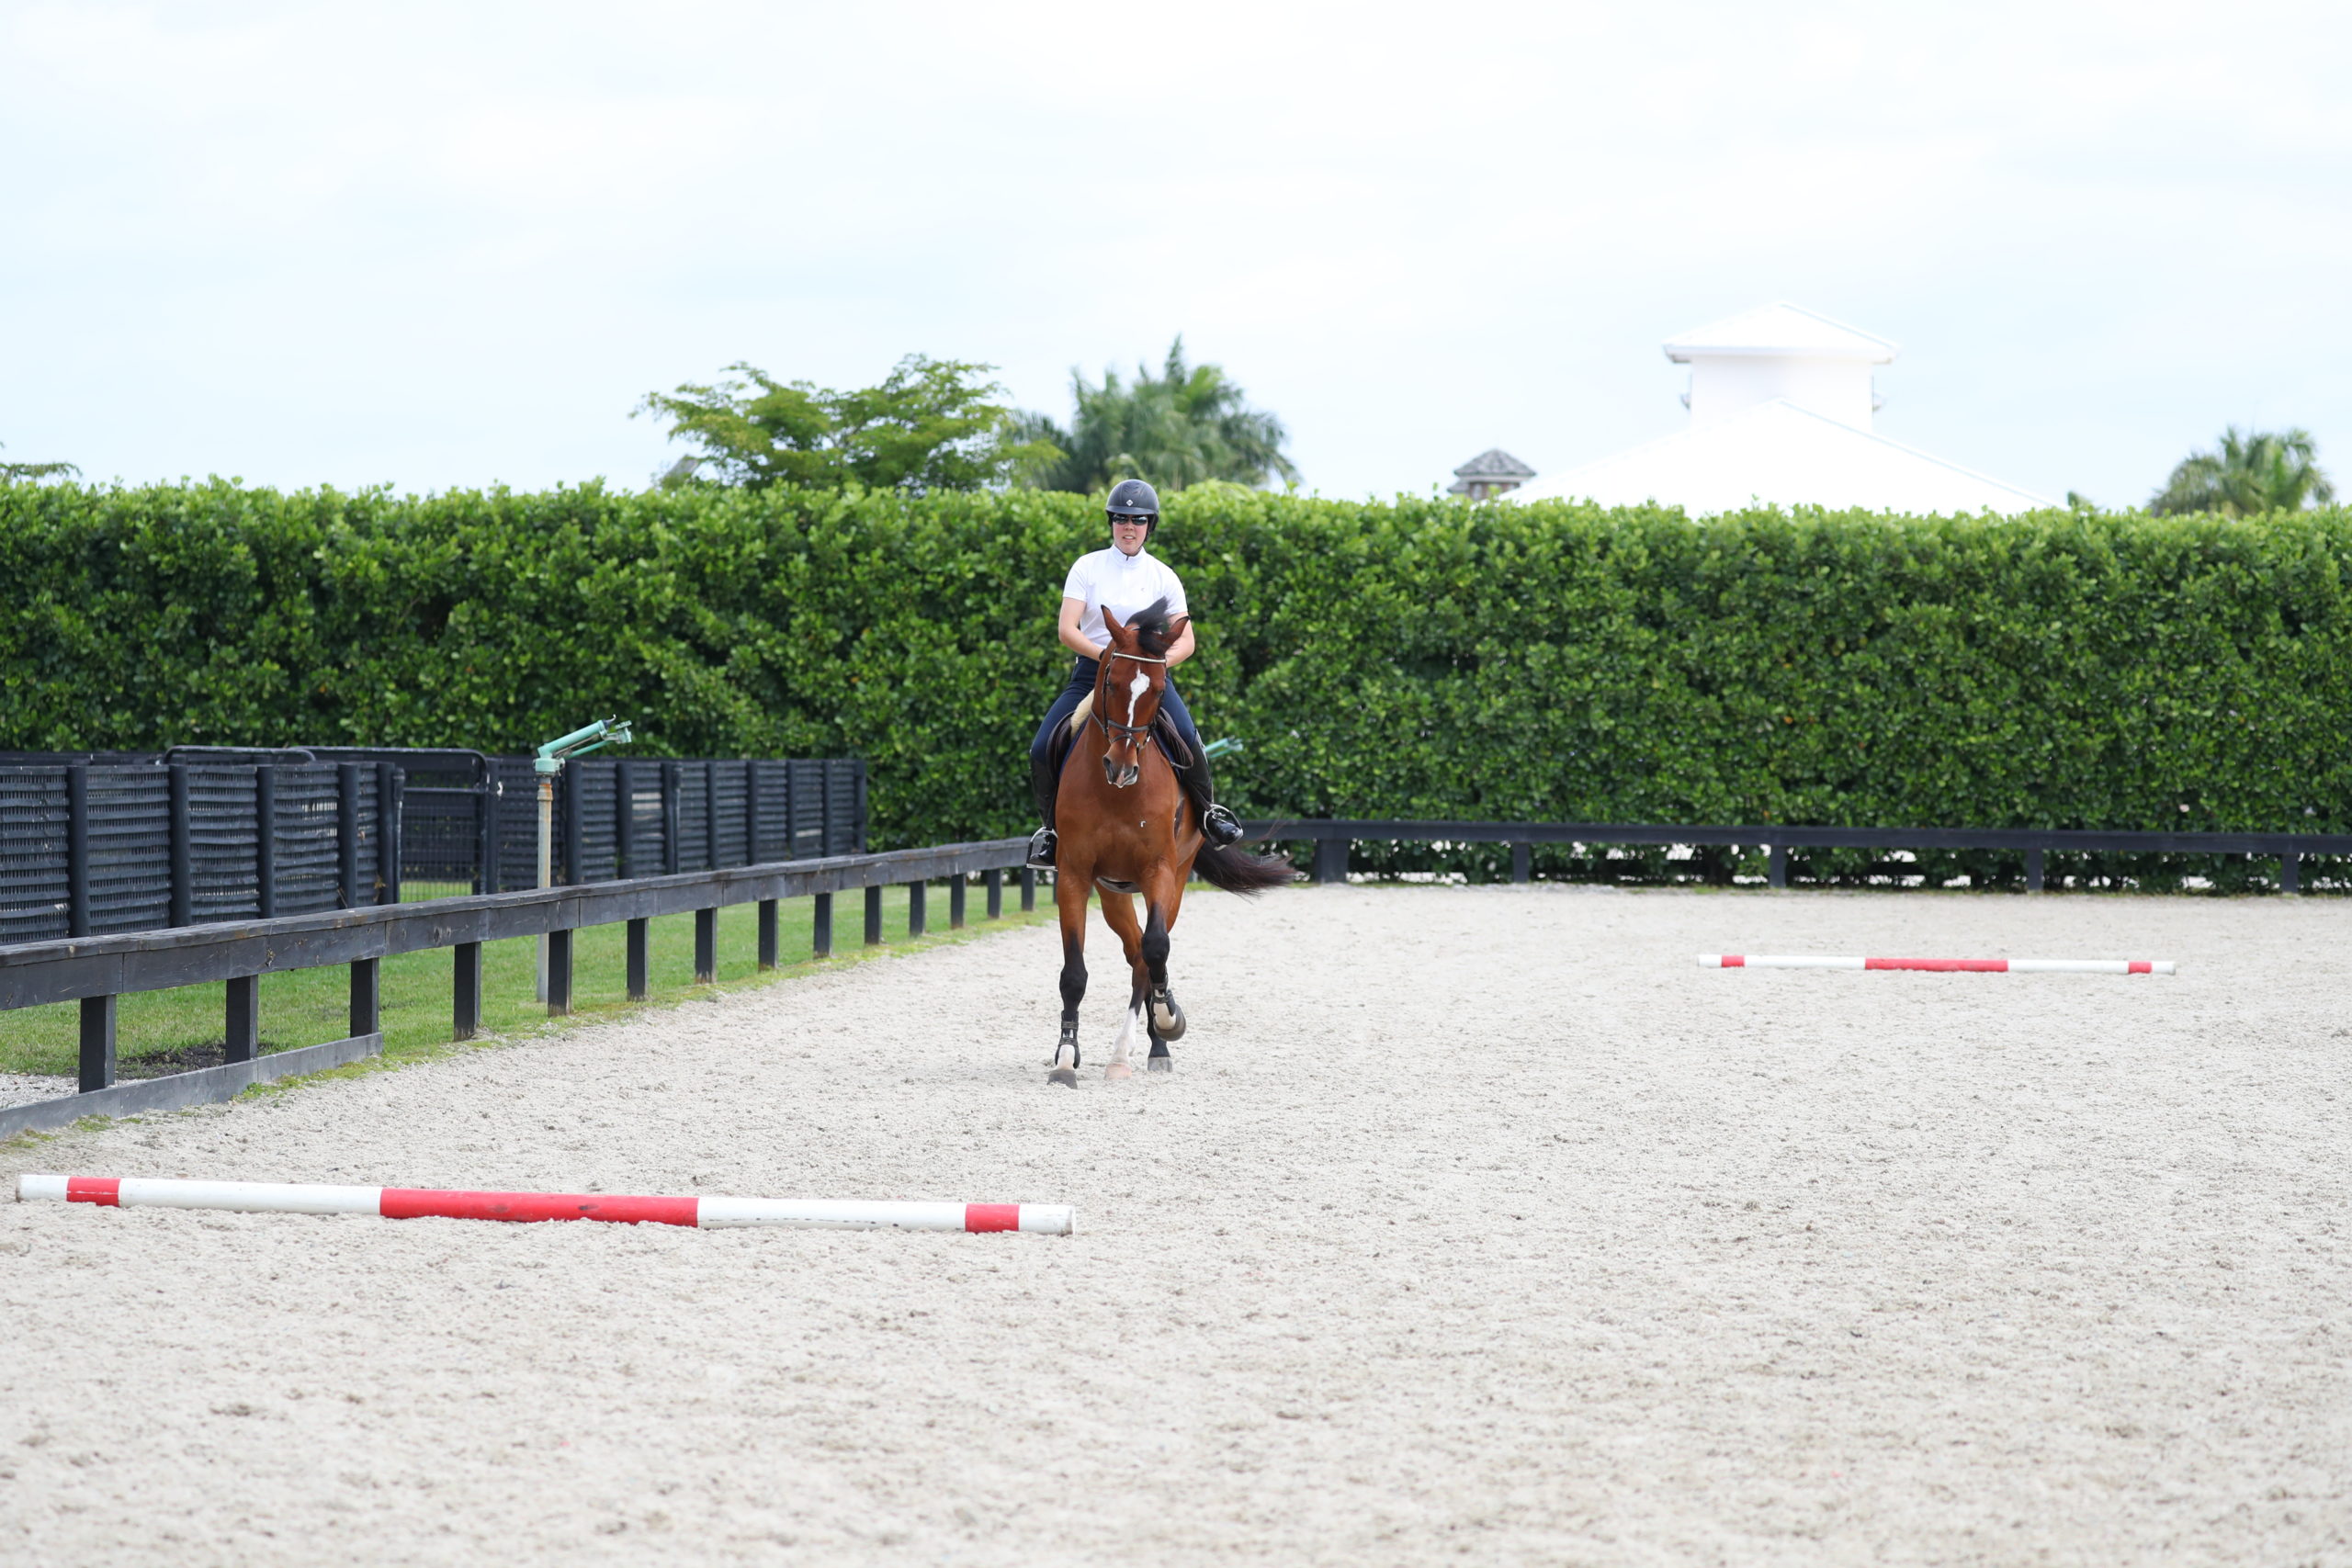
2. You can also circle to the left in trot, and feel how the shoulders “pop” to the right. Then approach the pole. As you approach, counter-flex your horse to the right, and take your two arms to the left to move his shoulders left. Be sure to keep your left leg on the girth so your horse’s body doesn’t fall to the left when you move his shoulders in that direction.
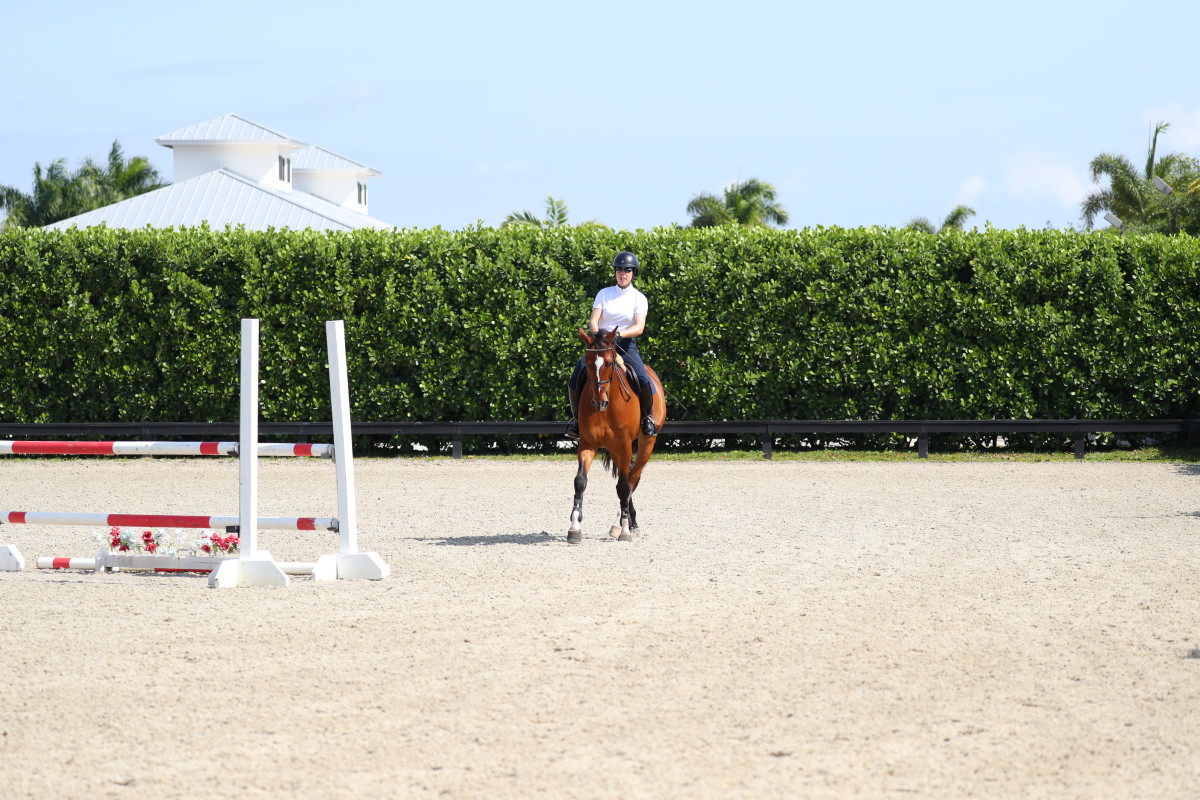
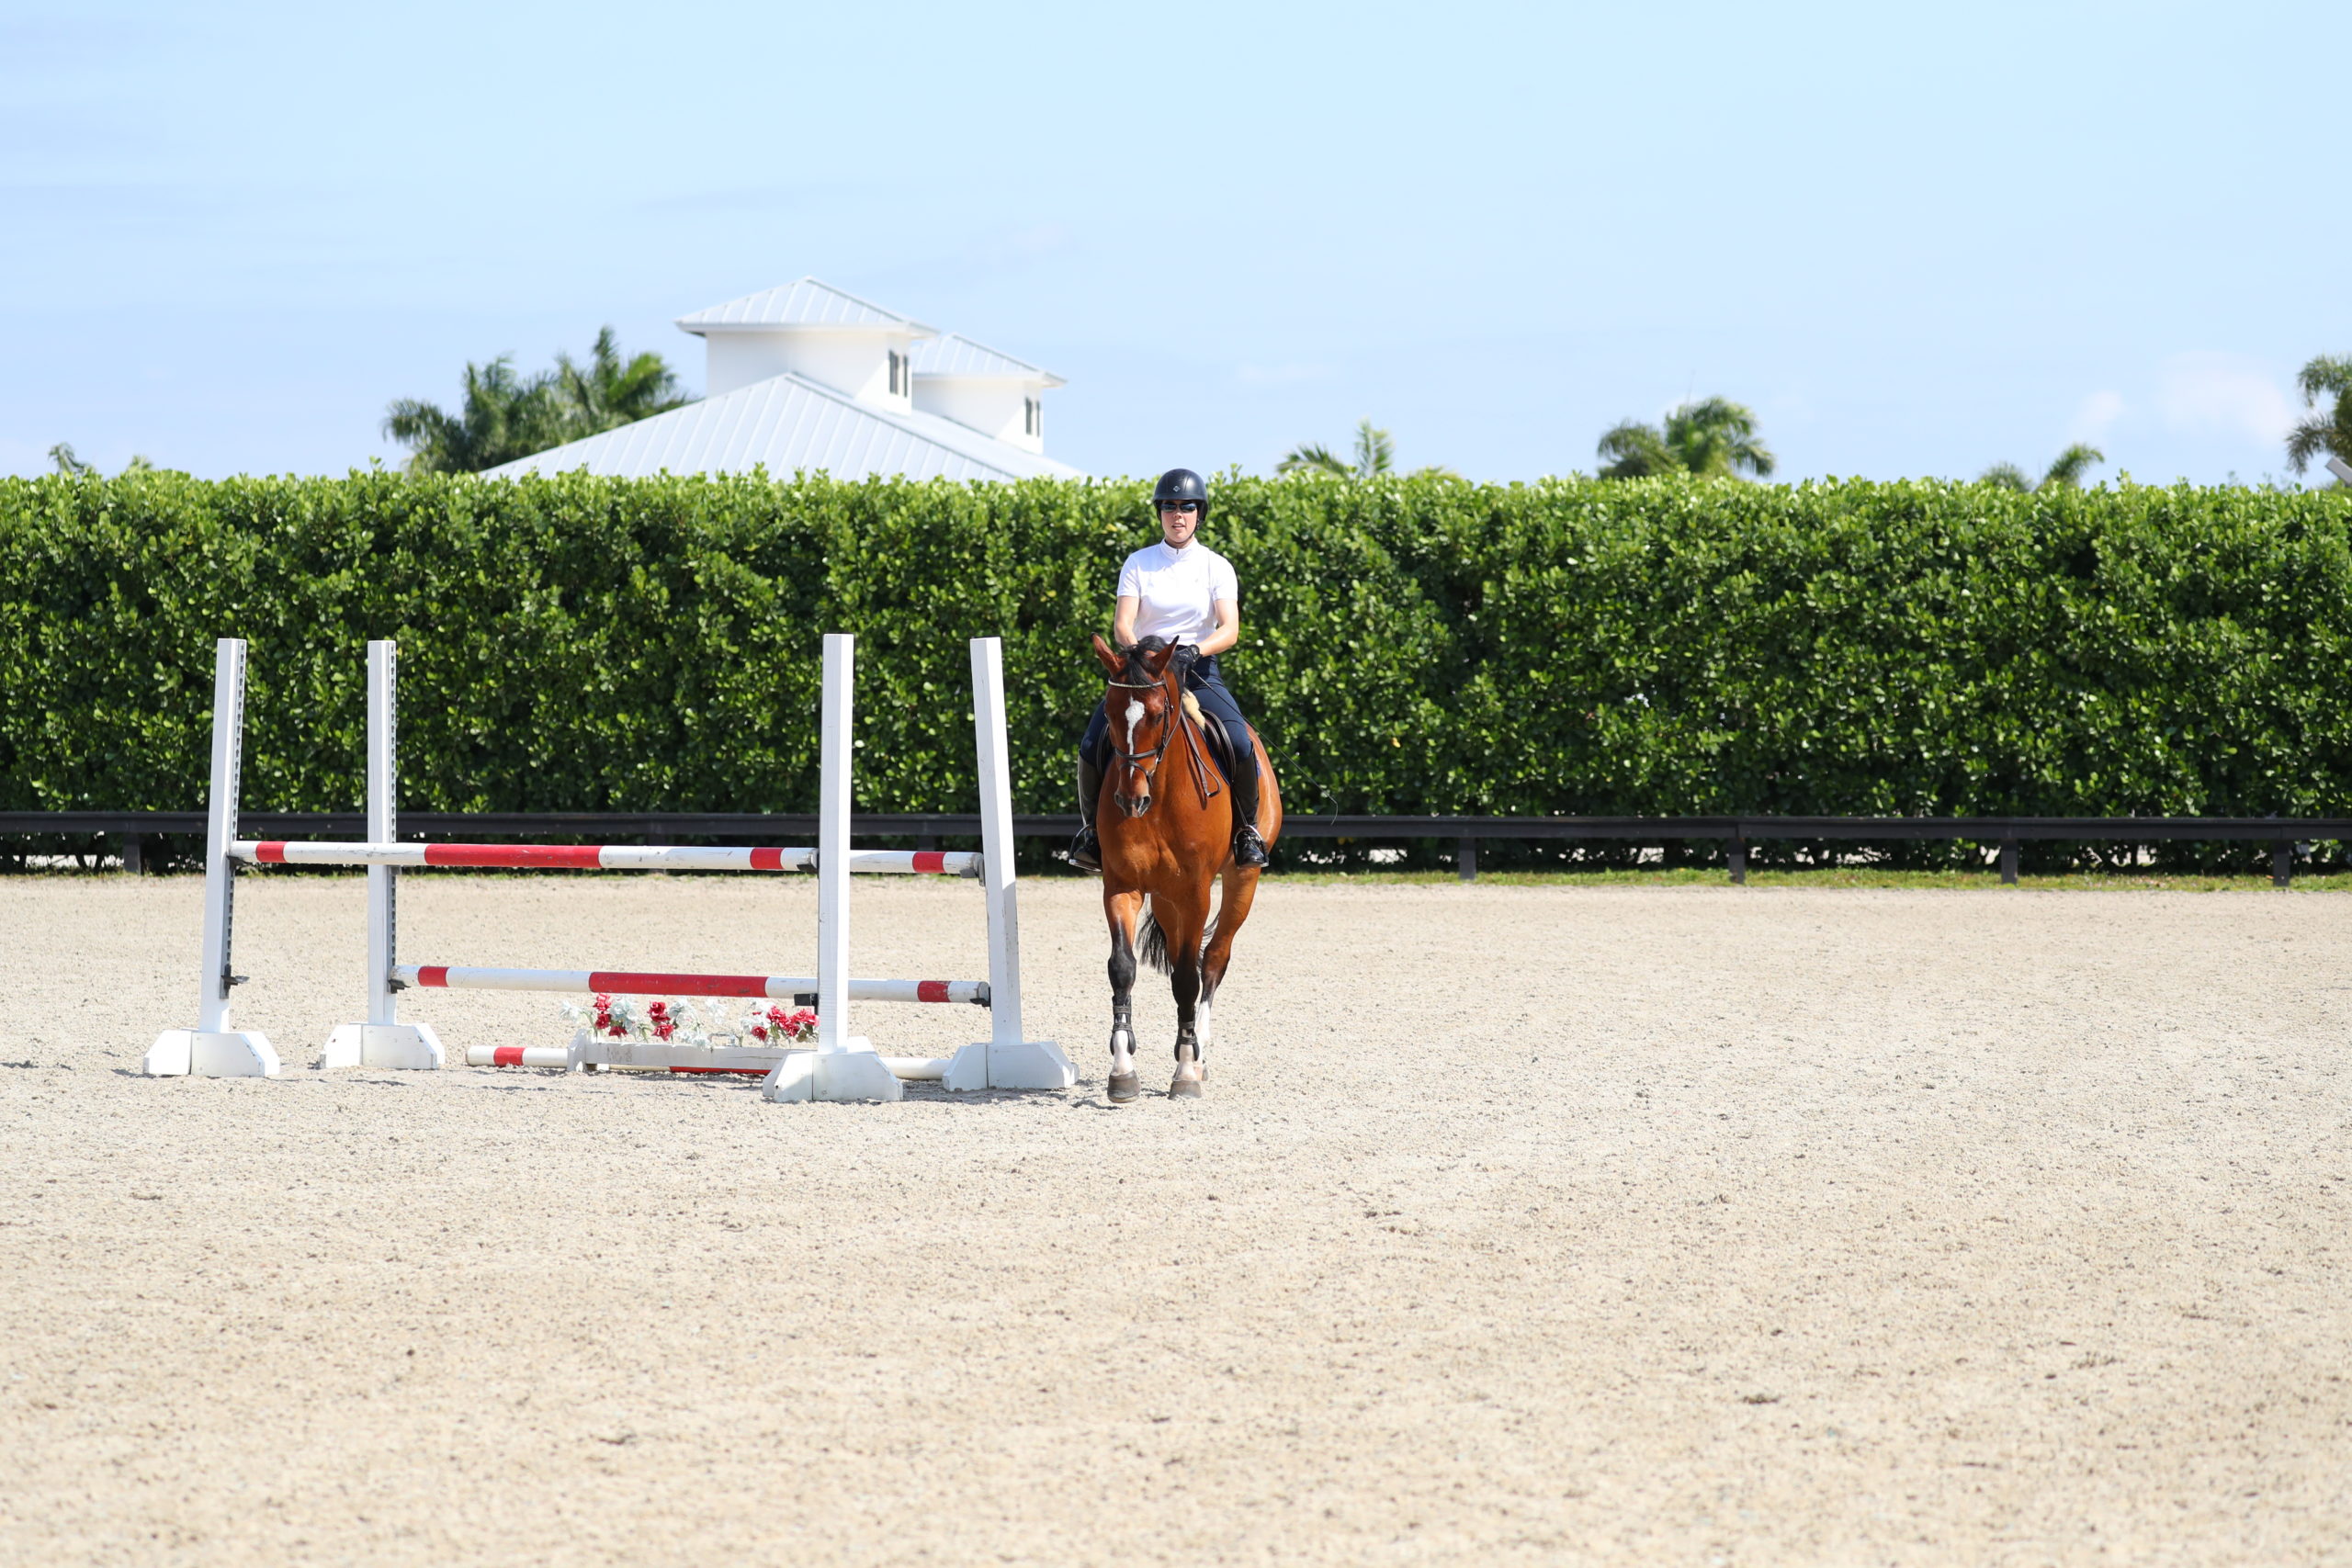
3. Go over pole in the trot. If your horse’s shoulders escaped to the right while jumping, make the same adjustment of counter-flexing and sliding the shoulders to the left during the getaway (see photo below).
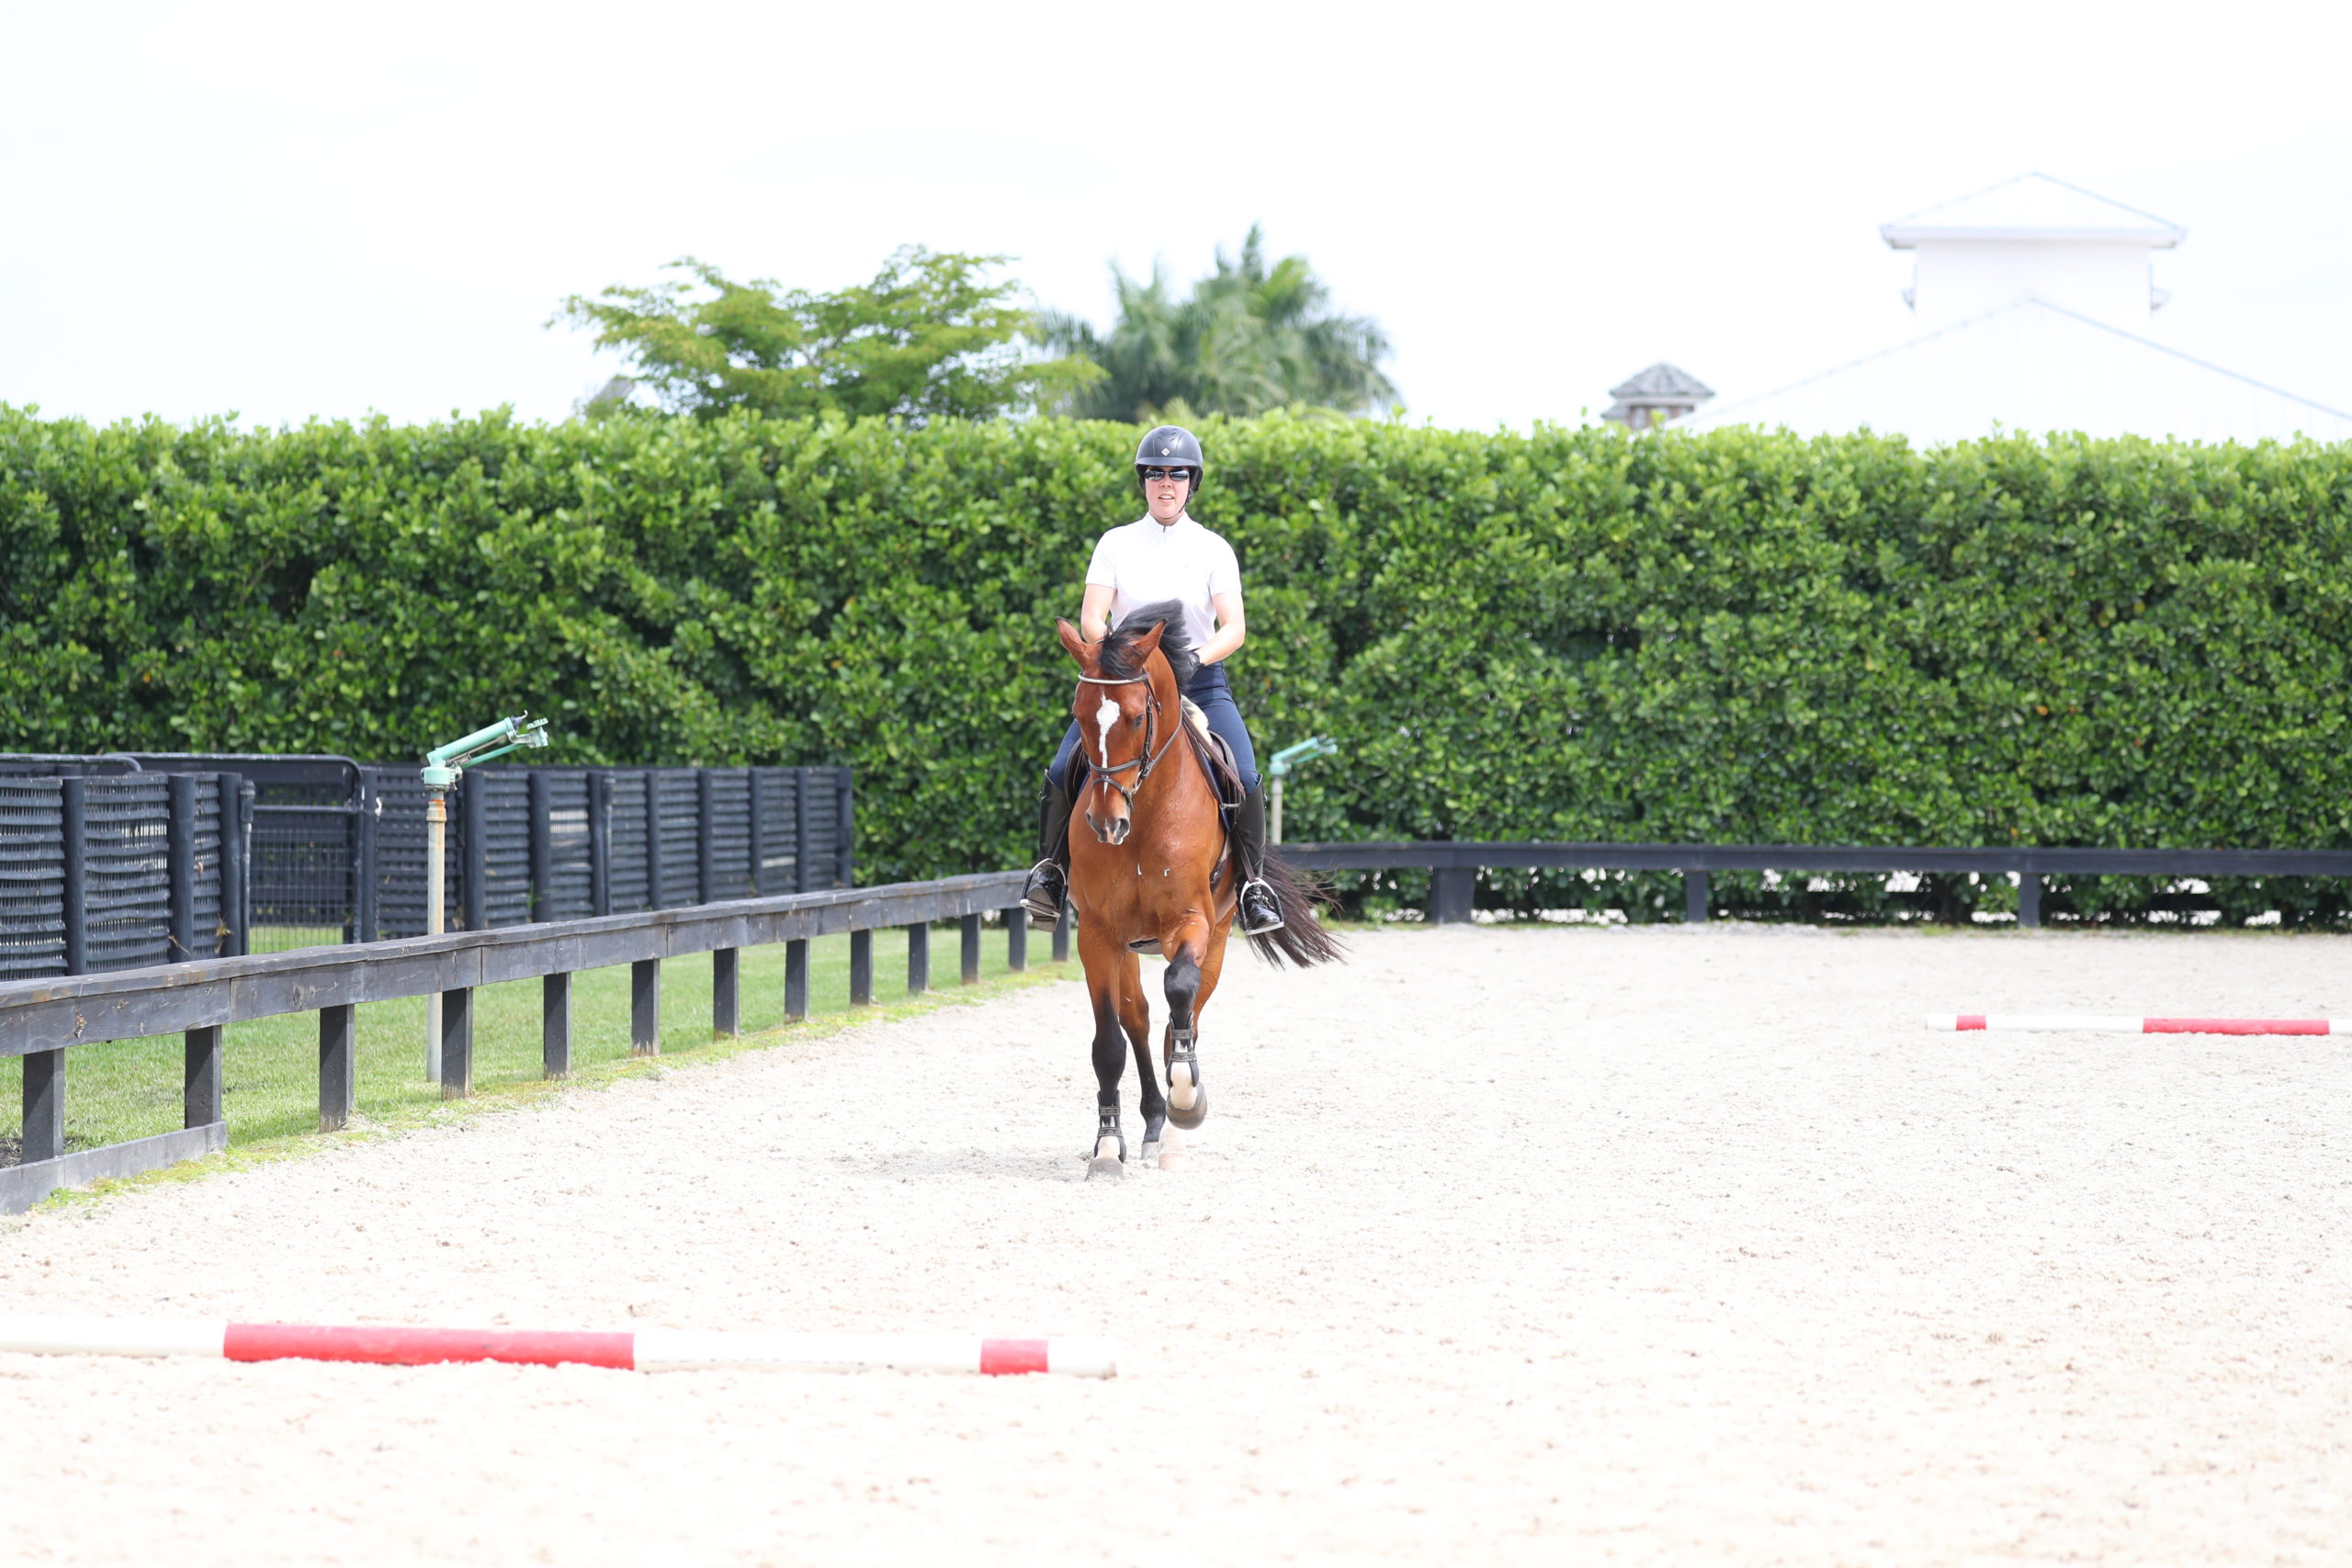
4. Approach the next pole in left shoulder-fore. Jump the fence, and then make sure your horse is still in left shoulder-fore after the jump (see photo below).
5. When this exercise is easy, try it over small jumps or raised cavalletti.
Drifting to One Side
Sometimes you’ll ride a horse whose whole body drifts sideways during the approach, the flight, or even the getaway. You might manage to make it over the first fence of a course, even though he’s drifting, but the drift will snowball so that eventually, at the fifth or sixth jump, you might have a runout.
This drift is a symptom of the same disease that causes the shoulders to “pop” out. In simple terms, the horse is crooked, and both hind legs aren’t underneath the body. If his left hind leg is over to the left, he’ll push diagonally across his body with it, which will make his body move to the right. On the other hand, if his right hind is placed to the right, he’ll push with that leg and drift to the left.
I’m going to show you some fun schooling exercises to gymnasticize your horse and correct this kind of “body drift.”
THE STAIRCASE
Let’s say your horse drifts to the left because his right hind leg isn’t underneath him. In a staircase pattern, alternate doing a leg-yield for a few strides with riding straight ahead for a few strides. Do this in both the walk and the trot to make your horse obedient both to the aids that ask him to go sideways as well as the aids that ask him to go straight ahead. In addition, with each transition you are making your horse more supple and rideable.
1. Track to the left off the rail in walk or trot.
2. Flex your horse to the left, then leg-yield to the right away from your left leg for a few strides (see photo below).
3. Now go straight by closing both calves (see photo below).
4. Then leg-yield to the right again, creating a staircase pattern.
5. Change direction and track to the right. Turn down the centerline, and leg-yield a couple of strides toward the track.
6. Then close both legs and ride straight ahead for a few strides. Repeat the leg-yield. Then ride straight ahead again.
7. Once you can ride the staircase both away from the track and toward the track, do the same thing on the diagonal.
8. You can also do this exercise in the canter—you just can’t cover as much ground sideways as you can in the walk and trot.
THE STAIRCASE BETWEEN THE JUMPS
The horse’s body tends to drift to one side or the other if he’s pushing diagonally across from a weaker hind leg. Let’s see how the staircase exercise can help correct this drift when jumping. Let’s pretend your horse‘s weaker hind leg is his right hind. He carries his right hind over to the right. As a result, he pushes diagonally across his body so that he ends up drifting to the left.
1. Place two ground poles or two low jumps on the long side of the arena so they are offset and several strides apart, with one on the quarter-line, and one on the rail.
2. Go over the first pole, then leg-yield to the right for a couple of strides to get your horse’s hind legs underneath his body and prevent the drift to the left (see photo A below).
3. Go straight for a couple of strides (see photo B below), then leg-yield to the right again until you are lined up with the center of the second pole (see photo C below).
4. Ride straight and go over the second pole (see photo D below).
5. During the getaway, you can continue the stair-case pattern, alternating leg-yielding to the right for two strides with riding straight for two strides.
The Staircase is very helpful for two reasons: If your horse is drifting to the left on the approach to the jump, you can interrupt the sideways motion and ask him to go straight ahead. Since he’s familiar with the leg-yield (sideways) to straight exercise, it’ll be easier for him to correct the drift and go straight. Also, when you are tracking left and make a turn too late, and your horse isn’t headed toward the middle of the fence—he’s drifting toward the right—you can leg-yield to the left for a couple of strides to straighten your approach.
This article was adapted from “Dressage Between the Jumps” by Jane Savoie and is available at HorseandRiderBooks.com.