Do you sometimes have trouble turning or steering your horse? Do you struggle to control tempo or straightness? Do you feel stiffness on one rein or no bend going one way? Would you like better communication with your horse? Would you like to feel that you and he are able to understand each other?
Chances are that if you’re struggling with any of those issues, it’s not for lack of trying but because of subtle misalignments and imbalances in your body. When you’re not balanced and centered in even one area, you overcontract muscles somewhere else to anchor yourself to stay on. Whether you tighten your shoulder, your hip or your ankle—every rider compensates in her own way—you lessen your ability to hear and feel your horse and know what’s going on underneath you. Anything he tries to feel is confusing because you’re sending mixed messages or the message is blocked so there’s no communication at all.

Alignment is the Answer
It seems so simple, but as soon as you’re properly aligned, you can relax, achieve balance and sit totally in unison with your horse. You no longer have to overcontract or tighten any part of your body to secure your position, and your horse no longer has to compensate for this imbalance by shifting his weight among his four feet to stay underneath you. He can just flow because he’s correctly balanced with equal weight on each foot.
In this article, I will explain how to bring yourself into alignment, balance and relaxation. Whether you’re a relative beginner or a more advanced rider, you will feel an immediate difference. But we’re talking about the likelihood of dramatic changes in soft tissue and muscle memory. To develop a truly independent, balanced seat could take one, two, even three years, depending on your skill level and the time and effort you have to expend. Still, even if you’re not perfectly fit or able to ride every day, start today and you can take responsibility for being as aligned and balanced as possible. Get to work, and most of the problems you may be dealing with will just fade away.
But before we start, I want you to meet the all-important …
Rider’s Training Scale
We all know the Training Scale for the horse—rhythm, relaxation, connection, impulsion, straightness, collection—but who ever talks about a training scale for the rider? Well, I do. It starts with …
Balance and Alignment: You’re no longer using any part of your body to hang on, so your horse isn’t blocked or having to compensate and can achieve balance and alignment in himself.
Relaxation: You’re so free of tension that you clearly feel your horse and he clearly feels you.
Understanding: You grasp the purpose and progression of your horse’s training and begin to know intellectually how and why he should respond to the information you give him.
Communication: You provide that information clearly so he understands what you want and willingly responds. You never correct him for doing something wrong if he’s just reacting to incorrect information or an aid given the wrong way.
Control: You now use all the tools and power at your disposal to positively influence and direct your horse’s actions and behavior.
Did you notice that the final quality is control of your horse’s actions? Unfortunately, most riders—and many trainers—seem to want to flip the scale and start with control, control, control. But you can’t truly control your horse until you can control yourself.
Align and Balance at the Standstill
Adjust your stirrups so that when your legs hang down freely, the bottom of the stirrups hit your anklebones. Pick up your stirrups and rest about 90 percent of your body weight on the balls of your feet—not your toes, not your insteps—with your feet level, as if you were still standing on the ground. Of course, if you’re like most riders, you’ve been taught that your heels should be down, but if you try to force them, you’ll end up with tense, tight ankles. Keep your feet level, and eventually, as your seat improves, your heels can naturally come a bit lower because your ankles have become relaxed, elastic and free of tension. With every stride, they’ll naturally flex downward to keep you in unison with your horse’s motion.
From behind, I want to see the left side of your body on the left side of your horse and the right side of your body on the right. Your spine is straight, your shoulders are level and your head is centered over your shoulders with no tipping or turning, which can be very unbalancing. Look straight ahead between your horse’s ears. As I tell my students, “At this stage, when you turn your head, your body follows and you end up misaligned and hanging on. Until you accomplish a fairly balanced seat and know how to separate your head from the rest of your body, you are not allowed to turn your head.”
From the side, the old alignment rule of thumb—ear, shoulder, hip, heel—is still the very basic, correct way to sit. When you tip or lean forward, you get ahead of your horse’s center of gravity. When you lean or fall back, you’re not only behind his center of gravity but yours as well. In either case, you tighten some part of your body to secure yourself.
To bring your seat into the correct position, drop your stirrups and raise your legs in front of the saddle flap. You’ll feel your seat bones where they should be and you’ll have a flat lower back—in fact, you can’t have a hollow one.
Align and Balance in Motion
First read my “Four Rules for Better Progress”—stay on straight lines, stay on the second track, slow down, forget about “round and down”—below. With those rules in mind, stand up in your stirrups, resting your hands on your horse’s neck. This will help you feel even and balanced in the saddle. Once you are comfortable and confident standing without support at the halt, try it in motion at the walk. Anytime you feel yourself losing your position or getting tense, come back to the halt and re-establish yourself.
Next work on maintaining your alignment and balance at the posting trot. Here the biggest problem you may encounter is waiting for your horse to push you up out of the saddle, which puts you ever-so-slightly out of sync and behind the motion, a sure recipe for tensing. How to know? If you feel a bit of a double motion or a “ba-bump,” come back to the walk, reorganize your position and ask for the trot again, this time making an effort to post more in unison with your horse’s motion. As you do, keep your eyes and your belly button looking ahead through his ears at the second track, keep weight on the balls of your feet, keep a connection on your outside rein and close your hip angle just enough to bring you forward into your and your horse’s center of gravity.
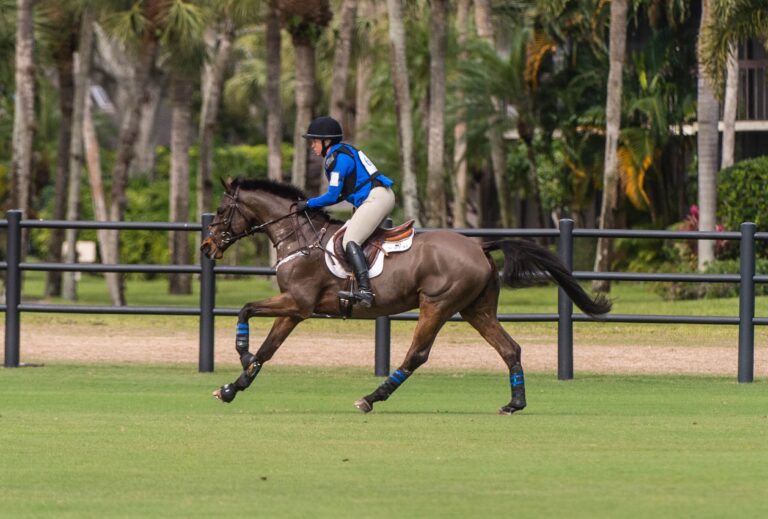
The canter is the hardest gait to maintain balance and alignment because it’s directional—the inside of your horse’s body moves slightly ahead of the outside. If you’re like most riders, you compensate by slightly twisting your body to the inside, which makes your shoulders no longer parallel to his withers, pushes your inside hip backward, moves your inside seat bone toward the center of your horse and makes your outside seat bone hover out of the saddle, no longer aligned with his outside hind leg. You not only tighten somewhere in your body to anchor yourself, usually at least your inside leg, you’re in complete opposition to your horse’s motion so his canter becomes disunited and his stride gets hard to regulate. The canter has three phases, so if you’re not in sync with the first phase as your horse’s outside hind leg pushes off, you’ll be less in sync with the second phase (inside hind, outside fore) and completely out of sync with the third phase (inside fore).
Get in sync by slightly rotating your body just enough to the outside to bring your shoulders parallel to your horse’s withers, your outside leg back and your outside seat bone and hip aligned over his outside hind leg. Step down into your inside stirrup, or your inside hip will carry too much of your weight and be compressed. By stepping down, you allow your hip to stay supple so it can follow forward as your horse steps farther underneath and upward as his back rises. With the inside of your body finally somewhat in advance of the outside of your body, you and your horse will be moving in unison.
Turns and Circles
In Rule 1 of my Four Rules—stay on straight lines—I explain how the centrifugal force of a circle (and a corner is one-quarter of a circle) can make you over-rotate to the inside, displace your seat to the outside and unbalance yourself and your horse. This is why I emphasize staying on straight lines, as opposed to riding circles, to initially practice alignment and balance.
But when you and he are balanced and aligned as you begin a circle or a corner, he can negotiate it just fine as long as it’s not too small for his level of training. This is why our smallest circle at Training Level is 20 meters. It’s only as a horse gradually collects, strengthens and shortens his stride through training that he becomes capable of negotiating turns, corners and circles of smaller and smaller diameter.
While I want you to first practice balance and alignment on straight lines, you will arrive at the end of your arena pretty soon. As you approach a corner on the second track, focus on using your outside connection to keep your horse straight and aligned so he doesn’t wobble, drift out or fall in. As you begin the turn, remember that you and he must always have the same focal point, so be sure to look through his ears and not way ahead of where you want to go. Keep your shoulders parallel to his withers. Make sure his neck comes straight out of his withers. Pay special attention to not overbending his neck. Bend is all about your whole horse negotiating a curved line. When bend happens in his head and neck only, it just makes him lean on his outside shoulder and drift out. By the same token, be careful not to counter flex or counter bend, which will cause him to fall in.
Once you’re in the turn, continue to think about keeping both you and your horse straight. If you do, you’ll find that the turn will take care of itself.
You’re ready to start circles when your horse doesn’t drift out or fall in when approaching or turning a corner and you stay in proper alignment and balance negotiating it. At that point, try putting two corners together to form a half-circle, paying special attention to the second half, which is where you’re most at risk of losing your alignment. After all, old habits are hard to break, so it is better to be aligned completely for a short stretch and gradually add on. At all times, rather than thinking “half-circle” (or “circle” when you get to it), think “two” (or “four”) equal, connected corners. Break it down that way and you’ll be much more successful.
As you continue to work on developing your own skills according to the rider’s training scale, you’ll find that communication and connection with your horse will naturally develop over time.
Sidebar: 4 Rules for Better Progress
1. Stay on straight lines. Nobody ever learned to properly align herself on a circle. I know that must sound contrary to everything you’ve ever learned, but a circle’s centrifugal force—that feeling that you’re being pushed out away from the center—tends to make you rotate your body inward. No matter how slight the rotation, more of your weight and seat shift to the outside, and you try to compensate by tightening some muscle, somewhere, usually in your inside leg. You end up crooked and unbalanced, and if you ride that way for very long, your horse starts moving as crooked and unbalanced as you’re riding. Of course I know that you have to arrive at the end of your arena pretty soon.
2. Stay on the second track. Riding a horse-width away from the rail forces you to focus on a destination. It makes you tune in to balance and straightness and to feel and proactively address your horse’s tendency to bulge, fall, lean or drift. On the second track, you’ll become acutely aware of the slightest wobble, something you don’t necessarily feel when you’re on the rail, the third track or the quarterline.
3. Slow down. Until you’re properly balanced and aligned, you can’t follow a bigger, more powerful stride without gripping and trying to anchor yourself. So tone things down to a slower, shorter stride. At first, it’s going to look and feel as if you’re not going anywhere. I understand that and know that no dressage rider wants to think that her horse is going in a Western jog. But there is never any damage done. The effect is only positive because it allows you and your horse to get in balance with each other. While you’re trying to learn to follow and become one with your horse’s movement, a slower, shorter stride is the teacher to help you do that.
What about showing? By all means, go ahead and show, but prepare yourself for comments like “not forward enough” or “horse too slow.” Then be brave and strong enough to say, “OK. That’s fine. If I stick with this feeling now, there will come a time when I can ride with the impulsion, bigger stride and power I want and the judges are looking for. But I’m going to get it the right way!”
Then, every once in a while, try a bigger gait with more impulsion and ask yourself, “Am I truly staying with this motion without holding on anywhere?” If you can answer “yes,” that’s great! But if you have to say, “You know what? I am holding on a little bit,” come back to the shorter, slower step. One day, when you truly are relaxed and inside the slower step, you’ll discover that your body can absorb a bigger step and more power.
4. Forget about round and down. Do yourself and your horse a favor and stop trying to control his head and neck. Just let them do what they’re going to do, including coming up and out from time to time. Just because you’re doing dressage does not mean your horse has to first be round in his neck. His head and neck are the last part of the connection, and trying to pull him in is the very thing that sets you on the wrong path and damages your ability to learn how to ride. Work on yourself according to the rider’s training scale, and connection and control will come naturally.
About Lena Wedenmark
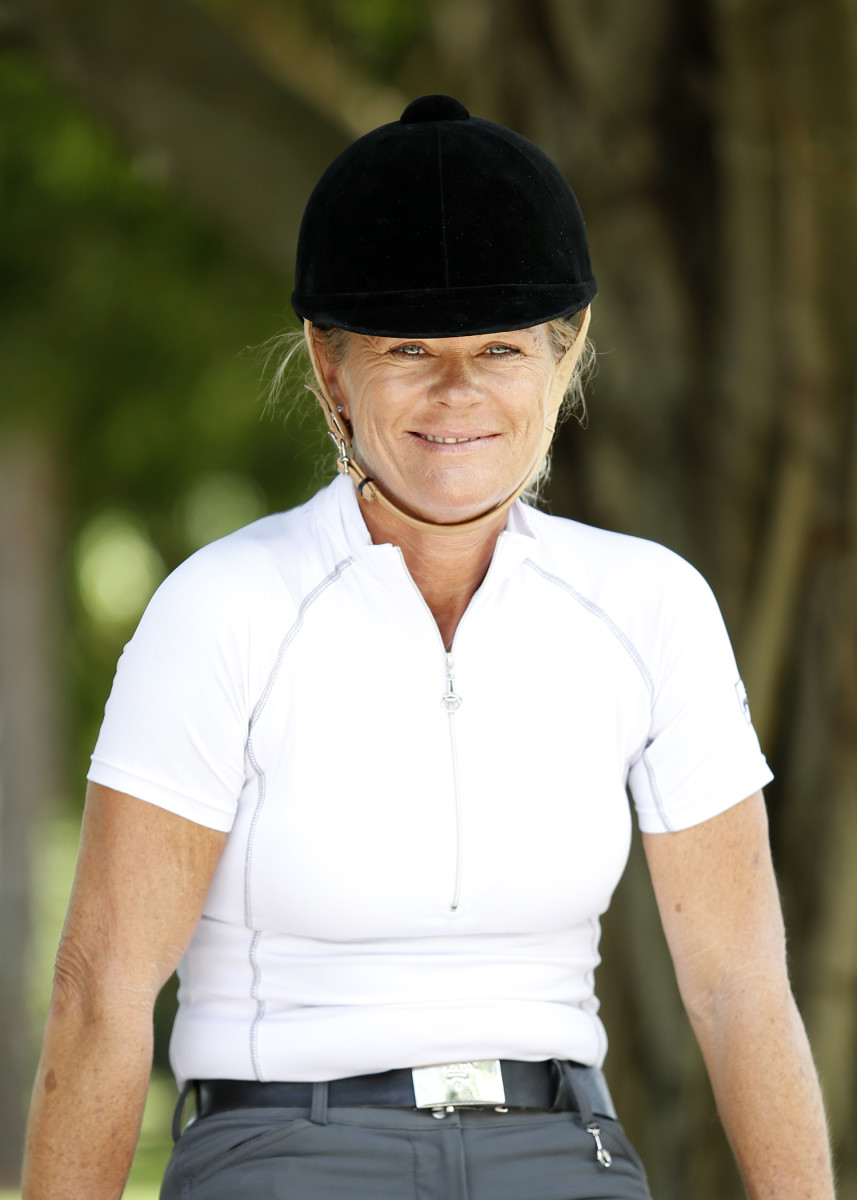
Lena Wedenmark doesn’t actually think of herself as a teacher. “At the end of the day,” she says, “nobody can teach you how to ride. I can stand there giving instruction from the ground, but I’m just giving you suggestions on what to do. It’s you, the rider, who has to teach yourself how to put it into practice. This is why my dream horse would have only two legs. When riders got sick and tired of their horses tipping over all the time, they’d quickly achieve true balance and alignment.”
Headquartered in Wellington, Florida, Lena is a U.S. Dressage Federation instructor certified through Fourth Level. She has preached her philosophy during lessons at home and clinics in Texas, Oklahoma, Kansas, New Jersey and California and the Caribbean nation of Barbados. She is a two-time Pan American Games coach, and she has students whom she started teaching as much as 18 years ago who have earned medals at FEI World Dressage Challenge competitions.
She is so single-mindedly focused on relaxation, alignment and unity with a horse’s movement because it makes a rider feel comfortable. “When you’re comfortable, you can ride with more power because you can absorb that power in your body. And that’s when you enter into that place of feeling collection and true energy from your horse’s hind end.”
Thanks to Elizabeth “Betsy” Juliano for the use of her Havensafe Farm as the setting for the photographs in this article.
This article originally appeared in the October 2013 issue.